bluename
 How to Adjust Nutrient Supply for Aloe Seedling Growth
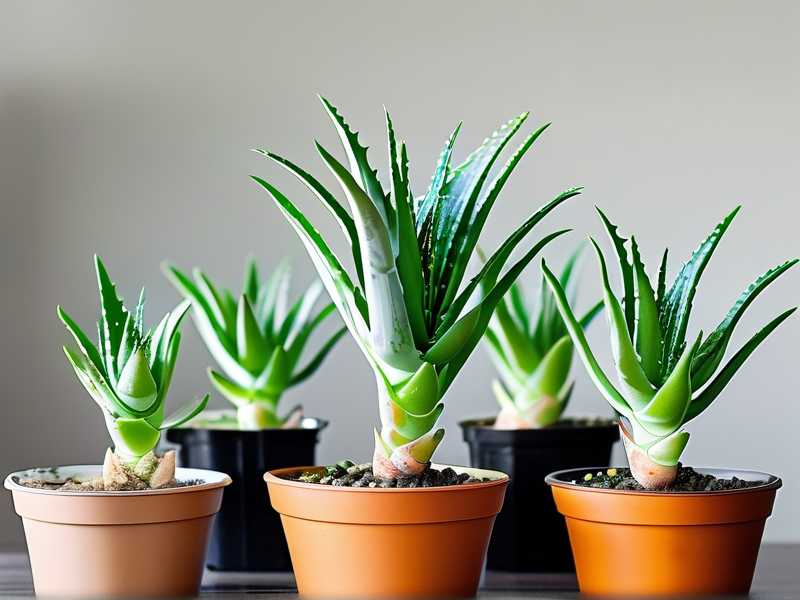
If you are staring at a spindly, pale, or stalled baby aloe and wondering what went wrong, the answer is rarely “buy more fertilizer.” I learned this after nearly killing three trays of aloe seedlings with kindness. Aloe seedlings are light feeders. Their roots burn easily. Their growth stalls when the soil holds too much nutrient or too much water. The fastest fix is usually to stop feeding, improve drainage, and move the seedling into bright indirect light. I will walk you through exactly how I adjusted nutrient supply for aloe seedling growth, what I changed week by week, and which mistakes almost wiped out my entire batch.
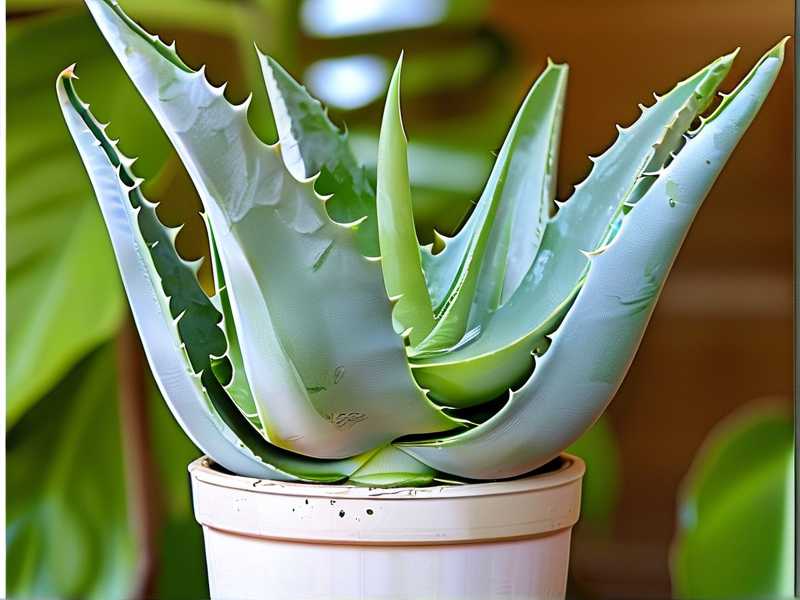
Aloe vera and other small aloe species are wildly popular with home gardeners in the United States, Canada, the United Kingdom, and Australia. They look sculptural, they tolerate dry indoor air, and they do not need fussy care. But seedlings are different from mature plants. A two-month-old aloe is not a miniature version of a grocery store aloe. Its root system is shallow, its leaves are still soft, and its tolerance for fertilizer is close to zero.
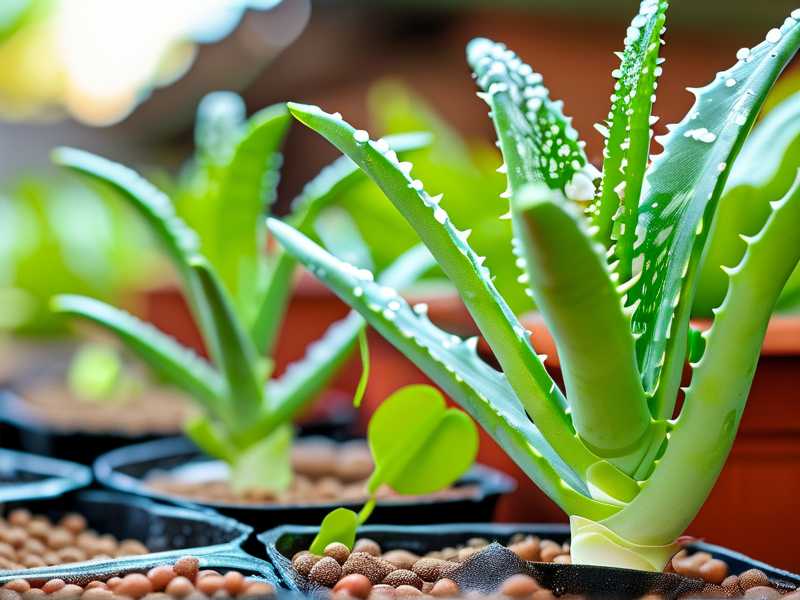
I grow aloes on a bright shelf in my kitchen and in a small unheated greenhouse in early spring. My climate has cool wet winters, so most of my aloe seedlings spend their first months indoors under grow lights or on a south-facing windowsill. Over the years I have raised aloe from seed, from offsets, and from leaf pups given to me by neighbors. The seedlings have always taught me more than the adult plants ever did.
Simple answer first. For the first three to four months, aloe seedlings generally do not need any added fertilizer at all. A gritty, low-fertility mix provides enough nutrition. When you do start feeding, use a balanced liquid succulent fertilizer at quarter strength, once every four to six weeks during active growth only. Never feed a cold, wet, dormant, or recently repotted seedling. That single rule will prevent most of the leggy, yellow, mushy, and stunted problems people ask me about.
90% of indoor plants die from overwatering. Aloe seedlings are no exception. But nutrient problems usually walk hand in hand with watering mistakes. Too much water moves excess nutrients into the roots. Too much fertilizer makes the plant hold weak, watery tissue. The two problems feed each other.
I want to share exactly how I adjust nutrient supply for aloe seedling growth, including a two-week observation period where I tested a weaker feeding routine on a struggling batch. I will cover light, water, soil, fertilizer, seasonal care, and the common disasters that show up in seedling trays.
Light Comes Before Nutrients
You cannot fix a light problem with fertilizer. I tried. It does not work.
Aloe seedlings want bright but not punishing light. I start seeds and young offsets in a spot that gets gentle morning sun or filtered afternoon light. A south-facing windowsill in the UK or the northern US can be perfect in winter but scorching in summer. In Australia, the same windowsill may cook a seedling by noon.
When light is too low, aloe seedlings stretch. They turn pale green, the leaves point sideways, and the stem looks thin. People often call this “leggy.” When I saw leggy seedlings, my first impulse used to be feeding them. I assumed they were hungry. They were not hungry. They were reaching for light.
The right response is to move the seedling closer to a bright window, or under a small grow light for 12 to 14 hours a day. I keep my LED panel about 15 to 20 centimeters above the seedlings. That is roughly six to eight inches. If the leaves start turning reddish or brown at the tips, the light is too strong. If the seedling looks stretched and pale, it needs more light.
I once kept a tray of aloe seedlings on a bright bathroom shelf, thinking the humidity would help. The light was indirect but soft for most of the day. Within three weeks, every seedling leaned toward the window like a row of tiny green question marks. I added a small full-spectrum bulb. Within two weeks, the new growth came in tighter and greener. I did not add a single drop of fertilizer.
Water and Nutrient Supply Are Linked
Seedlings drink differently than mature aloes. Their roots are thin and shallow. The soil should dry quickly but not bake hard. I water from the bottom for young seedlings. I set the tray in a shallow dish of water for ten minutes, then remove it. This pulls moisture up without blasting tiny seeds or rotting the stem.
The core rule is simple. Let the top two to three centimeters of mix dry before watering again. For a seedling, that might mean watering every five to ten days in warm weather, and far less in winter.
When I overwatered my first batch, the leaves turned translucent at the base. Then they flopped. Then the stem went mushy. It looked like a disease, but it was drowning. Wet soil also keeps any fertilizer in the mix constantly available to the roots. That is a fast track to fertilizer burn, even with a very weak feed.
I now use pots with large drainage holes and a gritty mix. I never let seedlings sit in a saucer full of water. If the tray has standing water after bottom watering, I pour it off. Damp is fine. Soggy is deadly.
Soil Is Your First Fertilizer
The best thing I did for my aloe seedlings was to stop using rich potting soil. Standard houseplant compost holds too much moisture and often contains slow-release fertilizer. That is fine for ferns. It is terrible for aloe seedlings.
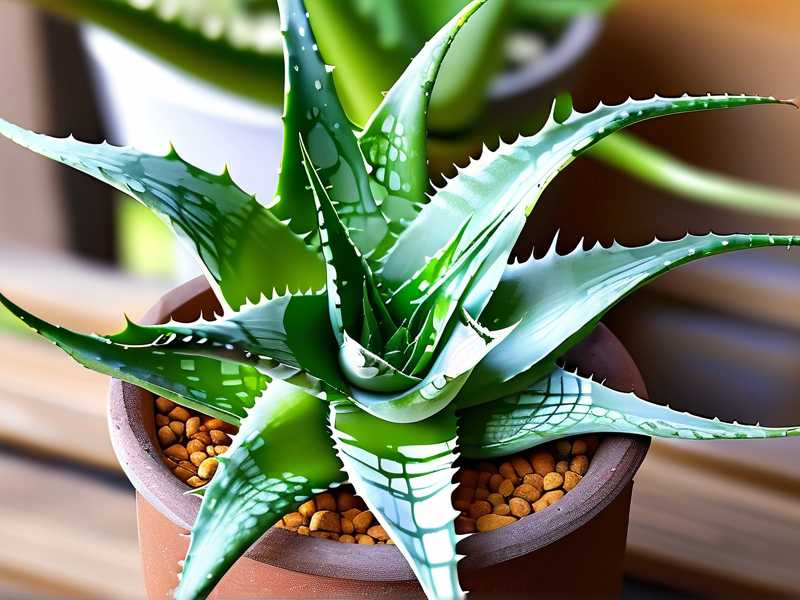
I make a simple seedling mix. Half by volume is a good cactus and succulent mix. The other half is inorganic grit such as pumice, perlite, or coarse horticultural sand. If I only have regular potting mix, I use one part potting mix to two parts pumice or perlite. The goal is a fast-draining, low-nutrient base.
This mix gives the seedling just enough nutrition without extra feeding. Aloe seeds and young roots are adapted to lean conditions. In their natural habitat, many aloes germinate in rocky pockets with very little organic matter. They are not heavy feeders.
The Royal Horticultural Society, or RHS, notes that most succulents grow best in very free-draining compost and that feeding should be minimal. I find that advice especially true for seedlings. Their root surface is small, and their need for fertilizer salts is tiny.
Choosing the right pot matters too. I use shallow plastic or terracotta pots for seedlings. Terracotta dries faster, which is helpful in humid climates or cool homes. Plastic holds moisture longer, which is useful in hot dry regions. The critical part is drainage. If a pot has no hole, I do not use it for aloes. Not even with a layer of gravel at the bottom. That old trick does not create drainage. It creates a perched water table, and the roots still sit in wet soil.
I once used a decorative ceramic pot without a drainage hole for a small offset. It looked beautiful on my desk. The seedling died within a month. The roots were brown slime when I unpotted it. I had watered sparingly, but sparingly is still too much when water cannot escape.
How I Adjusted Nutrient Supply for Aloe Seedling Growth
My current feeding routine for aloe seedlings is almost boring. That is a good thing.
For the first three to four months after germination, I do not feed at all. The seed itself contains stored energy, and the lean gritty mix supports early root growth without extra inputs.
After that, if the seedling is actively growing and the weather is warm, I feed once every four to six weeks. I use a balanced liquid fertilizer formulated for cacti and succulents. I mix it at one quarter of the recommended strength. If the label says one teaspoon per gallon, I use one quarter teaspoon per gallon.
I apply the weak solution to damp soil, never to dry soil. Feeding dry roots can cause localized burn. I water lightly first, wait an hour, then apply the fertilizer solution from the top or bottom. Then I let the pot drain completely.
I never feed in winter. My indoor seedlings slow down even if the house is warm. Short days and cool windowsill temperatures signal a rest period. Feeding then produces weak, stretched growth that attracts pests.
I also do not feed freshly repotted seedlings for at least six weeks. Fresh mix contains enough nutrients. The roots need time to settle. Adding fertilizer on top of fresh mix is a classic beginner mistake. I made it once. The new leaves came out twisted and pale, and the older leaves developed brown spots along the edges. Classic salt burn.
A Two-Week Observation
Let me give you the real-world test I ran on a struggling group of aloe seedlings.
I had eighteen seedlings, roughly five months old. They were in a four-inch shallow tray. Growth had stalled. Several leaves looked pale, and two seedlings had lower leaves turning yellow. My first instinct was that they needed more nutrients. So I mixed a half-strength succulent fertilizer and fed them.
Within five days, the condition got worse. The yellowing spread. One seedling collapsed at the base. I unpotted it and found the roots were brown and soft. The soil was damp in the center even though the surface felt dry. That was my real problem. The mix was too dense, and my half-strength feed had added salts to an already stressed root zone.
I changed my approach completely.
Week one, I stopped feeding. I moved the tray to a warmer spot with brighter indirect light. I increased airflow with a small fan on low. I removed the obvious dead seedling. I did not repot the rest because they were already stressed, but I did loosen the top layer of mix gently with a wooden skewer. This helped air reach the upper roots.
I watered once from the bottom with plain water, then let the tray drain fully. I waited until the mix was dry at least three centimeters down before watering again. That took nine days.
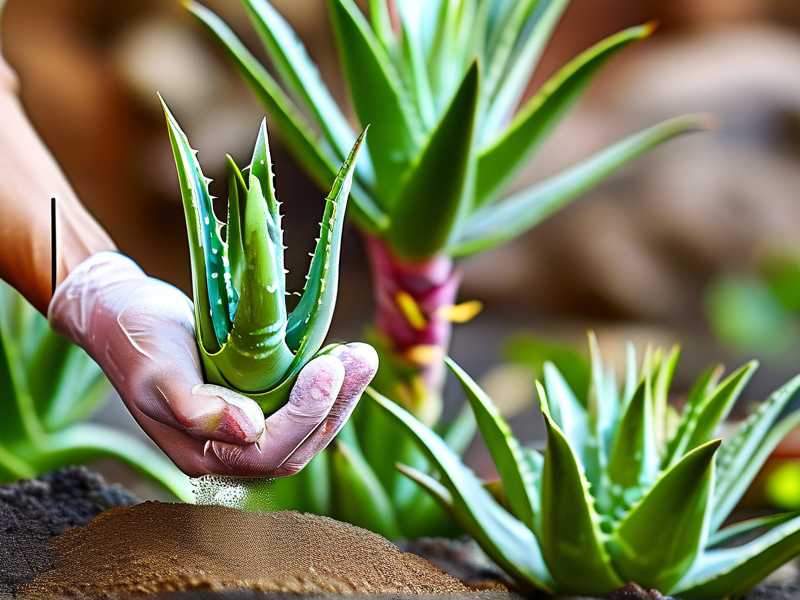
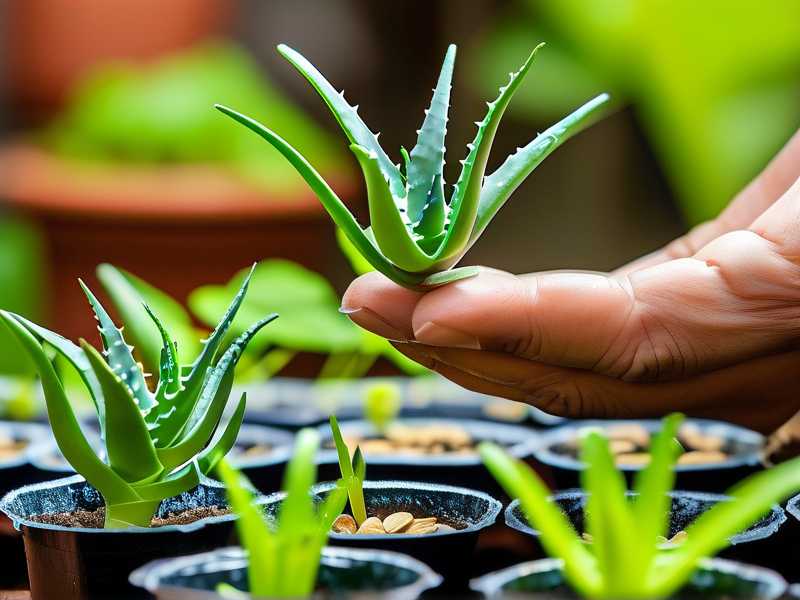
Week two, I prepared a new grittier mix. I carefully unpotted four of the weakest seedlings. Their roots were thin but not all rotten. I trimmed one mushy root tip with clean scissors. Then I replanted them in small individual pots with one part succulent mix to two parts pumice. No fertilizer at all.
For the next two weeks, I gave them bright light, steady airflow, and only plain water when dry. By the end of the second week, the surviving seedlings showed small fresh green growth at the centers. The yellowing stopped spreading. One seedling that had looked almost dead pushed out a tiny new leaf from the crown.
That experience taught me more than any fertilizer label. Aloe seedlings rarely starve. They usually suffocate or drown, and feeding makes everything worse.
The Three Fatal Mistakes New Gardeners Make
I have talked to enough home gardeners to see the same three mistakes over and over.
First, watering too often. People think a dry surface means a dry pot. It does not. I check with a wooden skewer or my finger. If there is moisture below the surface, I wait. Aloes store water in their leaves. A brief dry spell is safer than a wet spell.
Second, wrong light position. Many growers move aloe seedlings to a hot sunny window too early. Others keep them in a dim corner and wonder why they stretch. Bright indirect light is the sweet spot for the first few months. If the leaves redden or blister, reduce light. If they stretch, increase light.
Third, using the wrong pot or soil. A large pot holds too much moisture around tiny roots. A dense soil smothers them. A pot with no drainage guarantees trouble. I now use small pots, gritty mix, and big drainage holes. It sounds too simple, but it works.
Fertilizer Advice in Plain Terms
I use a liquid cactus fertilizer for convenience. Granular slow-release products are too unpredictable for seedlings. The nutrient release depends on temperature and moisture, and a young aloe’s needs are small.
When I feed, I look for a fertilizer with roughly balanced numbers, such as 3-3-3 or 4-4-4. Some growers prefer a low-nitrogen mix to avoid soft growth. I have used both with success. The key is dilution. Quarter strength, once a month, only during active growth.
I never use foliar feeding on aloe seedlings. Wet leaves can invite fungal problems, especially indoors. I never use compost tea or strong organic mixes. Rich nitrogen sources cause rapid, weak leaf growth.
If a seedling is healthy, plump, and showing new growth, it does not need more food. I skip feeding altogether when the plant looks good.
Seasonal Nutrient Adjustments
Spring is the main growth period. As days lengthen and temperatures rise, my aloe seedlings wake up. I may repot a few into slightly larger pots. I wait six weeks after repotting before any fertilizer. Then I begin the quarter-strength monthly feed. Spring is also when I check light levels. A windowsill that worked in winter may become too strong by late spring.
Summer is the tricky season in many regions. In very hot climates, aloe seedlings can stall when temperatures stay above 35°C or 95°F. I move them away from scorching glass. I might water slightly more often, but I keep the mix gritty and never feed during a heatwave. Heat-stressed roots cannot process fertilizer, and the excess salts increase stress.
Autumn is a winding-down period. I cut fertilizer completely by mid-autumn. I reduce watering frequency as growth slows. I also watch for cold drafts near windows, because a cold wet seedling is a dead seedling.
Winter is survival mode. Most of my aloe seedlings live indoors under a grow light or in a bright cool room. The American Horticultural Society, or AHS, encourages gardeners to match winter care to the plant’s reduced growth and light levels. For aloes, that means very little water and no fertilizer. I let the mix dry deeper between waterings. If the indoor temperature stays below about 10°C or 50°F, I water even less. Frost kills aloe seedlings quickly, so in cold regions I keep them well away from single-pane windows at night.
Common Problems and What They Actually Mean
Yellow lower leaves. This is often a watering or drainage problem rather than a nutrient deficiency. Check the roots. If they are brown and soft, reduce water and improve airflow. If the yellow leaves are just the oldest ones drying slowly, that can be normal.
Pale, stretched growth. The seedling needs more light. Do not feed it. Move it closer to bright indirect light or add a grow light. The new growth should tighten up within two weeks.
Red or brown leaf tips. Too much light or too much fertilizer. If you recently fed, flush the pot with plain water and skip feeding for two months. If the lighting is intense, move the seedling back from the glass.
Mushy base or collapsed stem. This is usually rot from overwatering. Unpot the seedling. If there is any firm tissue at the crown, you might save it by drying the roots and replanting in dry gritty mix. I have saved a few this way, but the success rate is low once the stem is mushy.
Small black flies. These are often fungus gnats, and they love damp organic soil. Let the top of the mix dry fully. Sticky traps help. In bad cases, I repot into fresh gritty mix and reduce watering. Fungus gnats are rarely fatal, but their larvae can damage tiny roots.
White crust on soil surface. This is salt buildup from tap water or overfeeding. I scrape off the top layer and replace it with fresh grit. Then I water with rainwater or distilled water for a few weeks. If the plant looks stressed, I repot.
Brown patches on leaves that feel dry and corky. This can be physical damage, sun scald, or a fungal issue. Aloe mites are rare but cause deformed growth. If new leaves come out lumpy or twisted and the plant is not overfed, isolate it and consider removing damaged tissue.
My Honest Take for Home Gardeners
You do not need a complicated feeding schedule to grow aloe seedlings. The plants want a lean, gritty home, bright indirect light, and a careful hand with water. Once I embraced that, my seedlings became noticeably stronger.
I used to think more attention meant more fertilizer. Now I know that aloe seedling care is mostly about restraint. Wait another day before watering. Give it more light before giving it food. Use a smaller pot. Let the soil dry. Skip the feed.
When someone asks me how to adjust nutrient supply for aloe seedling growth, I say start by removing the nutrients. Use a low-fertility mix. Hold off on fertilizer for months. Then feed only when the plant is growing, only at quarter strength, and only if it actually needs it.
That simple shift saved my remaining seedlings. It will likely save yours too.
Frequently Asked Questions
Do aloe seedlings need fertilizer at all? In most cases, no. A fresh gritty succulent mix provides enough nutrition for the first several months. I only begin feeding after the seedling is established and actively growing, usually around four to five months old. Even then, quarter-strength liquid feed once a month is plenty.
Why did my aloe seedling turn yellow after I fed it? Yellowing after feeding usually means the roots were burned or the soil was too wet. Seedling roots are extremely sensitive to fertilizer salts. Stop feeding immediately. If the soil is damp and dense, let it dry more between waterings or repot into a grittier mix.
Can I use general houseplant fertilizer on aloe seedlings? I would not. General houseplant fertilizer is often too strong and too nitrogen-heavy. It encourages soft growth. A cactus and succulent formula, diluted to one quarter strength, is a safer choice. But even that is only useful during active growth.
Should I feed aloe seedlings in winter? No. Winter is a rest period for most aloe seedlings, even indoors. Growth slows with shorter days and lower temperatures. Feeding in winter can cause weak stems and root stress. I stop feeding by mid-autumn and do not start again until spring.