bluename
 How to Fix Pale Aloe Leaves Caused by Nutrient Deficiency
If your aloe vera has turned pale, washed-out, or sickly yellow instead of that rich, deep green you're used to, the culprit is usually not what you think. It's rarely pests. It's almost never underwatering. In my experience, nutrient deficiency is one of the most overlooked causes of pale aloe leaves. The good news? You can fix it in about two to three weeks with a few simple adjustments. I'll walk you through exactly what I did, what worked, what flopped, and how to keep your aloe looking properly green again.
Why Aloe Leaves Turn Pale in the First Place
Before you rush to dump fertilizer on your plant, let me save you from a mistake I made early on. Pale leaves don't always mean the plant is starving. They can also mean the roots are unhappy, the soil has collapsed, or the plant got blasted with too much sun all at once.
But if you've already ruled out sunburn and overwatering, then a lack of key nutrients is a very real possibility. Aloe is often sold as a "no-feed" plant. People say it thrives on neglect. That's partially true, but it's also misleading.
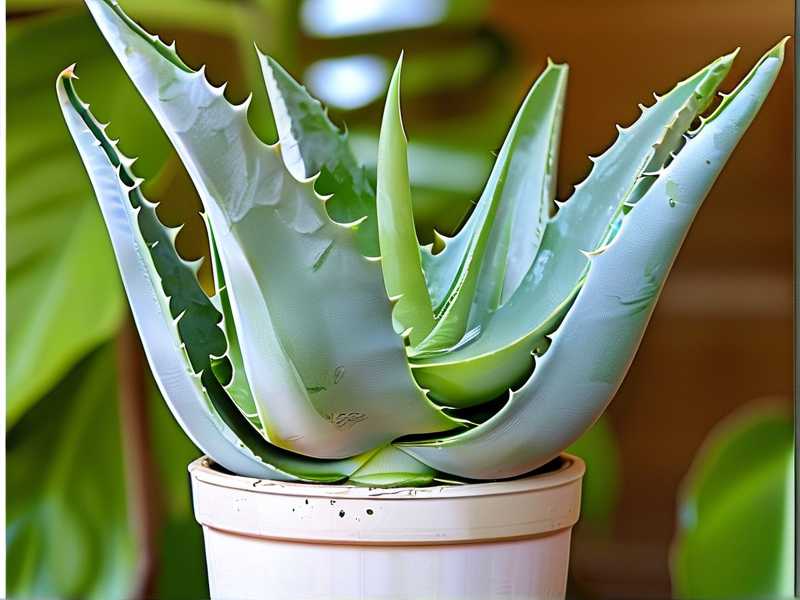
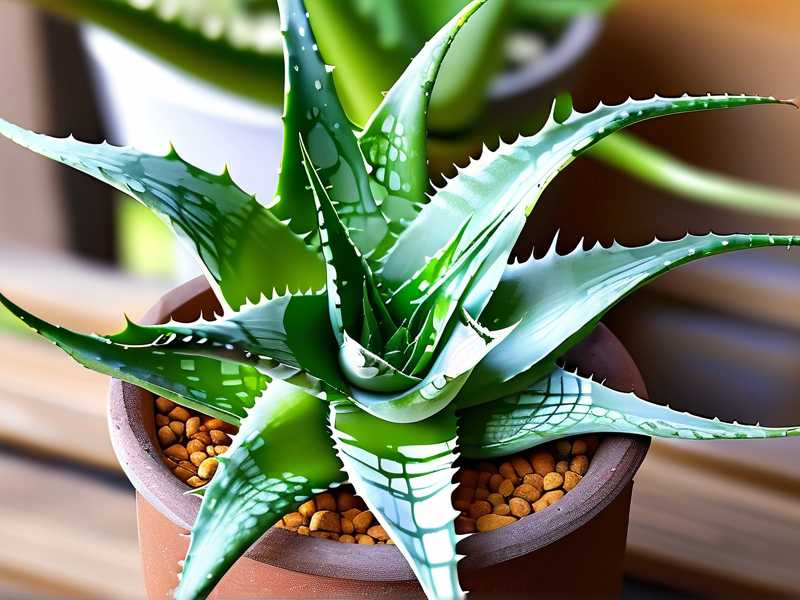
Yes, aloe can survive in poor soil for a long time. But survive and thrive are two different things. I learned this when one of my oldest aloe plants started fading from deep green to a weird washed-out sage color. No rot. No pests. The leaves were firm, just pale and a little deflated looking.
It turned out the plant had simply used up whatever nutrients were in its original potting mix. I'd had it in the same pot for over three years. The soil was basically dust at that point.
A nutrient-starved aloe will often look:
- Pale green to yellowish
- Slightly thinner than normal
- Slower to push out new growth
- Less plump, even if you're watering correctly
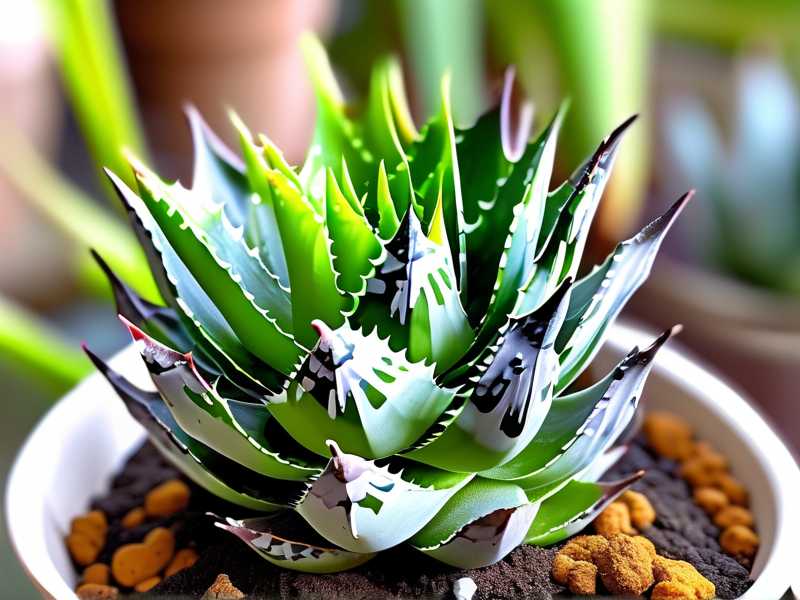
Nitrogen deficiency, in particular, causes that overall pale, yellowish look. Iron deficiency can also make new growth come in yellow or almost white, though that's less common with aloe. Most of the time with indoor succulents, it's a general depletion of nitrogen, potassium, and trace minerals over time.
But here's the catch. Dumping a strong liquid fertilizer on a stressed aloe can do more harm than good. Succulents are light feeders. You need a specific approach. That's what I'll get into below.
Know Your Plant First: A Quick Aloe Primer
Aloe vera is arguably the most forgiving succulent you can grow at home. That's why it's everywhere, from kitchen windowsills to office desks. It has thick, fleshy leaves that store water. It tolerates dry air. It handles neglect. And it rewards even lazy gardeners with steady growth and occasional "pups" around the base.
For home gardeners in the US, Canada, UK, and Australia, aloe works beautifully as an indoor plant. It can go outside in warm months, but in most of those regions, it needs to come back inside before frost hits.
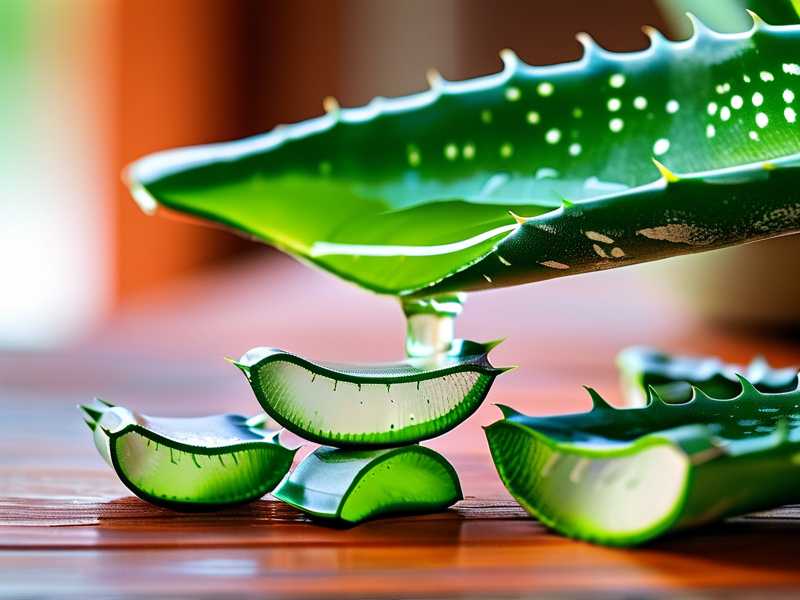
The plant's value is twofold. It looks good, obviously. But it's also useful. Snap off a leaf and you've got gel for minor burns or dry skin. That's a nice bonus. But to get those thick, juicy leaves, the plant needs to be healthy. Pale, thin leaves don't produce much gel and they don't look great either.
Care difficulty? I'd put aloe at a solid two out of ten. Most aloe deaths are caused by too much love, not too little. In fact, one of my first aloes died a slow, mushy death because I watered it every few days like it was a fern. Big mistake. Which brings me to a phrase I want you to remember.
90% of indoor plants die from overwatering.
That's not an exaggeration. Root rot from soggy soil is the number one killer. And here's the frustrating part: a rotting aloe and a nutrient-deficient aloe can both look pale. That's why you need to check the roots and soil before you assume it's a feeding problem.
How to Diagnose Pale Aloe Leaves: My Two-Week Observation Method
Before I fixed my pale aloe, I wanted to make sure I wasn't treating the wrong problem. So I did a simple two-week observation routine. Let me walk you through it.
Week One: Check the Roots and Soil
I slid the plant out of its pot. What I saw made a lot of sense. The roots were healthy, not mushy. No foul smell. But the soil had shrunk away from the sides of the pot. It was compacted and hydrophobic in patches. Water had been pooling on top and running down the inside edges without actually soaking the root ball.
That explained a lot. The plant wasn't overwatered. It was underfed and the roots couldn't access what little nutrition was left in the crusty old soil.
So day one, I didn't reach for fertilizer at all. I soaked the whole pot in a basin of water for about twenty minutes. Then I let it drain thoroughly. Almost immediately, the leaves looked a bit plumper. But the color was still pale.
Week Two: Light Check and A Tiny Feed
After improving the soil moisture, I moved the plant to a spot with brighter indirect light. Not harsh afternoon sun. Just a north-facing window with steady brightness. Then I fed it with an extremely diluted succulent fertilizer. I'm talking quarter strength.
Within about a week and a half, I noticed the older leaves starting to deepen in color. The newest leaf in the center was coming in a healthier green too. By the end of two weeks, the plant wasn't perfect, but it was visibly recovering.
So that's my first piece of real advice. Don't just throw fertilizer at a pale plant. Check the soil first. Then adjust light. Then feed gently. The order matters.
The Most Common Reason for Pale Aloe: Old, Dead Soil
When people ask me how to fix pale aloe leaves caused by nutrient deficiency, I usually start with the soil. Because more often than not, the issue isn't that you forgot to fertilize. It's that the plant has been sitting in the same potting mix for years.
Over time, organic matter in the soil breaks down. Nutrients get leached out with watering. The mix compacts. Roots fill every available gap. The plant essentially starves slowly.
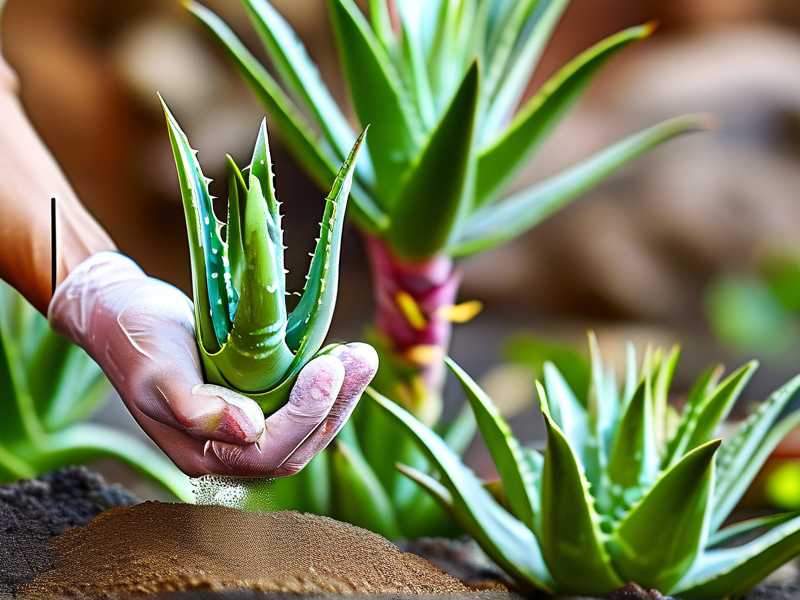
I've done this to multiple succulents. I kept thinking "it still looks fine" until one day the color faded and I realized I hadn't repotted in four years. The fix is simple. Repot into fresh soil. That alone gives the plant a new supply of nutrients without any liquid fertilizer at all.
A good aloe mix should be gritty and well-draining. I make my own with:
- Two parts cactus/succulent mix
- One part perlite or pumice
- One part coarse sand
Some people add a little compost. I avoid heavy compost with aloe. A tiny amount is fine, but you don't want rich, moisture-retentive soil.
This type of mix drains fast. That matters because aloe hates sitting in wet soil. Fresh mix also has enough nutrients to support healthy green growth for at least a year without additional feeding.
Fertilizing Aloe Without Burning It: The "Thin and Rare" Rule
This is where I used to mess up. I'd see pale leaves and think, "The plant needs food. Let's give it a nice big drink of fertilizer." Then a week later, the leaf tips turned brown and crispy. Classic fertilizer burn.
Aloe is a light feeder. You can't treat it like a tomato or a houseplant with high nutrient demands.
My rule now is simple: feed thinly and rarely.
I use a balanced liquid fertilizer designed for succulents or cacti. Something like a 10-10-10 or 10-15-10 diluted to one-quarter of the recommended strength. I feed only during the active growing season, which is spring through early fall for most indoor aloes. I feed once every six to eight weeks at most. In winter, no feeding at all.
If you're in the UK or Canada and your plants get less winter light, this is even more important. Fertilizing in low light leads to weak, stretched growth. The plant can't use the nutrients properly.
Now, what about granular fertilizers? I've tried slow-release pellets before. Honestly, I'm not a fan for indoor aloe. They release nutrients whenever you water, and that can be too unpredictable. With liquid fertilizer, I control the dose and timing. That works better for me.
Organic options? Diluted fish emulsion or worm castings tea can work. I've had decent results with worm castings mixed lightly into the top layer of soil. The effect is gentle and gradual.
But again, the biggest improvement came from repotting into fresh mix. After that, the extra fertilizer was just a small boost.
Light and Its Sneaky Role in Pale Leaves
I've seen aloe go pale from too little light just as often as from a nutrient deficiency. The two can look almost identical.
Aloe vera loves bright light. In nature, it grows in sunny, arid regions. Indoors, it needs the brightest spot you can offer without burning it.
A south or west-facing window works well in most homes. In the UK, where winters are dark, even a south window might not be enough. If your aloe is stretching, leaning toward the window, and fading in color, it's probably light-starved.
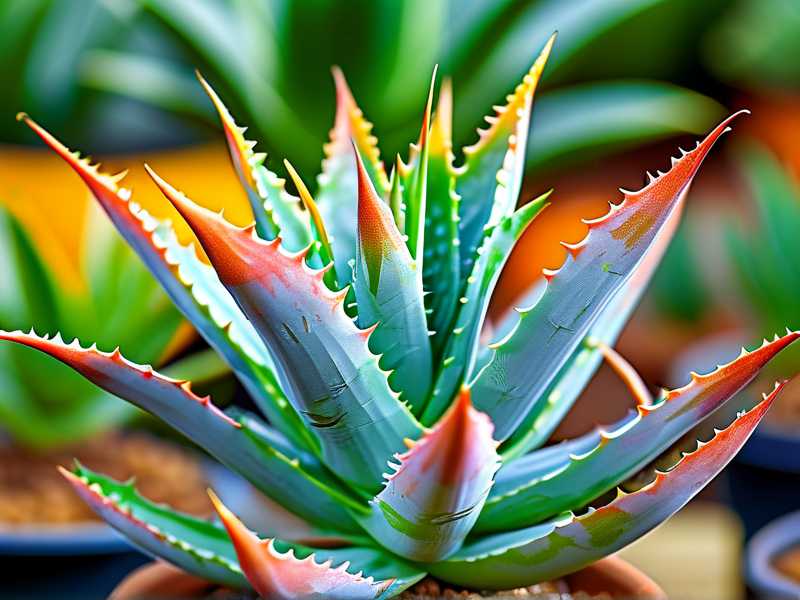
Here's the thing though. I've also scorched aloe by moving it outside too quickly in summer. The leaves turned pale and almost bleached, with reddish or brown tips. That's sunburn, not nutrient deficiency. The plant wasn't adapted to the sudden intensity.
The fix for that is gradual. Start with an hour of morning sun, then increase over two weeks. By midsummer, my aloe can handle full morning sun and bright shade in the afternoon. If the UV is intense, I'll offer a little protection during the hottest part of the day.
So before you start feeding a pale aloe, ask yourself: is it getting enough light, and has the light changed recently? Sometimes moving the plant ten feet closer to a window does more than any fertilizer.
Watering an Aloe Correctly: The Overlooked Half of the Equation
You can't talk about pale leaves without mentioning water. Because a plant that's been overwatered will develop damaged roots. Damaged roots can't absorb nutrients. The result looks exactly like a nutrient deficiency.
With succulents, the classic advice is "soak and dry." Wait until the soil is completely dry, then water thoroughly. That's what I do.
Here's my method. I check the soil every week or so. I stick my finger in about two inches deep. If it's dry and the pot feels light when I pick it up, I water. I run water through the pot until it drains out the bottom. Then I dump any excess from the saucer.
In winter, this might mean watering once every four to six weeks. In summer, maybe every two to three weeks. It depends on heat, humidity, and light. In Australia, a potted aloe in a hot dry summer might want water every ten days. In a cool damp English winter, it might go a month between drinks.
One thing I always tell new plant owners: don't water on a schedule. Water based on what the plant and the soil are telling you. Schedules kill plants.
If your aloe leaves look translucent, mushy, or they're turning yellow and soft, that's overwatering. If they're thin, wrinkled, and the leaf tips are browning, that's underwatering. Pale green with firm leaves that are slightly deflated? That points more to old soil and nutrient depletion.
Three Fatal Mistakes New Aloe Owners Make
I've killed enough succulents to know exactly where beginners go wrong. Here are the three big ones.
1. Watering Too Often
This is the big one. People treat aloe like a typical houseplant and water it weekly. Then the roots rot. Then the plant turns pale and collapses. If I could give one piece of advice to every new aloe parent, it's this: when in doubt, don't water. A thirsty aloe recovers. A drowned one doesn't.
2. Wrong Light Placement
I used to put aloe in a dim hallway and wonder why it looked weak and pale. Big mistake. These plants need bright light. Not necessarily blazing direct sun all day, but definitely a bright spot. A north-facing windowsill in the UK in December is not going to produce a rich green aloe. A partly shaded south window is much better.
3. Using the Wrong Pot
Here's a mistake I made more than once. I planted aloe in a cute ceramic pot with no drainage hole. Then I lined the bottom with rocks thinking that would help. It didn't. The soil stayed wet, the roots suffocated, and the plant slowly declined.
Use a pot with a drainage hole. That's non-negotiable. Terra cotta is my favorite because it's porous and helps the soil dry faster. Plastic is fine too, as long as there's drainage. Size matters as well. A pot that's too big holds too much soil and stays wet too long. Aloe likes to be slightly snug in its pot.
Seasonal Care: How I Adjust Aloe Care Through the Year
Aloe care changes with the seasons. If you treat it the same in January as you do in July, you'll run into problems.
Spring
Spring is when my aloe wakes up. I see new growth in the center of the rosette. This is the best time to repot if needed. It's also the time to start light feeding.
I usually repot every two to three years. I gently remove the old soil, check the roots, and move the plant into a slightly larger pot with fresh mix. If the plant has produced pups, I may separate them. But only if they have their own roots. I've made the mistake of snapping off tiny unrooted pups before. They didn't survive.
After repotting, I wait about a week before watering. This gives any damaged roots time to callus over. Then I resume normal watering.
I also start fertilizing in late spring. Quarter-strength succulent fertilizer, once every six to eight weeks. Nothing crazy.
Summer
Summer means more light and higher temperatures. I move my aloe outdoors if possible. It loves fresh air and bright morning sun. But I'm careful with afternoon sun, especially after being indoors all winter.
I've scorched aloe leaves by putting the plant in direct midday sun right away. Now I ease it into it. Dappled shade first, then more sun over two weeks.
Watering increases a bit in summer because the plant is actively growing and drying out faster. I still check the soil first. On very hot days, I make sure the pot isn't baking. Terra cotta can get very hot. If it's over 35°C or 95°F, I'll move the plant to a cooler spot in the afternoon.
Pests are more active in summer. I check for mealybugs and scale every couple of weeks. A cotton swab dipped in rubbing alcohol handles small outbreaks quickly.
Autumn
Autumn is transition time. I bring the aloe back inside before night temperatures drop below 10°C or 50°F. I reduce watering gradually. I stop feeding by early autumn. The plant's growth is slowing down.
I also check for any bugs that might hitch a ride indoors. A quick spray with insecticidal soap or just a careful inspection helps. The last thing I want is a mealybug problem spreading to my other houseplants.
If the plant grew a lot in summer, I might remove a few of the oldest outer leaves. They tend to yellow and die anyway. I cut them close to the base with clean scissors.
Winter
Winter is survival mode for aloe. I keep it in the brightest window I have. I water minimally. Maybe once a month, maybe less. The soil needs to be bone dry before I even think about watering.
No fertilizer until spring. Temperatures below 5°C or 40°F can damage the plant. I keep it away from cold drafts and hot radiators. Both are bad.
In places like the UK or Canada, natural winter light is weak. If the plant starts to etiolate, meaning stretch out and get leggy, a small grow light helps. I ran a basic LED grow light for a few hours a day last winter and the difference was noticeable. The leaves stayed green and compact.
One winter mistake I used to make: watering on a schedule out of habit. I'd water every two weeks because "that's what I always do." But with low light and cool air, the soil stayed wet too long. A couple of my older leaves yellowed and peeled off. Now I check the soil every single time.
Common Problems and How I Deal With Them
Beyond pale leaves, aloe can run into a few other issues. Here's what I've seen most often.
Yellowing, Soft Leaves
This is almost always overwatering. If the leaves are yellow and mushy, you need to act fast. Unpot the plant, check the roots. Anything brown, black, or slimy needs to be cut away. Let the plant sit out for a day to dry. Repot into fresh, gritty mix. Hold off on watering for a week or more.
I once saved an aloe from root rot by doing exactly this. It lost several leaves, but the center held on. Within a few months, it was pushing out healthy green growth again.
Brown Tips
Brown tips can mean a few things. Underwatering, low humidity, or fertilizer burn are the most common. I usually remove the dry tips with a sharp pair of scissors. Then I try to figure out the cause.
If the soil is bone dry and the leaves are thin, water it. If I've been feeding heavily, I back off. Simple as that.
Shriveled, Thin Leaves
This is underwatering. The plant is using up its stored water. A good soak usually fixes it in a day or two. I've seen severely dehydrated aloe bounce back completely. They're tough plants.
Mealybugs and Scale
Mealybugs look like tiny white cotton fluff in the leaf joints. Scale looks like small brown bumps on the leaves. Both suck sap and weaken the plant, causing yellow or pale patches.
My go-to fix is rubbing alcohol on a cotton swab. I wipe off every bug I can see. For heavier infestations, I'll spray the whole plant with diluted neem oil or insecticidal soap. Then I repeat every week for three weeks. I also isolate the plant so the pests don't spread.
Leaf Spots
Dark or black spots can be a sign of fungal infection, usually linked to moisture. I trim off affected leaves and improve air circulation. Keeping the leaves dry also helps. I always water the soil, not the leaves.
Does Aloe Vera Actually Need Fertilizer? A Realistic Take
Honestly? Aloe can go a long time without fertilizer. If the soil is fresh and the plant is in good light, you might not need to feed it at all for