bluename
 How to Apply Topdressing to Thicken Aloe Foliage: A Home Grower's Honest Guide
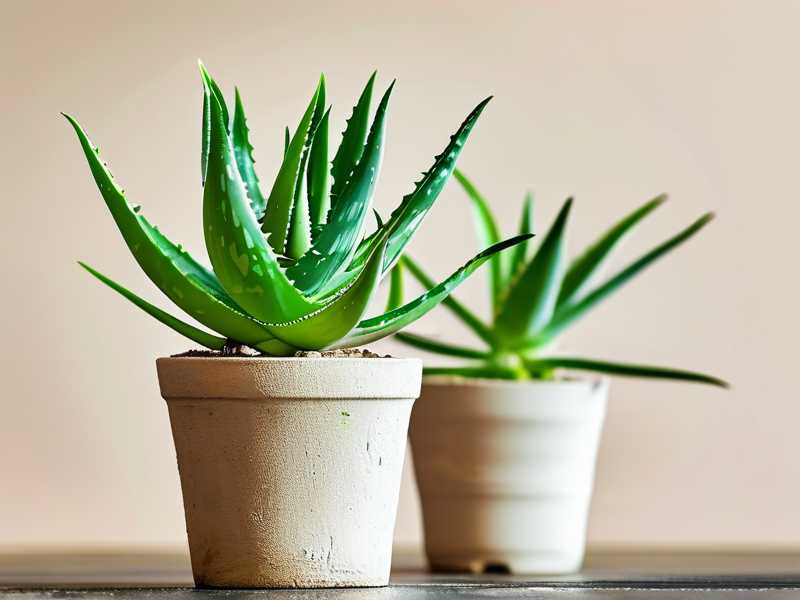
Most aloe plants with thin, bendy leaves are not hungry. They are either overwatered, underlit, or stuck in the wrong pot. I learned this the hard way after killing my second aloe with liquid fertilizer. The fastest fix I use now is to apply a thin topdressing to thicken aloe foliage: a ¼-inch layer of gritty compost or worm castings on dry soil, plus a move to brighter light. I do not water it in right away, and I do not bury the lower leaves. This one change gave me firmer leaves in about two weeks.
If you are tired of floppy, pale aloe leaves that never look like the fat, spiky plants you see in garden shops, this is for you. I will walk you through exactly how I topdress my aloe plants, what I use, what I avoid, and how to fix the real reasons your aloe foliage stays thin. No vague advice. Just what worked for me and what I wish I knew years ago.
Why Topdressing Works for Thicker Aloe Leaves
Topdressing is not magic. It is a slow-release layer of organic or mineral nutrients that sits on top of the soil and feeds the plant every time you water. But here is the thing many people miss: aloe leaves thicken mainly in response to strong light and dry roots. The topdressing helps, but only if you get the light and watering right first.
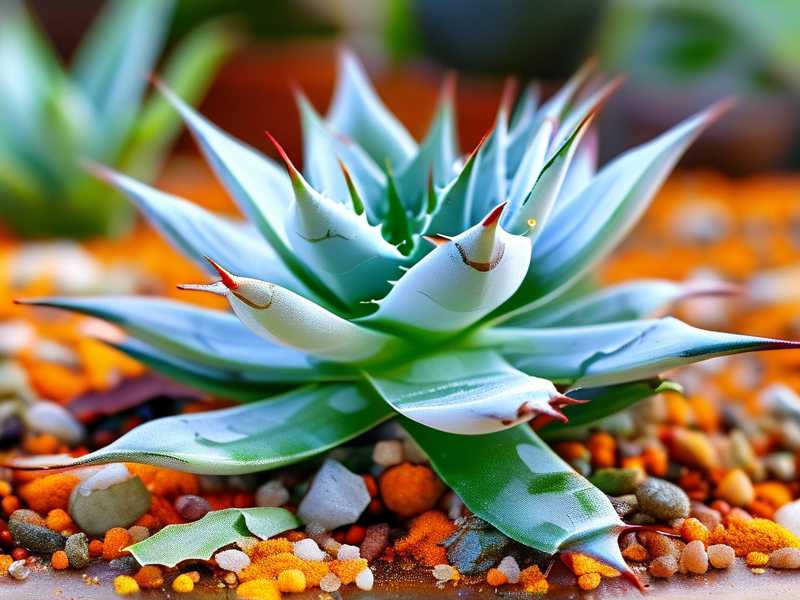
I tried topdressing for aloe plants after a very frustrating summer. My aloe leaves were long, narrow, and curling sideways. I assumed the plant needed more fertilizer. So I gave it diluted liquid feed every two weeks. That was a mistake. The leaves got slightly greener but stayed thin, and the soil stayed damp too long. Then I switched to a gritty topdressing, moved the pot to a south-facing windowsill, and stopped watering so often. Within two weeks, the new growth at the center felt noticeably firmer. After a month, the base leaves were plumper and the whole plant looked tighter.
Simply put, topdressing gives your aloe a gentle boost while you fix the bigger issues: light, water, and soil structure. It will not rescue an overwatered plant by itself, but it can make a healthy plant look dramatically better.
Light: The Real Driver of Thick Foliage
Aloe vera is a sun lover. In its native range, it grows in bright, open areas with very little shade. Most indoor aloe plants get nowhere near enough light, and that is the number one reason leaves turn thin and stretched.
Best Light for Aloe
Place your aloe in the brightest spot you have. A south-facing window is ideal in the Northern Hemisphere. A west-facing window can work if it gets at least five to six hours of direct sun. East-facing is usually too weak for thick foliage. If you live in a hot climate, some afternoon shade helps prevent sunburn.
When Aloe Gets Too Little Light
If your aloe leaves are narrow, pale, or bending toward the light, it is starved for sun. You will also notice the stem may stretch between new leaves. This is not how a healthy aloe should look. Move it gradually into brighter light over a week or two. A sudden move into full sun can scorch the leaves, so take your time.
When Aloe Gets Too Much Light
Too much direct sun, especially in summer, can turn aloe leaves reddish, brown, or bleached at the tips. This is sunburn. If you live in a very hot area, use a sheer curtain or move the pot a few feet away from the glass during the hottest part of the day. The goal is bright light without cooking the plant.
Honestly, light is the first thing I check when someone tells me their aloe leaves are thin. You can apply all the topdressing in the world, but if the plant sits in a dark corner, the leaves will not thicken much.
Watering Aloe Without Killing It
90% of indoor plants die from overwatering. That is not my opinion. It is one of the most common statements you will hear from experienced growers, and aloe is especially sensitive to it.
Core Watering Principle
Aloe stores water in its leaves and roots. It needs a thorough watering, followed by a complete dry period. You should never keep the soil slightly damp all the time. Let the top two inches of soil dry out completely before you water again. In winter, you may water once every three to five weeks. In summer, maybe every two weeks depending on heat.
How I Water My Aloe
I use the soak-and-dry method. I take the pot to the sink and water slowly until water runs out of the drainage holes. Then I let it drain for ten minutes and put it back. I do not water again until a wooden chopstick inserted into the soil comes out clean and dry. This works better than any schedule.
Signs of Overwatering
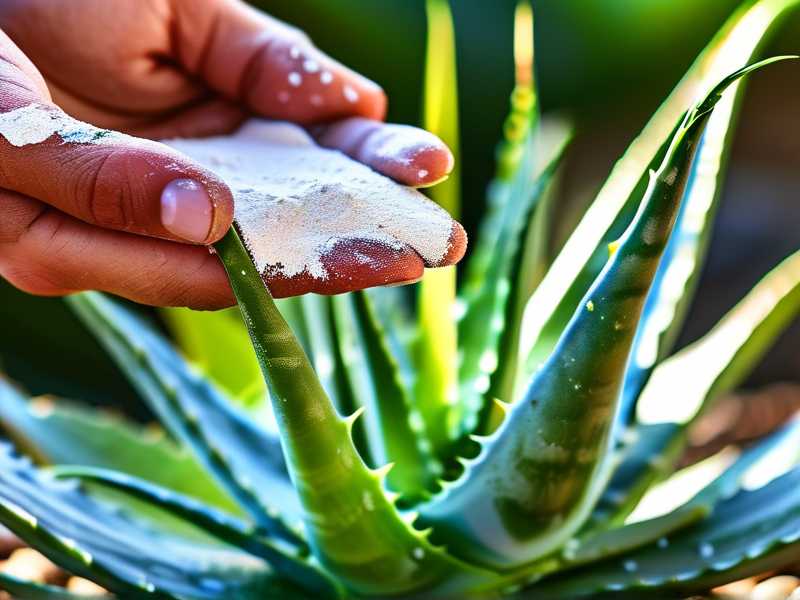
Soft, mushy leaves, especially at the base. Yellowing lower leaves. A sour smell from the soil. If you see these, stop watering immediately. Take the plant out of the pot and check the roots. Healthy roots are white or pale yellow. Rotting roots are brown, black, and slimy. Cut away the rot, let the plant dry for a day, and repot in fresh gritty mix.
Preventing Root Rot
The easiest way to avoid root rot is to use the right soil and a pot with drainage holes. I killed my third aloe plant before I learned that a decorative pot without a hole is a death sentence. If you love a pretty pot, keep the plant in a plastic nursery pot and set that inside the decorative one. Just remove it for watering.
Soil and Repotting for Stronger Leaves
The right soil mix does more for thick aloe foliage than most people realize. Aloe roots need air. Heavy, rich potting soil holds too much water and smothers them.
Best Soil Mix for Aloe
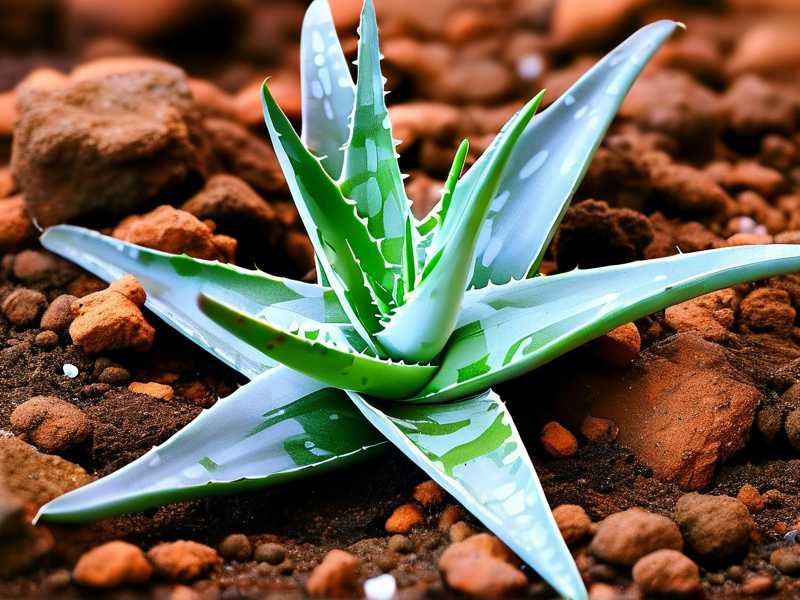
I use a mix that is roughly half cactus or succulent potting mix and half gritty material like perlite, pumice, or coarse sand. For a standard bag of succulent mix, I add a generous handful or two of pumice. The result should feel light and crumbly, not dense and sticky. According to the RHS, succulents like aloe need a very free-draining gritty compost to prevent waterlogging. That matches what I have seen in my own collection.
Choosing the Right Pot
Pick a pot with at least one large drainage hole. Terracotta is excellent because it wicks moisture away from the soil. Plastic works too, but it holds water longer, so you need to be more careful. The pot should be only slightly larger than the root ball. A pot that is too big holds too much soil, which stays wet for weeks and leads to rot. This is one of the three fatal newbie mistakes I see all the time: using the wrong pot.
Repotting Schedule and Technique
Aloe does not need frequent repotting. Every two to three years is fine, or when the plant becomes root-bound and starts pushing itself out of the pot. The best time is spring, just as growth resumes.
When I repot, I gently remove the old soil from the roots. I cut off any dead or mushy roots. Then I place the plant at the same depth it was before. Never bury the base of the leaves. After repotting, I wait five to seven days before watering so any damaged roots have time to heal. This has saved many of my plants.
Fertilizing and Topdressing for Leaf Thickness
This is where the topdressing question gets practical. There are many ways to feed aloe, but topdressing is my favorite because it is gentle and hard to overdo.
What I Use for Topdressing
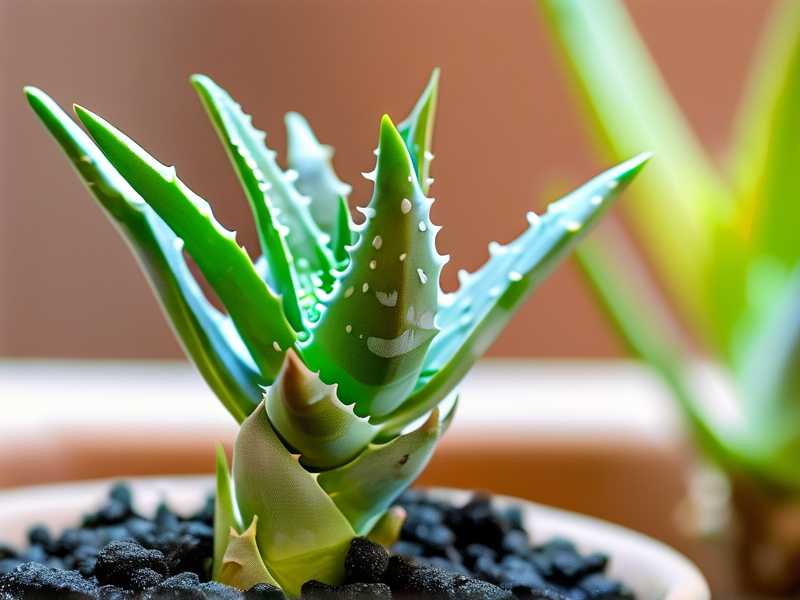
My go-to topdressing is a dry mix of worm castings and fine pumice. I use about two parts worm castings to one part pumice. Worm castings are rich in nutrients but release them slowly. The pumice keeps the layer airy and prevents a crust from forming. You can also use a commercial succulent topdressing or a thin layer of compost mixed with grit.
I avoid using fresh manure, heavy compost, or anything that forms a dense cap. Those can hold too much moisture against the stem and cause rot.
How I Apply Topdressing to Thicken Aloe Foliage
Here is my exact process. First, I make sure the top inch of soil is dry. Then I scrape away any old, crusty soil or algae. I spread a thin layer of the topdressing mix around the base of the plant. The layer is usually no more than a quarter inch thick. I keep it away from the actual stem, leaving a small gap so the base does not stay damp.
For the first week after topdressing, I do not water. This gives the plant time to settle and prevents the topdressing from turning into mud. After about a week, I water lightly from the top, letting the water seep through the topdressing and carry nutrients down to the roots. I have found that this slow release is much safer than liquid fertilizer for thick foliage.
My Two-Week Observation After Topdressing
I want to be honest about what changed and what did not. Week one was boring. The older leaves looked exactly the same. By day ten, the center leaves of my aloe felt firmer when I gave them a gentle squeeze. They had more resistance than before. By the end of two weeks, the leaf bases at the center were visibly wider, and the plant had a slightly deeper green color. The old, thin outside leaves did not thicken. They stayed thin. That is normal. You cannot thicken old leaves. You are trying to produce better new growth.
I also noticed that the topdressing dried out quickly after watering. That is a good sign. It means the layer was not holding excess water against the stem.
Thin Layer vs. Thick Layer: A Common Mistake
One mistake I made early on was applying the topdressing too thick. I thought more was better. It was not. The thick layer stayed wet and created a perfect place for fungus gnats. I scraped half of it off and the problem disappeared. A thin layer is all you need. Think of it as a slow seasoning, not a heavy meal.
What Topdressing Cannot Do
Topdressing will not fix an aloe that is drowning in soggy soil. It will not fix a plant that sits in a dark room. It will not magically thicken leaves if the plant has root rot. Fix those issues first. Then use topdressing as a maintenance tool. I learned this after treating one plant for rot and then immediately topdressing it. The leaves did not improve because the roots were still recovering. So if you want to thicken aloe leaves, get the basics right first.
Seasonal Aloe Care: The Core Section
Your aloe care should change with the seasons. What works in June will kill your plant in January. Here is how I handle my aloe plants throughout the year.
Spring: Growth Kick-Start and Repotting
Spring is when aloe naturally wakes up. I start this season by checking the soil and roots. If the plant is root-bound or the soil has broken down, I repot in early spring. I also scrape off any old topdressing and apply a fresh thin layer to thicken new aloe foliage.
Fertilizing in spring is optional, but I like to use a very weak liquid feed once. If I have just topdressed with worm castings, I skip the liquid feed. Too much food leads to soft, weak growth, not thick leaves. I also move my plants closer to the window as the days lengthen. More light means thicker foliage.
I do not prune aloe much, but I do remove any dry, shriveled outer leaves. Use a clean, sharp knife or scissors and cut at the base. This directs more energy to the new growth.
Summer: Heat, Sun, and Pests
Summer is the most dangerous season for indoor aloe, not because of cold but because of heat and strong sun. I have sunburned more than one aloe by putting it outside or against a hot window with no protection.
In summer, I keep my aloe in bright light but watch for signs of sunburn: reddish or brown patches, white spots, or a bleached look. If I see those, I move the plant back a few inches or add a sheer curtain. I water more often in summer, usually every two weeks, but only when the soil is completely dry. I also check the leaves and the soil surface for pests. Mealybugs and scale are active in warm weather. A cotton swab dipped in rubbing alcohol works well for small infestations.
Good airflow is important. I open a window or use a small fan on low. Stagnant, hot air invites mites and fungus. The AHS notes that most indoor succulents fail from too much water, not too little, so even in summer I resist the urge to overwater.
Fall: Tapering Off
In fall, I start reducing water and food. The days get shorter, and aloe growth slows down. I stop topdressing in fall because the plant does not need many nutrients during the slow season. I also stop liquid fertilizing entirely until spring.
I move my aloe back to the sunniest window because light is becoming scarce. If leaves start to stretch or lean, that is a sign the plant needs more light than it is getting. I would rather have slightly dry leaves than soggy roots in fall. I water only when the soil is bone dry several inches down. I also clean up any fallen debris from the pot and check for drafts near windows.
Winter: Protection and Very Little Water
Winter is the test of your self-control. The top causes of winter aloe death are overwatering and cold drafts. I keep my aloe in a warm room, but not right next to a cold window at night. If the pot is on a cold windowsill, I move it a few inches away or place it on a cork mat.
I almost stop watering in winter. My indoor aloe may get watered once a month at most. I check the soil every week, but I only water if the pot feels light and the soil is completely dry. I never fertilize in winter, and I do not topdress. The plant is resting.
If your home is very dry from heating, that is fine. Aloe tolerates dry air better than wet soil. I do not mist aloe. Misting leaves does nothing for them and can encourage rot.
Common Problems and My Two-Week Topdressing Trial
This section is about troubleshooting. If your aloe foliage is thin, yellow, brown, or mushy, there is always a reason. I have dealt with most of these problems myself.
My Two-Week Topdressing Trial on a Struggling Aloe
I had a mature aloe that was getting tall and floppy. The leaves were not thick. I knew the plant was underlit and probably overwatered. Before I moved it to a brighter spot, I decided to run a simple topdressing test.
Day 1: I removed about half an inch of old, compacted soil from the top of the pot. I mixed worm castings and pumice at a 2:1 ratio. I applied a thin layer around the base, staying away from the stem. I did not water.
Day 3: No visible change. The plant looked the same.
Day 7: The topdressing had dried completely. I gave the plant a very small amount of water, just enough to moisten the topdressing and the top inch of soil. The center leaves felt slightly more turgid, but I was not sure.
Day 10: I noticed the new center leaf was firmer than before. It did not bend as easily when I touched the tip. The plant was also placed in a brighter south window by now, which likely helped.
Day 14: The base of the newest leaves looked visibly wider. Not dramatic, but enough that I could see it in photos. The old lower leaves were still thin. No signs of rot or pests. I considered the trial successful.
What did I learn? The topdressing alone did not work magic. It was the combination of topdressing plus better light and less water. But the topdressing gave the plant a gentle nutrient boost without the risk of fertilizer burn. I also learned that old leaves never thicken. You have to wait for new growth.
Three Fatal Newbie Mistakes
If your aloe is struggling, check these first. I have made every one of these mistakes.
-
Watering too much. This is the big one. If your soil is always damp, your aloe roots are drowning. Let the soil dry completely before watering again. I used to water my aloe every week, and I killed two plants that way. Now I water by feel, not by schedule.
-
Light in the wrong place. Many people put aloe in a bathroom or a corner far from the window. Aloe is not a low-light plant. It needs direct sun most of the day. I keep my aloe on a south or west windowsill. If you do not have that, use a grow light.
-
Using the wrong pot. A pot without drainage holes is a coffin for aloe. A pot that is too big holds too much soil and water. Use a pot with drainage holes and only slightly larger than the root ball. I once put a small aloe in a huge decorative pot. The soil stayed wet for weeks, and the plant rotted from the bottom up.
Yellowing Leaves
Yellow leaves can mean overwatering, underwatering, or natural aging. If the lower leaves are yellow and mushy, it is overwatering. If they are yellow and dry or papery, it is probably underwatering. If only the lowest leaves are yellow and gradually drying out, that is normal. I remove those with a clean cut.
Brown Tips or Brown Spots
Brown tips often mean too much fertilizer or too much direct sun. Brown, sunken spots on the leaves are usually cold damage or physical injury. I trim brown tips with clean scissors if they bother me, but the cut edge will callus over.
Root Rot
Root rot is the silent killer. If your plant looks wilted even though the soil is wet, or if the base of the stem is soft, you probably have root rot. I take the plant out of the pot, wash off the soil, and cut away all black and mushy roots. Then I let the plant dry out of the pot for a day or two before repotting in fresh gritty mix. I wait a week before watering. This has saved some plants, but not all. The best fix is prevention.
Pests
Mealybugs look like tiny white cotton balls in the leaf joints. Scale looks like small brown bumps on the leaves. I treat both with a cotton swab dipped in 70% isopropyl alcohol. For large infestations, I use insecticidal soap. I check my plants every time I water to catch pests early. I also keep new plants quarantined for two weeks before putting them near my aloe.
FAQ: Three Questions I Get Asked Most
Can I use sand as a topdressing for aloe?
You can, but be careful. Fine sand packs down and holds water. That can cause the stem to rot. If you want to use sand, use coarse builder’s sand or horticultural grit, and mix it with something organic like worm castings. I have used a 50/50 mix of coarse sand and worm castings with good results. Just keep the layer thin.
How often should I topdress aloe to thicken foliage?
I do it once or twice a year, in spring and maybe early summer. That is enough. Topdressing is slow-release, so it does not need to be repeated often. If you topdress too frequently, the layer builds up and can hold moisture against the stem. I let the previous topdressing break down or scrape it off before adding a fresh layer.
Does topdressing replace fertilizing altogether?
For most home aloe plants, yes, it can. Aloe is not a heavy feeder. A good topdressing with worm castings or compost plus the right light and water is often all it needs. I have not used liquid fertilizer on my aloe in over a year, and my new leaves are thicker than before. If you do want to use liquid fertilizer, dilute it to half or quarter strength and only feed in spring or summer.
So there it is. If you want thick, firm aloe foliage, start with light and water, then use a thin topdressing as a gentle feeding tool. I wasted a lot of time trying to fix thin leaves with more fertilizer and more water. The solution was actually the opposite: less water, more sun, and a tiny layer of nourishment on the soil. Give it two weeks. You will not see old leaves thicken, but the new growth at the center will thank you.