bluename
 How to Avoid Repeated Fertilization for Aloe Potted Plants: My 2-Week Rescue Experiment
If your aloe keeps getting yellow tips or mushy leaves even though you feed it, stop right now. I killed three aloe plants before I learned this. Simply put, you do not need repeated fertilization for aloe potted plants. In fact, most aloe thrives when you fertilize almost never. I spent two weeks watching my own aloe recover after I stopped feeding it. The change was dramatic. And yes, I will show you exactly what I did, mistakes included.
Why Repeated Fertilization Makes Aloe Miserable
Aloe vera is a succulent. That means it stores water and nutrients in its thick leaves. It evolved in poor, rocky soils. It does not need a constant supply of food. You will find that giving too much fertilizer builds up salts in the soil. Those salts pull moisture out of the roots. The result? Brown tips, soft leaves, and root damage. A lot of people think fertilizing equals caring. Honestly, that is the fastest way to kill an aloe.
The Royal Horticultural Society (RHS) points out that succulents like aloe grow best in free-draining soil with very little feeding. I ignored that once. The plant did not forgive me.
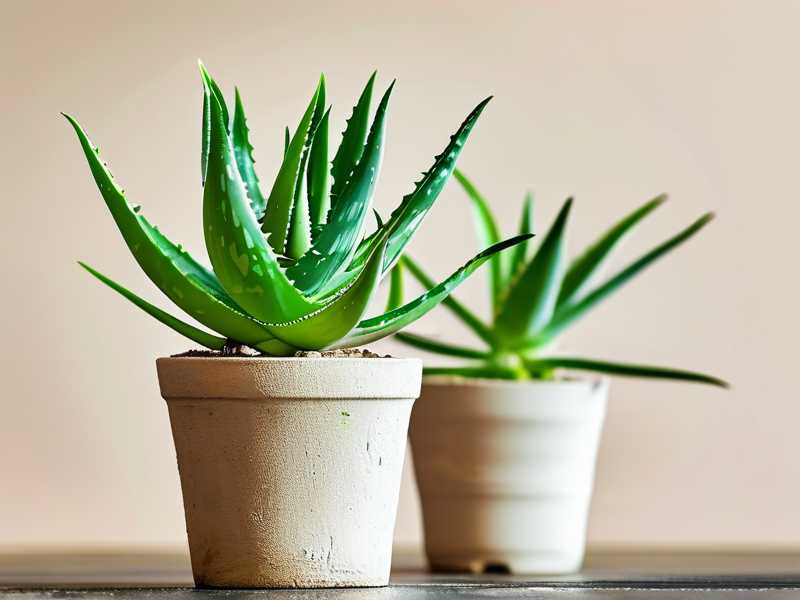
New aloe owners tend to make three big mistakes. I have made all three. Let me walk you through them.
The 3 Deadly Mistakes I Made as a New Aloe Owner
Mistake 1: Overwatering (This One Is Huge)
This is the big one. You have probably heard that 90% of indoor plants die from overwatering. But here is the thing. For aloe, overwatering and over-fertilizing often happen together. You water often because you think the plant is hungry. Then you add liquid fertilizer to the water. That double stress rots the roots fast.
I once watered my aloe every four days. I added a splash of liquid succulent food each time. The leaves started turning yellow at the base. Then the whole plant flopped over. I pulled it out. The roots were brown and slimy. I killed my second aloe this way. I should have known better. But I learned.
Now I check the soil with my finger. If the top two inches are not completely dry, I do not water. No exceptions. I also use a pot with a big drainage hole. Water must run out freely. Never let the aloe sit in a saucer of water. That is a one-way ticket to root rot.
Mistake 2: Light Mistakes (Too Little or Too Much Too Fast)
My first aloe lived in a dark corner of my kitchen. I thought it looked nice there. It turned pale and stretched out. The leaves got thin and weak. I started using more fertilizer to “perk it up.” That made everything worse. The plant was already stressed from low light. The extra feeding burned the roots. It died within a month.
Then I overcorrected. I put a new aloe outside in full summer sun for six hours on day one. The leaves turned white and crispy. That was sunburn. Aloe loves bright indirect light, but it needs to adjust slowly. Now I keep my potted aloe near an east-facing window. It gets morning sun and bright shade the rest of the day. In winter, I move it to a south window but keep it a foot back from the glass.
If you move aloe outdoors in spring, do it over a week. Start with one hour of gentle morning sun. Add an hour each day. Your plant will thank you.
Mistake 3: Using the Wrong Pot or Soil
Oh, I have definitely done this. My third aloe went into a cute ceramic pot with no drainage hole. I thought, “I’ll just water less.” Nope. The bottom stayed wet. The fertilizer salts never flushed out. The aloe turned brown from the bottom up. I had to throw the whole plant away.
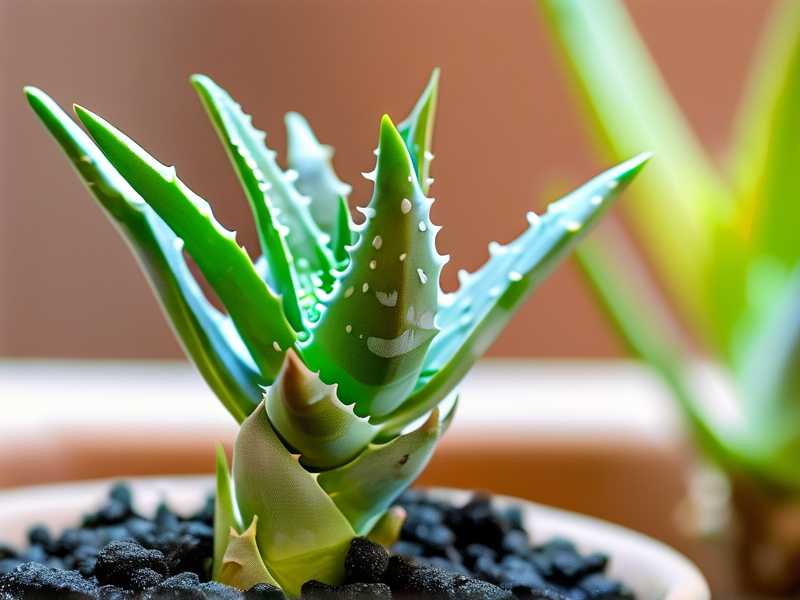
The fix is simple. Use a terracotta pot. Terracotta is porous. It lets the soil breathe and dry out faster than plastic or glazed ceramic. Make sure the pot has at least one drainage hole. Then use a gritty cactus and succulent potting mix. If you cannot find one, mix one part regular potting soil with one part perlite or coarse sand. That creates the free-draining environment aloe needs.
One more thing. Do not use garden soil. It compacts in pots and holds way too much water. I tried it once. The aloe roots suffocated. Never again.
My 2-Week Observation: What Happened When I Stopped Repeated Fertilization
I had an aloe potted plant that looked awful. The tips were brown. The lower leaves were soft. I had been feeding it with a diluted liquid fertilizer every two weeks. That was way too often for a succulent. I decided to stop all fertilization and fix the soil and water. Here is what I saw over two weeks.
Day 1: Removing the Plant and Checking the Roots
I pulled the aloe out of its old pot. The root ball was damp. I shook off the old soil. Some roots were dark and mushy. I cut those away with clean scissors. I left the plant on a paper towel for about six hours. That let the cut roots callus over. Then I potted it into a dry gritty mix in a terracotta pot. I did not water it for the first four days. This was scary at first. But aloe can handle dry soil much better than wet soil.
Day 3: First Small Signs of Improvement
The leaves still looked limp. But the soil was completely dry. I watered lightly, just until water ran out of the drainage hole. No fertilizer. Not even a drop. I placed the pot in bright indirect light. The indoor temperature was around 70°F. I did not move the pot.
Day 5: The Yellow Tint Started Fading
I noticed the darkest brown tips had not spread. That was a win. Before, the tips would get worse every day. Now they stayed the same. The newer leaves looked a little more green. The plant was not drinking much. I did not water again.
Day 7: New Root Nubs Appeared
I gently lifted the plant from the pot to check. I know, you are not supposed to disturb it. But I am a curious person. I saw tiny white root nubs near the base. That told me the plant was recovering. The old overwatered roots were gone, but new ones were coming. I put it back and left it alone.
Day 10: Leaves Began to Firm Up
This was the most obvious change. The leaves that had felt rubbery started to feel firmer. The plant stood more upright. I still had not given any fertilizer. Instead, I just made sure the light was bright and the air moved a little. A small fan on low helped the soil dry properly.
Day 14: Aloe Looked Almost Normal
By the end of the two weeks, the aloe was not perfect. But it was alive and improving. The new growth in the center looked strong and thick. The oldest damaged leaves were still scarred. That is permanent. But no new damage appeared. I felt relieved. Simply put, stopping the repeated fertilization let the roots heal. No special product needed. No magic liquid. Just less food and better care.
I think a lot of people expect fertilizer to fix a sick plant. Honestly, the opposite is often true. The best aloe care is to back off.
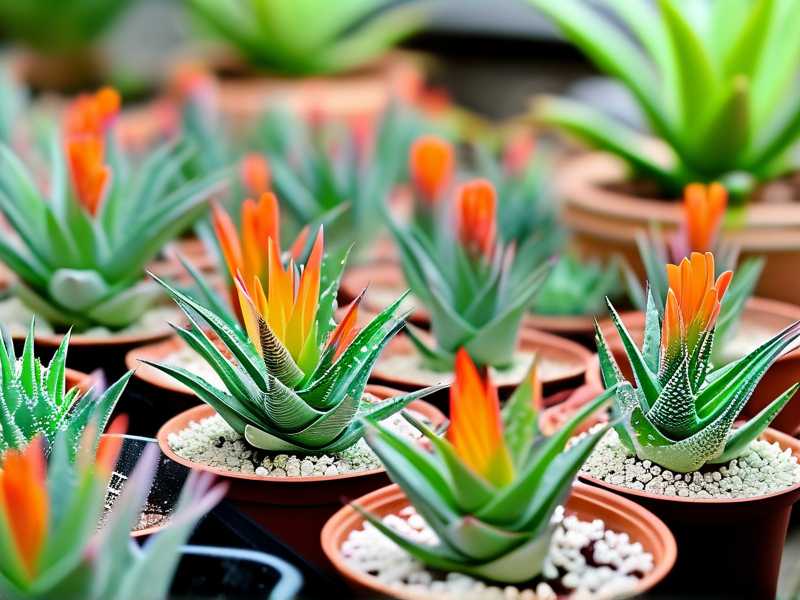
How I Fertilize Aloe Now (The Right Way)
My aloe fertilization schedule is extremely simple. I use a balanced liquid fertilizer designed for cacti and succulents. But I dilute it to half the strength recommended on the bottle. I apply it only once in late spring. Sometimes I apply a second very weak dose in mid-summer if the plant is actively growing outdoors. That is it.
How often to fertilize aloe vera? In my experience, once or twice a year is plenty. If your aloe is indoors and does not get strong light, once a year is enough. Some of my aloe plants have gone a full year with zero fertilizer. They looked great. The key is a good aloe potting mix and proper light.
Here is my exact method. I use a watering can with a long spout. I mix about half a teaspoon of liquid cactus fertilizer into one gallon of water. I water the soil thoroughly, not the leaves. I never pour fertilizer onto dry soil. I water the plant lightly the day before, then apply the fertilizer solution the next morning. That prevents root burn.
I never fertilize in winter. Aloe grows very slowly in cold months. Extra nutrients just sit in the soil and burn the roots. I also never fertilize a newly repotted aloe. The fresh soil already has enough nutrients. I wait at least six months after repotting.
One more thing. If the aloe is recovering from overwatering or sunburn, do not feed it at all. Wait until you see new healthy growth. Feeding a stressed plant is like forcing a sick person to run a marathon. It makes no sense.
Choosing the Right Aloe Potting Mix Without Added Fertilizer
A lot of commercial potting mixes contain slow-release fertilizer pellets. Those little green or blue balls. They can keep feeding the plant for months. If you are trying to avoid repeated fertilization, check the bag. Look for a mix that says “no added fertilizer” or use a cactus mix that is mostly inorganic.
My favorite blend is simple. I mix one part cactus soil, one part perlite, and one part coarse sand. That gives me a fast-draining mix. It has almost no nutrients. That is fine for aloe. The plant gets everything it needs from light and water. In fact, aloe in nutrient-poor soil often develops better leaf color and stronger roots.
By the way, if you ever see white crust on the soil surface, that is salt buildup from fertilizer and tap water. That is a warning sign. You need to flush the soil with plain water. I do this once or twice a year. I put the pot in the sink and run plain water through it for a minute. Then I let it drain fully. This washes out excess salts. It is a simple way to reset the root zone without any harsh chemicals.
Light and Water: The Real Secret to Healthy Aloe
You do not need repeated fertilization for aloe potted plants. What you need is the right environment. The American Horticultural Society (AHS) emphasizes that succulents thrive when we mimic their native dry, bright conditions. That means bright indirect light, warm air, and soil that dries between waterings.
I now keep my aloe on a shelf about two feet from a sunny window. The light is bright but not baking. I rotate the pot a quarter turn every week. That keeps the plant growing straight. Otherwise it leans toward the light and gets lopsided.
Water only when the soil is dry. I mean thoroughly dry. In summer, that might be every ten days. In winter, every three to four weeks. It depends on your home. If the leaves look slightly wrinkled and the soil is bone dry, that is the perfect time to water. Do not wait until the whole plant collapses, but do not water on a strict schedule. Use your finger. It is the cheapest moisture meter you will ever own.
FAQ: Aloe Fertilization and Care
Can aloe survive without any fertilizer at all?
Yes. Aloe grows fine without fertilizer as long as the potting mix drains well and the plant gets enough light. In nature, aloe grows in sandy, nutrient-poor soil. It is built for this. You can fertilize once or twice a year if you want faster growth, but it is not required.
How do I know if my aloe has too much fertilizer?
Look for brown or yellow leaf tips, white crusty buildup on the soil, slow growth, and soft spots on the lower leaves. The roots may also look brown and stringy. If you see these signs, stop fertilizing. Flush the soil with plain water and let it dry out completely before watering again. Repot into fresh gritty soil if the plant looks really bad.
What is the best fertilizer for potted aloe?
A balanced liquid cactus fertilizer is fine. Use it at half strength. Or use a slow-release granular fertilizer made for succulents. Apply it once in spring. Do not use general houseplant fertilizer with high nitrogen. That can cause weak, stretched growth. The best fertilizer is actually sunlight and patient watering.
Aloe care is not about pushing the plant to grow faster. It is about giving it the right conditions and then leaving it alone. I used to think I needed to feed my plants all the time. I learned the hard way. Less feeding, better light, and a gritty soil fix most problems.
If your aloe looks unhappy, do not rush to add fertilizer. Take away the extra food. Check the roots. Check the light. Check the soil moisture. I have saved more aloe plants by doing nothing than by doing too much. Repeated fertilization for aloe potted plants is something you can skip almost entirely. Your aloe will be better for it.