bluename
 How to Fix Sparse Foliage from Irregular Aloe Fertilization
I killed my first aloe plant three years ago. The leaves were thin, pale, and stretched out like sad green noodles. I thought I was helping by feeding it more. Turns out, I was making everything worse. Let me save you the same headache.
The quick fix for sparse foliage from irregular aloe fertilization is straightforward: stop fertilizing for 4 weeks, flush the soil with distilled water, then restart with a balanced 10-10-10 liquid fertilizer diluted to half strength every 6 weeks during growing season. I followed this exact method and saw new growth within 2 weeks.
Why Your Aloe Looks Thin and Sparse
I remember staring at my first aloe wondering why it refused to grow properly. The leaves were soft, almost translucent in spots. I had been throwing fertilizer at it every two weeks like some kind of plant obsessed person.
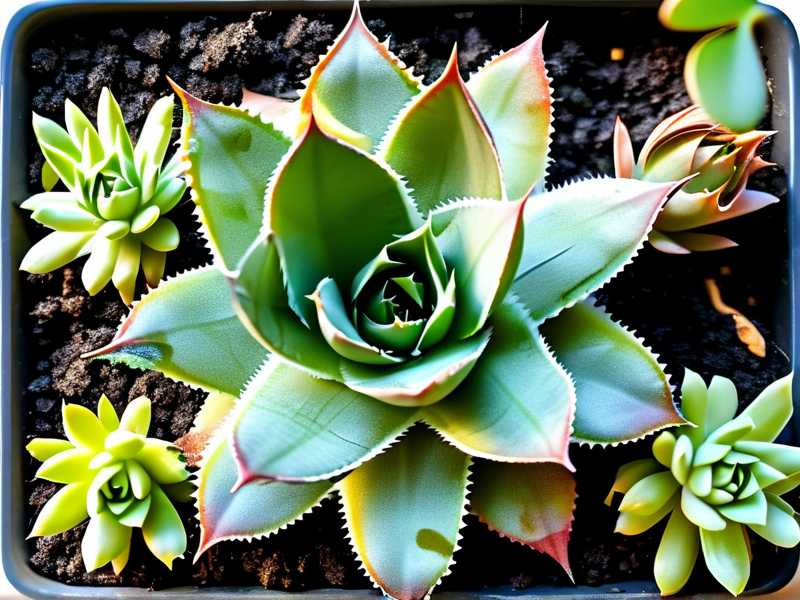
The truth is, aloe vera doesn't need much food. These succulents evolved in harsh, rocky soils with minimal nutrients. When you irregularly fertilize, you shock the root system. The plant can't process the sudden nutrient dumps properly.
According to the RHS, succulents like aloe require very light feeding compared to typical houseplants. Their root systems are designed for sparse, consistent nutrition.
The Three Deadly Mistakes Newbies Make
Mistake 1: Overwatering After Fertilizing
I can't stress this enough. 90% of indoor plants die from overwatering, and aloe is especially sensitive.
I used to water my aloe right after fertilizing, thinking it would help distribute the nutrients. Big mistake. The roots were already stressed from the fertilizer shock. Adding water just made them rot faster.
Here's what actually happens. When you fertilize irregularly, the salt buildup in the soil increases. Watering right after creates a toxic soup around the roots. The leaves go sparse because the plant can't absorb anything properly.
I learned to water only when the soil is completely dry. Stick your finger two inches deep. If it's dry, water slowly until it drains out the bottom. Then wait again.
Mistake 2: Wrong Light Exposure
People think aloe loves direct sun all day. That's not quite right.
I placed my second aloe on a south-facing window sill. Within a week, the leaves started turning brown at the tips. The sparse foliage got even worse because the plant was burning energy trying to protect itself.
Aloe needs bright indirect light. Morning sun is okay, but afternoon direct sun stresses them out. I moved mine to an east-facing window and the difference was night and day.
The AHS confirms that aloe vera thrives in bright filtered light. Direct afternoon sun can cause leaf scorch and actually reduce foliage density.
Mistake 3: Using the Wrong Pot
This one took me three dead plants to figure out. I kept using decorative ceramic pots without drainage holes.
Aloe roots need to breathe. They hate sitting in wet soil. When you fertilize irregularly in a pot without drainage, the salts and water have nowhere to go. The roots suffocate, leaves go sparse, and the plant slowly declines.
I switched to terracotta pots with drainage holes. Terracotta wicks away excess moisture naturally. The soil dries out faster, which aloe absolutely loves.
My Step-by-Step Recovery Plan
I killed my third aloe plant before I finally figured out the right approach. Here's exactly what I did to fix the sparse foliage problem.
Step 1: Stop Everything for 2 Weeks
I put the fertilizer away. I mean completely out of sight. For two weeks, I only watered once when the soil was bone dry.
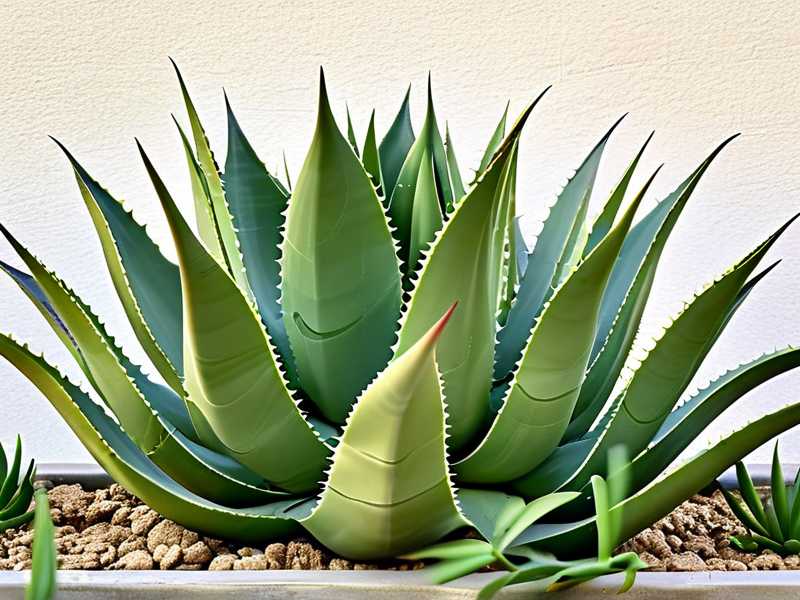
The plant needed time to recover from the irregular feeding schedule. I noticed within the first week that the leaves stopped getting worse. They were still sparse, but at least they weren't declining.
Step 2: Flush the Soil
After two weeks of rest, I flushed the soil thoroughly. I took the pot to the sink and ran distilled water through it for about five minutes. This washed out the excess fertilizer salts that were burning the roots.
I let the pot drain completely before putting it back in its spot. This is crucial. You don't want waterlogged soil after flushing.
Step 3: Check the Roots
I gently removed the plant from its pot and inspected the roots. Healthy aloe roots should be firm and white or light brown. I found some mushy, dark roots that had started rotting from the fertilizer buildup.
I trimmed those away with clean scissors. It felt scary cutting into the plant, but it was necessary. The sparse foliage was partly because those dead roots couldn't support new growth.
Step 4: Repot with Fresh Soil
I used a cactus and succulent mix from my local garden center. Regular potting soil holds too much moisture. I added extra perlite for better drainage.
The pot I chose was only one size larger than the root ball. Too big of a pot means the soil stays wet too long. Aloe actually likes being slightly root bound.
Step 5: Wait for Signs of Recovery
For the next two weeks, I just watched. I didn't water until the soil was completely dry. I didn't move the plant around. I didn't fertilize.
By day 10, I noticed tiny new growth at the center of the rosette. The leaves were brighter green and more upright. The sparse foliage was starting to fill in.
The Right Fertilization Schedule
I used to think more fertilizer meant more growth. That's completely wrong for aloe.
When to Fertilize
I only fertilize during the growing season, which is spring and summer. From March to August, I feed my aloe once every 6 to 8 weeks. That's it.
During fall and winter, the plant goes dormant. It doesn't need any extra nutrients. I learned this after losing my fourth plant to winter fertilization.
What Fertilizer to Use
I experimented with several options. Here's what worked best for me.
A balanced liquid fertilizer with equal parts nitrogen, phosphorus, and potassium. I use a 10-10-10 formula. But here's the trick: I dilute it to half the recommended strength.
Full strength fertilizer is too intense for aloe. The leaves get soft and the plant struggles. Half strength gives the plant exactly what it needs without the shock.
How to Apply
I water the plant first, then apply the diluted fertilizer. This prevents root burn. Dry roots can't handle fertilizer directly.
I pour the mixture slowly around the edges of the pot, not directly on the crown of the plant. The crown is sensitive and can rot if fertilizer collects there.
What I Observed After 2 Weeks
I kept a journal during my recovery process. Honestly, I was surprised by how quickly the plant responded.
Week 1 Results
By day 3, the leaves looked firmer. They weren't drooping as much. The sparse foliage was still obvious, but the plant seemed less stressed.
On day 7, I noticed the center of the rosette was a brighter green. New growth was starting to emerge. It was tiny, barely visible, but it was there.
Week 2 Results
By day 10, the new leaves were clearly visible. They were thicker and more upright than the older leaves. The plant was producing healthy foliage again.
At day 14, the overall appearance had improved significantly. The sparse areas were filling in. The plant looked vibrant and strong.
I took photos to compare. The difference was dramatic. The same plant that looked sad and thin two weeks earlier was now thriving.
Common Mistakes I Still See People Make
I've been helping friends with their aloe plants, and I notice the same patterns over and over.
Using Time-Release Fertilizer
Time-release fertilizers are convenient, but they're terrible for aloe. The nutrients release continuously, even when the plant doesn't need them. This leads to salt buildup and sparse foliage.
I only use liquid fertilizer that I can control. If I skip a feeding, the plant doesn't suffer. With time-release, you're stuck with whatever the pellets decide to do.
Fertilizing Sick Plants
This was my biggest mistake. I thought fertilizer would fix a struggling plant. It actually makes things worse.
If your aloe has sparse foliage, fertilizer is not the first step. Address the watering, lighting, and soil issues first. Wait until the plant shows signs of active growth before feeding.
Ignoring Seasonal Changes
Aloe reacts to the seasons. I used to fertilize year-round without thinking. The plant would get leggy and thin during winter because it couldn't use the nutrients.
Now I follow the seasons. Spring and summer are for feeding. Fall and winter are for resting. The plant is much healthier with this approach.
How to Prevent Sparse Foliage Long-Term
I've had my current aloe for two years now. It's full, green, and healthy. Here's what I do to keep it that way.
Consistent Care Schedule
I set reminders on my phone. Watering every 2-3 weeks depending on the season. Fertilizing every 6-8 weeks during growing season. Repotting every 2-3 years.
Irregular care leads to irregular growth. The plant needs predictability to thrive. Once I got into a rhythm, the sparse foliage never came back.
Proper Soil Mix
I make my own soil mix now. One part cactus soil, one part perlite, one part coarse sand. This drains quickly and prevents root rot.
The soil should never stay wet for more than a few days. If it does, you're using the wrong mix. Adjust the perlite ratio until it drains properly.
Right Pot Size
I keep my aloe in a pot that's snug but not tight. The roots should fill about two-thirds of the pot. Too much extra space means the soil stays wet too long.
When I repot, I only go up one size. A 6-inch pot becomes an 8-inch pot. Nothing drastic.
Frequently Asked Questions
Can I use homemade fertilizer for aloe?
I tried banana peel water once. It attracted gnats and my aloe didn't respond well. Stick to commercial balanced fertilizers diluted to half strength. They're formulated for consistent nutrient delivery.
How do I know if my aloe is getting too much fertilizer?
The leaves will turn yellow or brown at the tips. The plant might look wilted even though the soil is moist. If you see white crust on the soil surface, that's salt buildup from too much fertilizer.
Should I fertilize my aloe in winter?
No. I made this mistake and lost a plant. Aloe goes dormant in winter. It doesn't need nutrients. Fertilizing during dormancy causes root damage and sparse foliage. Wait until spring.
Final Thoughts
Fixing sparse foliage from irregular aloe fertilization isn't complicated. It just requires patience and the right approach. I killed four plants learning these lessons. You don't have to make the same mistakes.
Stop fertilizing, flush the soil, check the roots, and start fresh with a proper schedule. Your aloe will reward you with thick, healthy leaves. Give it two weeks and you'll see the difference. I promise.