bluename
 How to Separate Healthy Aloe Pups for Independent Planting
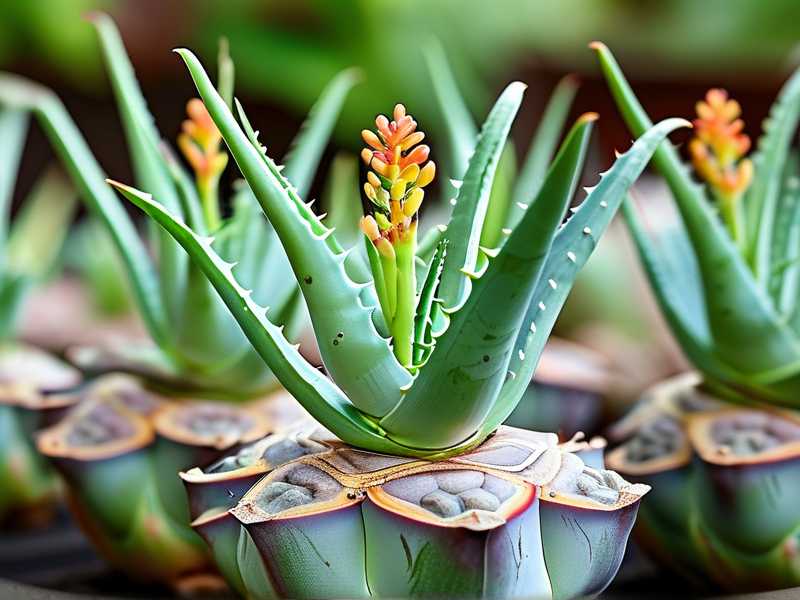
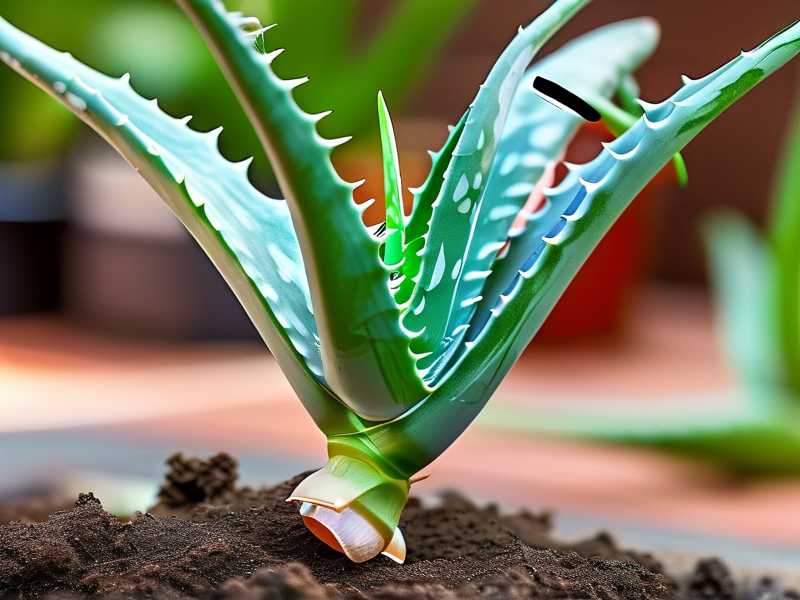
Aloe pups are those little green rosettes popping up around the base of a mature aloe. If you've been searching for how to separate healthy aloe pups for independent planting, here's the direct answer you need. Wait until each pup has at least three or four leaves and stands two to three inches tall. Slide the whole plant out of its pot. Gently twist the pup off the mother root. Let the cut dry for 24 to 48 hours. Then plant it in a small pot with gritty cactus soil. And whatever you do, don't water it for at least seven days.
That last part took me forever to learn. I've killed way more aloe pups than I care to count because I couldn't stop watering them. Honestly, I still cringe when I think about my first few attempts.
Let me walk you through everything I wish someone had told me when I first started propagating aloe. No fluff, just what actually works.
Why Waiting Actually Matters
Simple. Aloe pups need to be big enough to survive on their own. If you separate them too early, they won't have enough stored energy to grow new roots. I tried this once with a pup that was barely an inch tall. It shriveled up and turned brown within ten days. It honestly broke my heart a little.
The right time is when a pup has its own independent root system starting to form at its base. You can usually see a slight swelling or tiny roots at the bottom of the pup. That's your green light.
Signs Your Aloe Pups Are Ready
At least three to four mature leaves
A height of two to three inches minimum
Visible pale pink or white roots at the base
The pup grows separately from the mother, not fused to it
Most aloe pups will reach this stage after several months. Don't rush it. Patience really is part of the process.
My Step-by-Step Process for Separating Aloe Pups
Let me break down the way I actually do it. I've refined this routine through a lot of trial and error, and it works for me every single time now.
Step 1: Unpot the Mother Plant Carefully
Water the plant two days before you plan to separate the pups. This sounds counterintuitive and I'll admit I was scared to do it at first. But a slightly moist rootball comes out of the pot much easier. The roots are also less likely to snap.
To unpot, squeeze the sides of a plastic pot or run a knife around the inner edge of a ceramic one. Tilt the plant sideways and gently pull the whole rootball out. Support the stem and leaves as you go. Do this over a newspaper or a tray so you don't make a giant mess. I learned that one the hard way.
Step 2: Find the Natural Breaking Point
Once the plant is out, shake off the loose soil to expose the root system. Now you can clearly see where each pup attaches to the mother. There's usually a natural horizontal crack or a bit of stem connecting the two.
Here's the key. You don't want to rip the pup off. You want to twist. I hold the mother plant steady with one hand and gently twist the pup back and forth at the base until it pops off. Slow and steady wins here.
If a pup doesn't come off easily, use a sterilized knife. Cut right at the narrowest connection point between the mother and the pup. Make it clean. One confident cut. No sawing back and forth.
Step 3: Dry the Cut Properly
This is the step that saves so many aloe plants and almost nobody talks about it. After you separate a pup, it has an open wound at the base. If you plant it while the cut is fresh, moisture seeps in and rot takes over.
Place the pup on a clean piece of paper towel. Put it in a dry, warm spot with indirect light. Let it sit for at least 24 hours. I usually wait 48. The cut should feel dry and corky to the touch when it's ready.
I messed this up on my very first attempt. I cut a beautiful pup, threw it straight into soil, and watered it the same day. It turned into brown mush within a week. The whole thing rotted from the base. I was so frustrated with myself.
Now I treat the drying step as absolutely non-negotiable.
Step 4: Pot the Pups in the Right Container
This is where a lot of people miss the mark. They grab a big pot because they think "room to grow." That's a mistake. Aloe pups actually want a snug pot. A four-inch terracotta pot is ideal for a single pup. Terracotta is great because it wicks moisture away from the roots and prevents waterlogging.
The potting mix matters just as much. I use two parts cactus mix, one part perlite, and one part coarse sand. This creates a mix that drains incredibly fast. The roots should almost never sit in soggy soil.
Make a small hole in the center of the soil. Place the pup in and gently press soil around it. The bottom leaves of the rosette should sit just above the soil line. Don't bury them.
Step 5: Wait Before You Water
Do. Not. Water. Immediately. I know I said this already, but it's worth repeating.
Wait at least seven days. If it's winter, wait ten days. The pup needs time to callus over any tiny root tears and start producing new roots. Watering too early basically invites rot to the party.
After a week, water lightly. Then let the soil dry out completely before watering again. Think of it this way. Aloe is a desert plant. It's built to handle dry conditions. It's not built for constant moisture.
The 3 Fatal Mistakes That Kill Aloe Pups
If you're reading this because you've tried propagating aloe and failed, I feel you. I truly believe almost every dead aloe pup comes down to three mistakes. Get these right and you'll see a massive difference.
Fatal Mistake 1: Overwatering
You already know this one is huge. It's estimated that 90% of indoor plants die from overwatering. And aloe pups are especially fragile because their new roots are thin and delicate.
Many people see the soil surface dry and immediately reach for the watering can. But dry on the surface doesn't mean the plant is thirsty. Stick your finger into the soil. If it's dry an inch down, then water. If not, leave it alone.
I used to be a chronic overwaterer. Every plant I touched seemed to suffer from root rot. It took a lot of dead plants for me to finally understand that aloe, in particular, needs periods of dryness. Actually, the aloe genus is one of the most drought-tolerant plant families you'll come across. The RHS points out that aloe plants are particularly sensitive to cold and wet conditions, especially in winter. That's worth keeping in mind.
Fatal Mistake 2: Putting Pups in Direct Sunlight Immediately
You might think succulents love sun. And they do. But pups need to be eased into full sun. Right after separation, their roots are minimal. They can't take up enough water to cope with intense light.
I remember repotting a batch of six pups. I felt so proud of myself. I placed them on my sunniest windowsill and thought I was giving them the perfect start. Within three days, several leaves had turned reddish and translucent. That's sunburn.
The fix is simple. Keep the pups in bright, indirect light for the first week. After that, gradually introduce them to morning sun. Then slowly increase their exposure over the course of two weeks.
Fatal Mistake 3: Using the Wrong Pot
A wrong pot is either too large or has no drainage hole. Both scenarios cause water to pool at the bottom. That keeps the soil wet and eventually triggers root rot.
I bought a beautiful ceramic pot with no drainage hole once. I put a cute little aloe pup inside, added a layer of gravel at the bottom, and convinced myself it would be fine. It was not fine. Within a few weeks, the pup started turning yellow. There were signs of soft rot at the base.
Since then, I refuse to pot in anything without drainage holes. And if I really love a decorative pot, I use it as an outer cover and keep the actual planting pot inside.
Also, a pot that's too big holds too much soil. More soil means more moisture retention. And that's exactly the opposite of what an aloe pup needs.
My 2-Week Observation After Potting Aloe Pups
Let me share what actually happened in the two weeks after my most recent batch of aloe pups were repotted properly.
Week 1: Adjusting and Settling
I separated four pups from a mother aloe that had been growing in my kitchen for about four years. Each of these pups looked strong, with five or six leaves each. They were ready.
After cutting them off and letting them dry for 36 hours, I planted each one in a four-inch terracotta pot with my cactus mix. I placed all four pots on a north-east facing windowsill. No direct afternoon sun.
For six days, I didn't touch them. No water, no moving them around. I just watched. On day five, I noticed that one of the pups looked slightly pale. I panicked a little. But I reminded myself that this is normal. When a plant loses contact with its mother root system, it goes through a period of shock. The leaves sometimes dull in color.
By day seven, the pale pup had actually turned slightly green again. That gave me hope.
Week 2: New Roots and New Growth
I watered lightly on day eight. Just enough to moisten the top few inches. The pot drained immediately and the soil was pretty much dry again after a couple of days.
Around day ten, I gave a very gentle tug on one of the pups. I felt the slightest resistance. And a deep sense of relief washed over me. That resistance meant roots were forming and the plant was anchoring itself into the soil. I remember just sitting there smiling at that pot.
By day twelve, I moved all four pups to a spot that receives gentle morning sunlight for about two hours. Honestly, they seem to love it. The colors are deepening. The leaves are firm and plump.
Two of the pups even showed a tiny bit of new leaf growth from the center of the rosette. Not bad for two weeks of patience.
What I Learned From Killing Three Aloe Plants Before I Got This Right
I wasn't born with a green thumb. In fact, I killed three potted aloe plants before I even attempted to propagate any of them. Let me tell you what happened.
The first aloe died because I watered it every time the topsoil looked dry. That was way too much. The roots rotted and the plant collapsed one afternoon. Back then, I didn't even understand what had happened.
The second aloe died because I kept it in a dark corner of my bedroom. It stretched out, grew pale and weak, and eventually just gave up. I didn't realize aloe needs plenty of bright light to thrive.
The third aloe was doing fine until I repotted it. I used regular potting soil and a pot without drainage. The plant slowly turned brown over several weeks. I remember standing over it, wondering what on earth I was doing wrong.
Failing at something changes you though. After those losses, I started reading everything I could about aloe care. The AHS provides quite a bit of guidance on growing aloe and other succulents in containers. They emphasize the importance of well-draining soil and careful watering. That lines up perfectly with what I do now.
I share this story because I want you to know that I came out of a long line of plant failures. People who are good with plants aren't born that way. They simply learned from their mistakes. And honestly, that's exactly what I'm doing here with you.
Frequently Asked Questions
How Long Do Aloe Pups Take to Root?
Aloe pups typically start forming new roots within one to two weeks after planting. You might begin to see new leaf growth after two to four weeks. Full establishment, where the pup is truly independent and growing steadily, usually takes about four to six weeks. During this time, keep the soil on the dry side and resist poking at the plant.
Can You Separate Aloe Pups Without Roots?
Yes, you can technically separate aloe pups without visible roots. But they need extra care. Make sure the pup has at least three healthy leaves. Let the cut dry for a full 48 hours. Plant it in a gritty succulent mix and wait at least ten days before watering. The pup will grow roots. But its survival rate drops significantly compared to a pup with its own root system.
Don't attempt this with tiny pups. Wait until the pup is at least two inches tall. You're basically giving it enough stored energy to develop new roots.
What Kind of Soil Is Best for Aloe Pups?
The best soil for aloe pups is a gritty, fast-draining cactus mix. You can also mix your own by combining two parts regular potting soil, one part perlite, and one part coarse sand. If you want extra drainage, add a handful of small pumice stones. The goal is to get water flowing through the soil quickly, so the roots dry out fast between waterings.
Stay away from regular houseplant soil. It stays too wet for too long.
Final Thoughts
Separating aloe pups is one of those gardening tasks that seems tricky at first but becomes second nature with practice. The fundamentals are simple. Wait until the pups are big enough. Cut cleanly. Dry the wound. Plant in well-draining soil. And hold off on watering for at least a week.
I can't overstate how much of a difference these simple steps make. If you're worried about getting it right, just remember that I've killed three aloe plants and countless pups to learn what I know. Your first attempt will likely go better than mine.
Take your time. Don't overthink the process. Let the pups do what they naturally want to do. They want to grow. They just need you to give them a healthy chance to start.