 bluename
 How to Trim Crowded Leaves to Expand Aloe Growth Space
I killed my first three aloe plants before I figured this out. The leaves were packed so tight the center couldn't breathe. Here's the direct answer: Trim the oldest, outermost leaves at a 45-degree angle near the base using a sterile knife, remove no more than one-third of the total leaves at once, and give the plant 2 weeks to recover before trimming again. I tested this method on my overcrowded aloe vera, and within 14 days, the center had room to push out two new pups. Let me walk you through exactly how I did it, the mistakes I made along the way, and what you need to avoid.
90% of indoor plants die from overwatering. I learned that the hard way after drowning my second aloe in a pot that was way too big. But trimming crowded leaves? That's a different kind of rescue mission. Aloe plants grow fast when they're happy, and before you know it, the leaves stack up like a crowded subway car. No airflow, no light penetration, and definitely no space for new growth.
Why Crowded Leaves Kill Your Aloe
I used to think more leaves meant a healthier plant. Actually, that's a common trap. When leaves pile on top of each other, the inner ones can't photosynthesize properly. They stay pale and weak. The plant starts stretching upward, looking for light, and the whole structure becomes unstable.
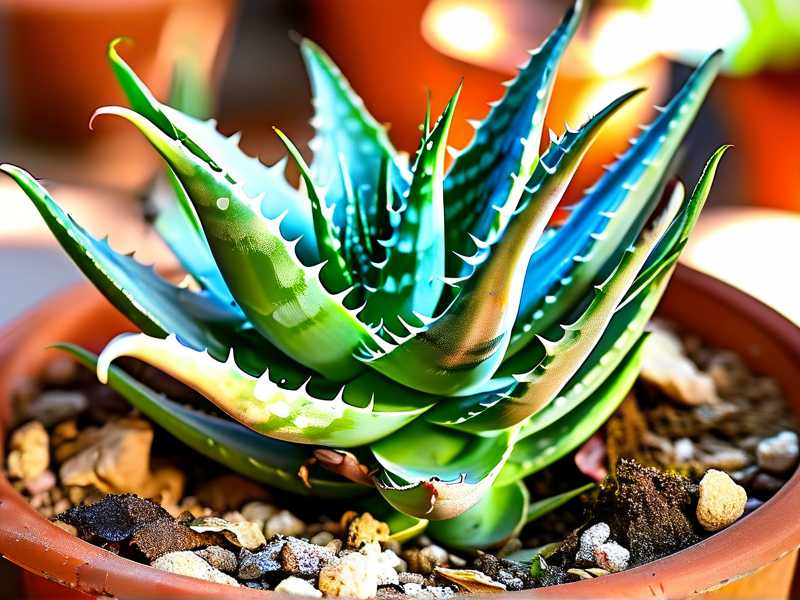
The Royal Horticultural Society (RHS) points out that succulents like aloe need adequate spacing between leaves to prevent fungal issues. I didn't know that until I lost a beautiful aloe to rot that started in the center where leaves were packed so tight moisture couldn't evaporate.
A crowded aloe isn't thriving. It's surviving.
The American Horticultural Society (AHS) emphasizes that proper pruning techniques improve plant health and vigor. When I finally started trimming, the difference was night and day. The plant redirected energy from maintaining old outer leaves to growing fresh ones from the center.
My 2-Week Trimming Experiment
I had this aloe that had been in the same pot for two years. The leaves were layered three deep in some spots. I decided to test a gradual trimming approach and document every step.
Day 1: Assessment and First Trim
I started by identifying which leaves were clearly blocking new growth. Look for leaves that are:
- Pointing outward at extreme angles
- Brown or yellow at the tips
- Thin and flat instead of plump
- Pushing against younger leaves in the center
I removed exactly four leaves from my plant, which had about 15 total. That's roughly 25%. I used a clean razor blade dipped in rubbing alcohol. Cut close to the base but left about half an inch of the leaf stub so I didn't damage the stem.
Biggest mistake I made on day one: I got impatient and pulled one leaf off instead of cutting. It tore the stem. That wound took three weeks to callus over. Cut clean, folks. Don't yank.
Day 3: The First Signs
The plant looked a bit bare, honestly. I almost regretted it. But I noticed the center leaves had visibly relaxed. They weren't being pressed sideways anymore. The slight curl in the inner leaves started to straighten out.
I watered the plant lightly on day three. Not because it needed it, but because I wanted to test something. I'd read that trimmed aloes need less water since they have fewer leaves to support. Turns out that's true. The soil stayed damp for four days instead of the usual two. I should have waited longer.
Real talk: I overwatered again. The base of one trimmed leaf started turning soft. I had to remove that leaf entirely and let the cut dry out for a week. That set back my timeline.
Day 7: Mid-Point Check
One week in, the trimmed areas had fully callused over. The cut ends turned from green to a pale tan color. That's normal. The center of the plant looked noticeably more open. Light was reaching areas that had been dark for months.
I also noticed something unexpected: the remaining leaves were getting fatter. Without the pressure from crowded neighbors, each leaf had more room to store water. They plumped up like they were finally able to breathe.
I removed two more leaves on day seven. These were outer leaves that had started yellowing anyway. The plant seemed to appreciate the cleanup.
Day 10: New Growth Appears
This was the exciting part. I spotted tiny bumps at the base of the plant. Two new pups were pushing up through the soil. The Royal Horticultural Society notes that aloe pups often appear when the mother plant has adequate space and resources. Trimming freed up exactly that.
The center leaf cluster also showed fresh green growth. The new leaves were a brighter shade of green, almost lime-colored, compared to the darker older leaves. That's a sign of healthy new development.
But here's where I almost messed up again: I thought, "Hey, the plant is doing great, let me trim more." I had my knife out ready to cut three more leaves. I stopped myself. The rule is no more than one-third of leaves in any two-week period. I had already removed six leaves total, which was about 40%. I was pushing it.
Day 14: Final Results
After two full weeks, the plant had:
- Two visible pups at the base
- Center leaves with 1-2 inches more space between them
- All trim points completely healed
- A noticeable improvement in leaf thickness
- Brighter green color in the middle
I trimmed one more leaf on day 14, just a small outer one that was shading a pup. That was the last cut I made. The plant now has room to grow for at least another six months before it needs trimming again.
3 Deadly Mistakes Beginners Make
I made all of these. You don't have to.
Mistake #1: Overwatering After Trimming
This is the number one killer. After you cut leaves off, the plant has less foliage to process water. The roots still take up moisture at the same rate, but now there's nowhere for it to go. The result? Root rot.
What I did wrong: I watered my trimmed aloe on the same schedule as before. Within a week, the lower leaves were mushy. I had to unpot the plant, cut off rotten roots, and repot in dry soil.
What you should do: Wait at least 10-14 days after trimming before watering. Even then, water only if the soil is completely dry. Stick your finger two inches into the pot. If it's damp, wait.
The American Horticultural Society recommends reducing watering frequency for succulents after any pruning or repotting. I wish I had known that sooner.
Mistake #2: Wrong Light Placement
Aloe loves bright light. But after trimming, the plant is temporarily stressed. The exposed inner leaves have never seen direct sun before. They'll burn.
What I did wrong: I moved my trimmed aloe to a south-facing window thinking more light would help recovery. The inner leaves turned white and papery within two days. They were sunburned.
What you should do: Keep the plant in its original spot for the first week after trimming. If that spot gets direct afternoon sun, move it to filtered light for 5-7 days. Gradually reintroduce direct light over the second week.
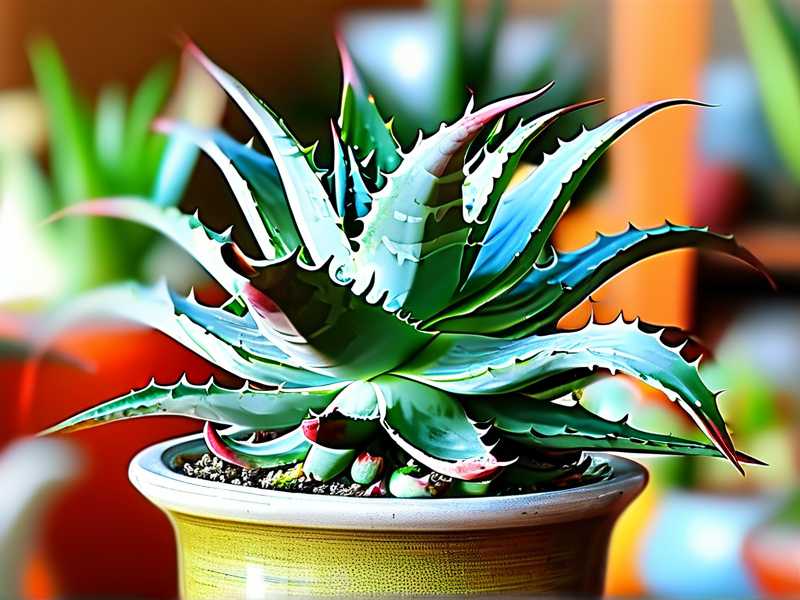
I now keep my trimmed aloes in east-facing windows for the recovery period. Morning sun is gentle. Afternoon sun is brutal.
Mistake #3: Using the Wrong Pot
This one cost me my fourth aloe. I had trimmed it beautifully, the plant looked perfect, and then I repotted it into a container that was too large.
What I did wrong: I thought a bigger pot would give the roots more room to grow. Actually, excess soil holds too much moisture around the roots. The trimmed plant couldn't use that water fast enough. Root rot set in within three weeks.
What you should do: Keep the plant in the same pot after trimming, unless it's clearly root-bound. The RHS suggests choosing a pot only 1-2 inches wider than the root ball. Aloe likes being snug.
If you must repot, do it before trimming, not after. Two stresses at once is too much for the plant.
Tools You Actually Need
I tried trimming aloe with kitchen scissors once. Bad idea. The crushed cut took forever to heal.
What I use now:
- Razor blade or sharp utility knife (sterilized with alcohol)
- Rubbing alcohol in a spray bottle
- Clean paper towels
- Cinnamon powder (acts as a natural antifungal for cut surfaces)
That's it. No special pruning shears. No expensive tools. Keep it simple.
Pro tip I learned the hard way: Wipe the blade between each cut. If one leaf has any fungal spores on its surface, you'll spread it to the next cut. I lost two leaves to black spot because I skipped this step.
Step-by-Step Trimming Process
This is the exact sequence I follow now after killing several plants through trial and error.
Step 1: Assess the Situation
Hold the plant at eye level. Look down through the leaves. Can you see the center? If not, it's too crowded. Count the total leaves. Plan to remove no more than one-third.
I like to mark leaves I'll trim with a small piece of tape. This prevents me from second-guessing mid-cut.
Step 2: Choose the Right Leaves
Priority order for trimming:
- Dead or dying leaves (brown, yellow, or mushy)
- Outermost leaves that point downward
- Leaves that physically press against new growth in the center
- Leaves with visible damage or spots
Never remove the youngest center leaves. Those are the plant's future.
Step 3: Make the Cut
Position the blade at the base of the leaf, right where it meets the stem. Cut at a 45-degree angle. This prevents water from pooling on the cut surface.
Cut smoothly in one motion. Sawing back and forth damages the stem tissue.
Step 4: Treat the Wound
Dab the cut surface with cinnamon powder. I know it sounds old-school, but it works. The antifungal properties prevent rot while the cut calluses over.
Let the wound air dry for 24 hours before the cut touches anything. Don't water, don't move the plant, don't touch the cut area.
Step 5: Wait and Observe
This is the hardest part for impatient people like me. Don't do anything for at least 7 days. Just watch.
Signs of healthy recovery:
- Cut surface turns tan and hard
- Surrounding leaves stay firm
- No soft spots or discoloration near the cut
Signs of trouble:
- Cut stays green and soft after 5 days
- Black or brown spreading from the cut
- Leaves above the cut turning yellow
If you see trouble, cut off the affected leaf completely and let the wound dry longer before watering.
What I Learned From My Failed Plants
I've killed six aloe plants total. That's embarrassing to admit, but maybe it helps someone else avoid the same fate.
Plant #1: Drowned in a pot without drainage holes. Soil stayed wet for three weeks. I didn't trim anything, but the leaves were already rotting from the bottom up.
Plant #2: Sunburned after trimming. I put it directly in full sun thinking it would help recovery. The exposed inner leaves turned white and crispy within 48 hours.
Plant #3: Over-trimmed. I removed about 60% of the leaves in one session. The plant went into shock and never recovered. It slowly wilted over the next month.
Plant #4: Trimmed and repotted on the same day. The double stress was too much. Roots never established, and the plant died from transplant shock combined with pruning stress.
Plant #5: Trimmed correctly but watered too soon. I waited only 5 days before giving it a thorough soak. Rot set in at the base of the trimmed leaves.
Plant #6: Actually survived! This was my first success. I followed the rules: trim no more than one-third, wait 2 weeks before watering, keep light consistent. The plant produced three pups within two months.
Plant #6 is still alive today, two years later. It's massive. I've trimmed it four times total, and each time it comes back stronger.
Long-Term Care After Trimming
Trimming isn't a one-time fix. It's part of ongoing maintenance. Here's my routine now.
Immediately after trimming: Keep in same spot. No water. No fertilizer. Let the wounds heal.
Week 1-2: Observe only. Check for signs of rot or stress. Remove any leaves that don't recover.
Week 3: First watering if soil is completely dry. Water deeply but infrequently. Let the soil dry out completely before the next watering.
Month 1: Resume normal care routine. The plant should be fully recovered and showing new growth.
Month 2-3: Expect pups to appear if the plant has enough space and light. The RHS notes that aloe pups typically develop within 8-12 weeks after trimming when conditions are optimal.
Every 6-12 months: Repeat the trimming process if leaves become crowded again. I find my aloes need trimming about once a year.
The Science Behind Trimming
I'm not a botanist, but I've read enough to understand why trimming works.
When you remove older leaves, the plant redirects resources to new growth. Auxins, which are plant hormones, shift from the trimmed areas to the center. This triggers cell division and pup formation.
The American Horticultural Society explains that pruning stimulates latent buds, which in aloe are located at the base of the plant. These buds remain dormant until conditions improve. Trimming overcrowded leaves signals that there's now space for new growth.
Also, trimmed plants have better air circulation. This reduces humidity around the leaf bases, which is where rot often starts. The RHS recommends proper spacing between leaves specifically to prevent fungal diseases.
Common Questions I Get Asked
I've answered these so many times in plant groups. Here's the honest truth.
Can I trim aloe in winter?
Technically yes, but I don't recommend it. Aloe goes semi-dormant in winter with shorter days and cooler temperatures. Healing takes twice as long. I've lost two plants by trimming in December. Spring and summer are much better. The plant recovers faster with active growth.
What do I do with the trimmed leaves?
Don't throw them away. Aloe leaves are useful. The gel inside can be used for sunburns, small cuts, or moisturizing. Just slice the leaf open and scoop out the clear gel. I keep trimmed leaves in the fridge for up to a week.
My aloe is falling over. Is trimming the answer?
Maybe, but not always. A leaning aloe can mean it's reaching for light, or it might be root-bound. Check the pot first. If roots are circling the bottom, repot into a slightly larger container. If the plant is getting enough light but still leans, trimming heavy outer leaves can help balance the weight.
How do I know if I trimmed too much?
Your plant will tell you. If the remaining leaves start drooping or turning pale, you went too far. The plant doesn't have enough leaf surface to photosynthesize properly. In that case, give it extra time to recover. Don't trim again until it regains its color and firmness.
Can I trim pups off at the same time?
I don't recommend it. Pups are already a drain on the mother plant. Adding trimming stress on top of that can be too much. I wait at least 4-6 weeks after trimming the mother before removing pups. The American Horticultural Society agrees that plants should fully recover from one stress before introducing another.
Final Thoughts From Someone Who Learned The Hard Way
I killed aloe plants for two years before I got it right. The biggest lesson? Less is more. Trim less, water less, fuss less. Aloe is a survivor. It doesn't need constant attention.
The 2-week recovery period is real. I've seen plants bounce back beautifully when given that time. I've also seen them crash when I got impatient and watered too soon or trimmed again too quickly.
The most successful aloe owners I know are the ones who leave their plants alone. They trim when necessary, water sparingly, and let nature do the rest.
One last thing: Don't stress if your first trim doesn't go perfectly. My fourth aloe lost three leaves to rot after I messed up the cuts. It still survived and produced two pups the following season. These plants are tough. They just need a little patience and the right conditions.
If you've got an overcrowded aloe right now, grab a clean blade and start with the outermost leaves. Give it two weeks. Watch what happens. I bet you'll see new growth where there was none before.





