 bluename
 How to Maintain Balanced Aloe Growth via Scientific Trimming
Your aloe is leaning sideways. The lower leaves are mushy. You’ve been watering it every few days, and honestly? That’s probably the problem. I’ve been there. Let me give you the straight answer right now: balanced aloe growth comes from trimming less, not more. Only cut leaves when they’re damaged or older than two years. Use a sterilized knife. Slice at a 45-degree angle. Let the wound dry for 3 days before watering. And remember: 90% of indoor plants die from overwatering.
I’m a plant lover, not a botanist. But I’ve kept aloe vera alive for over a decade now. I killed my second aloe before I learned this. The first one was overwatered. The second one? I chopped it back too hard. No middle ground. So I get it. You want to fix your aloe, but you’re scared of cutting the wrong part. Let’s fix that today.
Why Trimming Matters for Balanced Aloe Growth
Aloe is a succulent. It stores water in its leaves. That makes it tough. But too many leaves can tip the whole plant over. Dead leaves can invite pests. Rotting bases can spread disease. Trimming is the reset button. It restores shape, redirects energy, and helps balanced aloe growth.
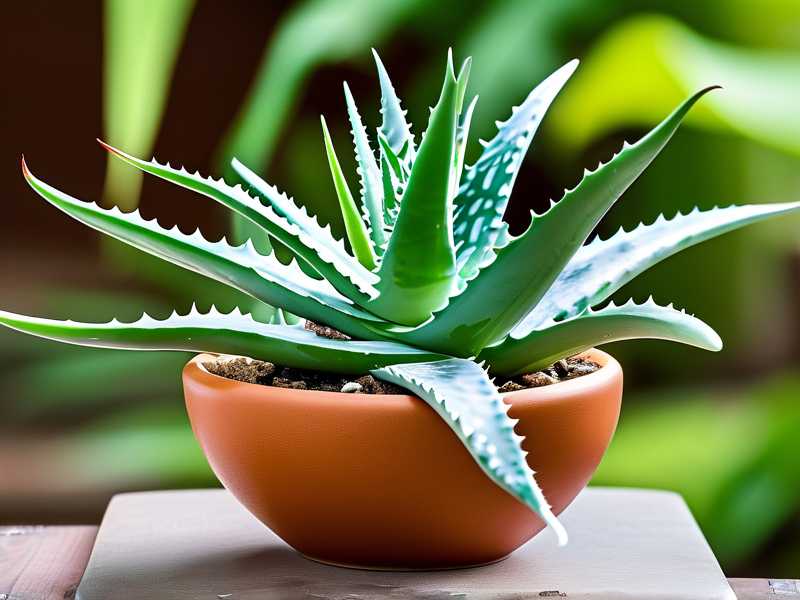
A lot of people think trimming means topping the plant. That’s wrong. You never cut the crown. You remove selected lower leaves. That’s the core of scientific trimming for aloe vera. It’s not decorative. It’s functional.
I think of it like pruning a tree. You don’t chop the trunk. You remove the branches that block sunlight. Same idea here. When old leaves are gone, the younger leaves get more air, more room, and more energy. The plant becomes compact. It stops wobbling in the pot. That’s what balanced aloe growth looks like.
The 3 Deadly Newbie Mistakes That Kill Aloe
Before I show you the exact cutting technique, let’s talk about the three mistakes that kill more aloe plants than anything else. I made all three. Maybe you have too.
① Overwatering
The number one killer. Aloe roots are shallow and thin. They need oxygen. When the soil stays wet, the roots suffocate. The leaves turn yellow. The base goes soft. Then it’s over.
I used to water my aloe every Monday. It seemed logical. Every week. That’s what routine-oriented people do, right? Big mistake. By the third month, the base was brown and jelly-like. The plant flopped over one afternoon. That was my first dead aloe.
The truth: aloe prefers to dry out completely. In most indoor conditions, that means watering every 2 to 3 weeks. In winter, even less. Stick your finger into the soil. If it’s dry past your first knuckle, water. Otherwise, step away.
The Royal Horticultural Societysays the same thing in their aloe care guide. Aloe is drought-tolerant. It needs a free-draining compost and a period of rest in winter. I wish I had read that earlier.
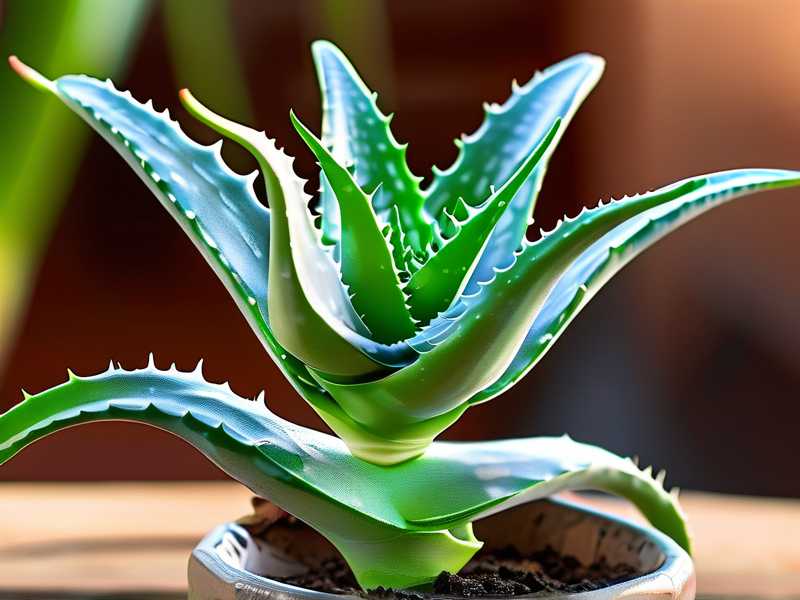
② Wrong Light Position
Aloe is not a low-light plant. I tried growing aloe in a dark corner of my living room. It looked fine for two weeks. Then the leaves started bending toward the window. The color went from deep green to pale gray. It was stretching, searching for light. That’s called etiolation.
Balanced aloe growth depends on bright, indirect light. A south or west window is ideal in most homes. But direct hot afternoon sun can burn the leaves. The best spot is a foot away from a sunny window. Morning sun is perfect. Afternoon sun through glass can cook it.
I kept my second aloe on a shaded bookshelf. That’s why it grew thin and floppy. I learned the hard way. Now I move my pots based on the season. In winter, I put them closer to the glass. In summer, I pull them back. It makes a huge difference.
③ The Wrong Pot
No drainage hole. That’s the worst. I bought a cute ceramic pot from a big-box store. No hole. The soil stayed wet. The roots rotted within three weeks.
Aloe needs a pot that’s wider than it is deep. The roots grow horizontally. A shallow, wide pot with drainage holes is ideal. Terra cotta is even better because it breathes. My happy aloe is now in an unglazed terra cotta pot with a hole in the bottom.
Also, don’t pot up too big. A huge pot traps moisture. Aloe likes to be snug. When the pot fits the root ball snugly, balanced aloe growth is much easier. You can always repot a year later. But starting small is better.
The Scientific Trimming Method That Finally Worked for Me
Okay, so after killing plant number one and number two, I did my research. I read thecare guides. I checked the recommendations. Then I built a simple routine. Here’s how to trim aloe leaves the right way, step by step.
Step 1. Sterilize Everything
You don’t want to introduce bacteria into a fresh cut. I use 70% isopropyl alcohol. I wipe the blade of a sharp knife. I also wipe the leaf surface around the cut area. If you have rubbing alcohol, that’s enough. Don’t use scissors if they’re blunt. They crush the tissue. A sharp knife or a clean razor blade is better.
I learned this after trimming one aloe with kitchen scissors. The cut edge turned brown and mushy. That was my third lesson in a long line of lessons.
A clean cut heals faster. A ragged cut invites rot. So take two minutes to sanitize. Your plant will thank you.
Step 2. Pick the Right Leaves
For balanced aloe growth, you want to remove the oldest, lowest leaves. These are at the outer ring. They usually curve downward or feel leathery. Sometimes they’re damaged, discolored, or have soft spots.
You never cut the inner young leaves. Those are the plant’s engine. If you remove them, growth slows dramatically. I made that mistake once. I thought cutting more would make the plant more compact. Instead, it stopped growing for nearly two months.
Rule of thumb: never remove more than one-third of the total leaves in one session. If the whole plant looks bad, space the trimming over several weeks.
Step 3. Make a Clean 45-Degree Cut
Find a sharp knife. Position it at the base of the leaf, right where it attaches to the main stem. Slice at a 45-degree angle. Not horizontal. The angle allows water to run off the wound. It also leaves a larger surface area for callusing.
Here’s my go-to technique:
Hold the leaf gently with one hand.
Press the blade against the leaf base, just above the stem.
Pull outward in one clean motion.
Don’t saw back and forth. Too much tearing.
The resulting cut should look neat and slightly slanted. If a bit of gel oozes out, that’s fine. Don’t wipe it. Just let it dry.
Step 4. Let the Wound Callus Over
This is the step almost everyone skips. After cutting, the wound is open. If you water immediately, water enters the cut and causes rot. You have to let the cut dry out. This forms a callus, like a scab.
I usually wait 3 to 5 days before watering. In a dry room, it might only take 2 days. In humid weather, it can take a week. You’ll know it’s ready when the cut surface is dry and slightly sunken.
If you cut a leaf but don’t plan to water, that’s okay. The wound will callus quickly. Just don’t let water touch it.
Step 5. Adjust Watering After Trimming
After the callus forms, water lightly but deeply. Don’t soak the whole pot. Actually, you can water normally if the soil is dry. The key is to give it a good drink, then let it dry out again.
For me, the post-trim watering schedule looks like this:
Wait 3 days after cutting.
Check soil moisture.
If dry, water until it drains from the bottom.
Then wait another 2 to 3 weeks before the next watering.
This routine keeps the roots active without drowning them. It has given me the most balanced aloe growth I’ve ever seen.
My 2-Week Observation Log After Scientific Trimming
I decided to test this method on a badly leaning aloe last month. I documented it for two full weeks. Here’s exactly what happened.
Week 1: The Aloe Looked Worse Before It Looked Better
Day 1: I removed six old outer leaves. The plant looked smaller and a bit bare. The cut surfaces oozed clear gel. I left them alone. The pot felt almost completely dry.
Day 3: The oozing stopped. The cut ends were dry and firm. I didn’t water yet. The remaining leaves looked more upright, probably because the weight of the fallen leaves was gone.
Day 5: I watered. The soil soaked up water quickly. The plant didn’t change overnight, but the color started returning at the base. The lean was less noticeable.
Day 7: A tiny new leaf appeared in the center. Seriously, it was only a few millimeters long. But it was green and rigid. That told me the roots were healthy.
Week 2: Real Balanced Aloe Growth Appeared
Day 10: The new leaf had grown about 1 cm. The old cuts had turned brown and callused. The whole plant looked more compact. The lean was barely there.
Day 12: I rotated the pot 180 degrees. This helps the other side catch light. Within two days, the whole rosette looked even.
Day 14: The aloe was noticeably firmer. I gave the leaves a gentle squeeze. They were plump. The new leaf was now the same height as the older inner leaves. The plant had shifted its energy to healthy tissue. That’s balanced aloe growth in action.
I was honestly surprised. I thought trimming would stress the plant more. But it did the opposite. It removed the dead weight and let the remaining leaves breathe.
Aftercare Tips for Long-Term Balanced Aloe Growth
Trimming is just one part. If you don’t fix the environment, the leaves will flop again. So here’s what I’ve changed permanently.
Potting Mix
Aloe wants soil that doesn’t hold water. I now use a mix of one part regular potting soil, one part perlite, and one part coarse sand. It drains fast. The points out that succulents need sharp drainage in containers. They’re right. If you don’t want to mix your own, buy a cactus mix.
A good mix should feel gritty. When you squeeze it, it shouldn’t clump. Water should run through it in seconds. That’s the whole secret.
Light Schedule
I keep my aloe near an east-facing window. It gets 3 to 4 hours of gentle morning sun. That’s enough. In summer, I move it to a shaded patio. In winter, I place it under a grow light for about 6 hours a day. This prevents stretching.
Without enough light, balanced aloe growth is impossible. Leaves get long. Colors fade. The plant seems to reach for something it can’t find. Give it more light, and it will settle down.
Watering Customization
I don’t follow a calendar. I follow the soil. Every 10 days or so, I poke a wooden chopstick into the pot. If it comes out dry, I water. That simple test has saved more aloe plants than any trick I know.
During winter, I water maybe once every four weeks. The plant goes semi-dormant. The leaves stay plump because they’re full of stored water. Honestly, you’d be shocked how little water aloe needs.
Fertilizer? Barely.
I fertilize only twice a year. A half-strength succulent fertilizer in early spring, then again in late summer. That’s it. Too much fertilizer makes the leaves soft and top-heavy. Not good for balanced aloe growth.
The suggests feeding lightly if at all. Aloe is adapted to lean soils. Rich soil does more harm than good.
Common Trimming Mistakes I See Everywhere
Even after you learn the basics, it’s easy to mess up. So let me walk you through the mistakes that still show up online and in real life.
Cutting Too Many Leaves at Once
I get it. You see a bunch of sad leaves and want to remove them all. But if you strip the plant bare, it can’t photosynthesize. It goes into shock. It might not recover. For balanced aloe growth, stick to one-third max. Even less is safer.
Using Dirty Tools
Your kitchen knife might have food residue. That’s a bacteria source. I’ve seen people cut an aloe leaf and then blame the plant for rotting. The real culprit was the dirty blade. Clean with alcohol every single time.
Watering Right After Cutting
I’ve done this. I was impatient. The cut edge absorbed water and turned translucent. Within a week, the base rotted. Let the wound callus first. There are no shortcuts.
Cutting the Inner Leaves
This is the most common beginner mistake. The inner leaves are the heart of the rosette. Removing them stunts growth. The plant takes months to recover. If you want a balanced look, the outer leaves are always the ones to go.
How This Applies to Aloe Pups
Aloe plants produce offsets, or pups, at the base. These baby plants suck energy from the mother. If you leave them, the pot becomes crowded. That can ruin balanced aloe growth.
I usually remove pups once they have at least four leaves. I wait until the pup is about one-third the height of the mother. Then I cut it away with a sterilized knife. I repot it in a small container with similar soil.
This gives you more aloe plants for free. It also keeps the mother plant stable. I’ve done this every spring for the past five years. I now have aloe in my kitchen, my bedroom, and my office.
When you trim a pup, treat the cut site like any other wound. Let it dry. Don’t water for a few days. The pup will root within two to three weeks.
A Short Note on Seasonal Timing
If you want to trim your aloe, do it in spring or early summer. That’s the active growing season. The plant heals faster. New leaves appear sooner. Winter trimming is riskier because the plant is resting.
I trimmed an aloe in November once. It took over a month to callus. The plant looked stressed. I won’t do that again.
Spring is also the best time to repot and divide pups. It’s like a fresh start. If you only do one thing this season, do a careful trim and walk away.
How to Know If Your Aloe Needs Trimming
You don’t trim just for fun. Here are the signs I look for:
The pot tips over because the heavy leaves pull it down.
The lower leaves are brown, wrinkled, or translucent.
The rosette is so dense that you can’t see the stem.
The plant has outgrown its pot and the roots push out.
There are dried leaf tips everywhere.
If any of these sound familiar, it’s time. Small trims are easier than big rescue operations. I try to inspect my aloe every time I water. That’s maybe twice a month. One quick look tells me what needs attention.
Does Trimming Stress the Plant?
Short answer: yes, but in a good way. A clean cut forces the plant to heal. The healing process redirects energy. That’s why balanced aloe growth often improves after a trim.
The key is not to overdo it. One leaf at a time is fine. You can always trim again in a few weeks. There’s no prize for the fastest trim.
I remember my first successful trim. I removed just two leaves from a lopsided plant. I was nervous the whole time. But within a month, the plant looked better than it had in a year. That gave me the confidence to keep going.
Frequently Asked Questions
1. How often should I trim my aloe plant?
Twice a year is enough. Once in spring and once in late summer. If a leaf gets damaged, you can remove it anytime. But don’t do a big trim more than two or three times a year. Each cut uses energy to heal.
2. Can I regrow roots from a trimmed aloe leaf?
Not usually. Aloe leaves don’t root easily. If you want more plants, remove the small offsets at the base of the mother plant. Those root quickly. I’ve split pups in spring, and they grow on their own within a month. Honestly, leaf propagation is a waste of time for aloe.
3. How do I know if I’m overwatering or underwatering?
Overwatering makes the leaves yellow, soft, and translucent. The base feels mushy. Underwatering makes the leaves thin, curled, and slightly wrinkled. The outer leaves turn brown and crispy. The quick fix: if leaves are soft, stop watering and let the soil dry. If leaves are wrinkled, water deeply and wait.
The Bottom Line
You don’t need a green thumb. You need the right technique. Stop watering on a schedule. Put the plant where it gets bright, indirect light. Use a pot with drainage and chunky soil. Trim only the oldest leaves, with a clean knife, at a 45-degree angle. Let the wound dry before watering again. That’s the entire recipe for balanced aloe growth.
I killed two aloe plants before I understood that less is more. My third one is alive and thriving. It’s not luck. It’s scientific trimming. Try it for two weeks. See what changes. I think you’ll be surprised.





