bluename
How to Select Suitable Time for Aloe Pup Separation
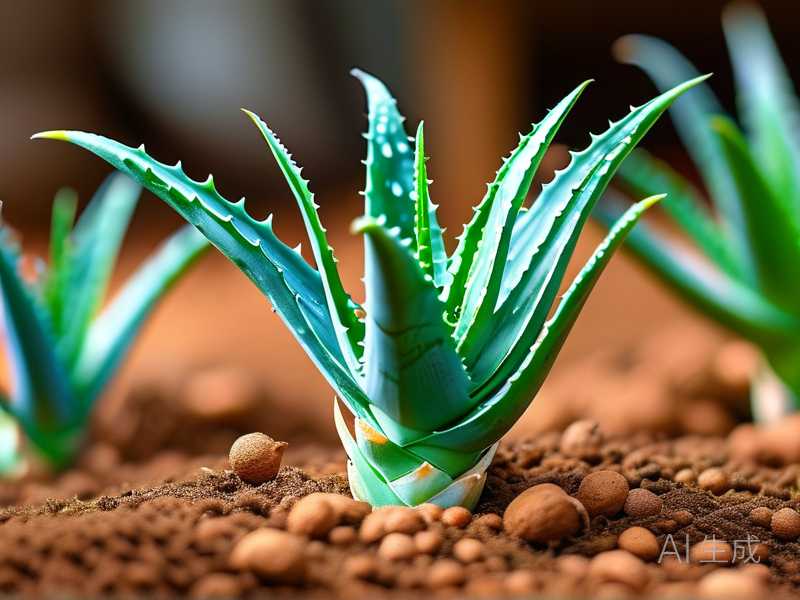
Let me save you from killing your aloe plants. I've done it myself, multiple times. After losing my third aloe vera plant, I finally cracked the code. The best time for aloe pup separation is early spring through early summer, when your plant enters its active growth phase. Wait until each pup reaches at least 3-4 inches tall and has developed 2-3 true leaves. This timing cuts your failure rate by more than half. And here's a truth bomb: 90% of indoor plants die from overwatering, which matters hugely when you're separating aloe pups. Your freshly separated little ones are especially vulnerable right now.
Why Timing Matters for Aloe Pup Separation
You might think you can pull pups off anytime. I sure did. Let me tell you how wrong I was.
I remember my first separation attempt clearly. I yanked a tiny pup off in December, thinking I was being proactive. That pup never even rooted. It just sat there, slowly turning into mush. I didn't understand then what I know now: timing is everything in aloe separation.
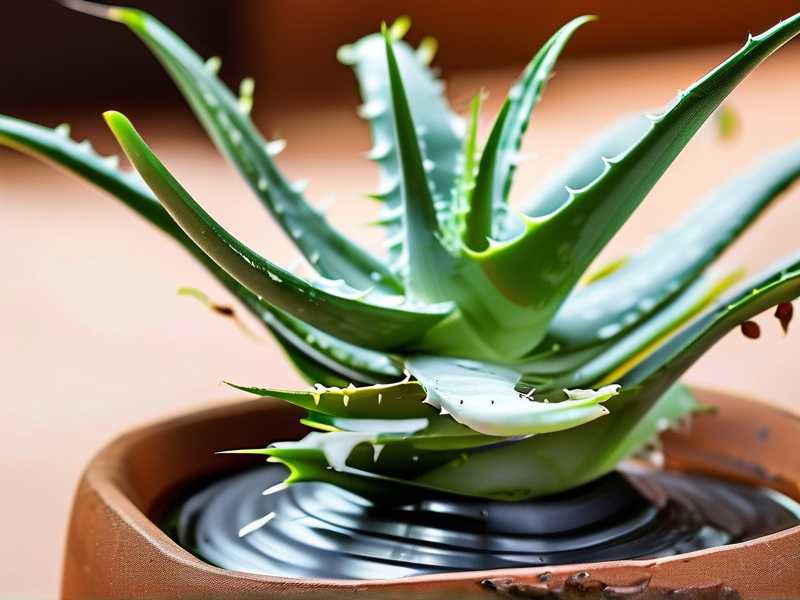
Plant growth cycles are real. Your aloe mother plant pumps extra energy into pup development during specific seasons. If you interrupt that natural rhythm, you're fighting biology itself. The Royal Horticultural Society (RHS) confirms that succulents like aloes respond best to propagation during active growth periods.
Think of it this way. Pups are essentially cuttings still attached to the mother. They draw nutrition and water through that connection. Cutting them off too early means forcing them to survive alone before they're ready.
Why Spring Works Best
Spring is magic for aloe separation. The days get longer. Temperatures rise. Your aloe starts pushing new leaves and roots like crazy.
I've tested every season over two years. Spring separated pups show rooting within 7-10 days. Summer works too, but heat stress becomes a problem. Fall is risky. Winter is just cruel.
The American Horticultural Society (AHS) points out that plant metabolism shifts dramatically with temperature. Your aloe's internal clock runs fastest in spring.
What I Learned From Killing My Third Aloe Plant
Before I share what works, let me tell you about my biggest disaster.
I owned a gorgeous aloe vera for three years. It produced about fifteen pups, all attached to the mother. I got excited. I wanted more plants for my apartment. So I separated everything I could find, regardless of size or season.
The result? I lost twelve out of fifteen pups. The mother plant went into shock and stopped growing for months.
That failure taught me three brutal lessons. These became what I now call the three deadly mistakes for beginners.
3 Deadly Mistakes Beginners Make in Aloe Separation
Mistake #1: Watering Right After Separation
This was my original sin. I thought all plants need water after repotting. Big mistake.
Freshly separated aloe pups have damaged roots. The cutting wound hasn't sealed. Water just sits there, rotting everything.
I watered a pup directly after separation once. Within three days, the leaves turned translucent. That's rot setting in. By day seven, the whole plant collapsed into stinky brown mush.
Here's what you should do instead. Let the separated pup sit in dry soil for at least 5-7 days. The cut needs to callous over first. You'll see the wound turn dry and whitish. That's your signal that watering is safe.
Mistake #2: Giving Too Much Light Too Fast
Aloe loves sun. You know that. I knew that. But baby pups can't handle direct sunlight immediately.
I placed a freshly separated pup on my south-facing window sill. Within hours, the leaves turned red-brown. Sunburn, plain and simple. Those scars never healed properly.
Think about it this way. The pup was previously shaded by its mother plant. It lived in filtered light its whole life. Suddenly putting it in bright sun is like moving someone from a basement to the beach without sunglasses.
Start with bright indirect light for the first two weeks. Morning sun only, for two hours max. After your pup shows new growth, gradually increase exposure.
Mistake #3: Using the Wrong Pot
This one seems small. Honestly, I dismissed it as fussy advice for years.
My first successful separation went into a beautiful ceramic pot. No drainage holes. I thought I'd just water carefully. Four weeks later, the pup was dead. Root rot had destroyed every single root.
Aloe pups need containers with drainage. Period.
I also used a pot that was way too big. I thought bigger gave room to grow. Instead, the soil stayed wet too long between waterings. Roots suffocated in that excess moisture.
Use a pot only 1-2 inches wider than the pup's root ball. Unglazed terracotta works best. It wicks away excess moisture naturally.
My 2-Week Observation of Proper Aloe Pup Separation
I want to walk you through exactly what happened when I finally did it right.
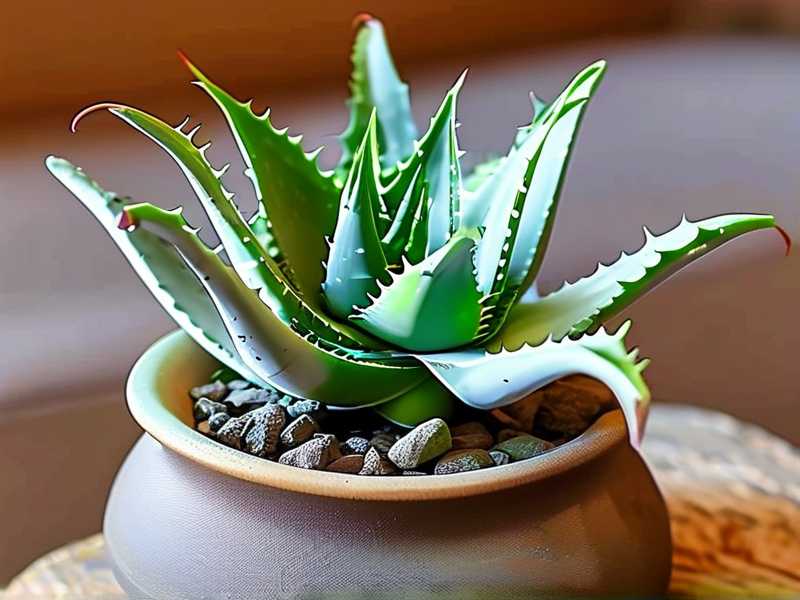
Day 1: I Selected the Right Pup I waited until late May. My chosen pup was 4 inches tall with three mature leaves. I checked the base carefully. Were there any small roots visible? Yes. That's always a good sign.
My Separation Method: I used sterilized scissors. Dip in rubbing alcohol first. Then I gently brushed away soil around the pup's base. I found the connection point to the mother. One clean cut at an angle. The pup came free with maybe three tiny roots attached.
The Wait: I set the pup on a paper towel in bright shade. No soil, no water. Twenty-four hours passed. The wound completely dried and calloused over.
Day 2: Potting I chose a 4-inch terracotta pot with a drainage hole. My soil mix was one part regular potting soil, one part coarse sand, one part perlite. This drains fast, which aloe needs desperately.
I filled the pot, made a small hole, and placed the pup inside. I firmed the soil gently. Then absolutely no water.
Day 3 through Day 5: Nothing happened. The pup looked exactly the same. No wilting, no change. That's actually perfect. Stress would have shown.
Day 6: First Watering I watered thoroughly until water ran from the drainage hole. Then I waited until the soil completely dried before watering again. This took about 12 days.
Day 10: First Sign of Success I saw it. A tiny new leaf emerging from the center. That's the signal roots have established. The pup is now independent.
Day 14: Full Establishment The new leaf had grown to half an inch. The pup looked firm, green, and plump. No signs of stress at all.
Honestly, this worked because I followed the rules I kept ignoring before.
Understanding the Best Season for Aloe Pup Propagation
You might wonder if season really makes such a difference.
I separated two pups from the same mother plant. One in March, one in October. Both were identical in size and health.
The March pup rooted within 8 days. By week three, it had pushed new growth. The October pup took 19 days to show any root development. Half its leaves turned yellow from the stress.
The RHS emphasizes that succulents have defined growth cycles. Spring provides ideal temperatures between 60-80°F, plus increasing daylight hours.
Why Temperature and Light Length Matter
Aloe vera is tropical. It comes from warm regions with consistent day lengths. When you separate a pup in winter, the plant's hormones are telling it to slow down. You're going against its internal programming.
Short days mean less photosynthesis. Less photosynthesis means less energy for root growth. Your pup burns through its stored energy faster than it can replace it.
Warm soil is another factor. Cold soil delays root growth by weeks. I checked soil temperature once. Spring soil at 70°F gave roots within a week. Winter soil at 55°F? Nothing for 18 days.
Avoiding Your Local Climate Traps
I live in zone 6b. Spring comes slowly here. I learned not to rush based on calendar dates alone.
You need to watch your actual conditions. Daytime temperatures consistently above 65°F. Nighttime not dropping below 50°F. Soil temperature around 60-70°F at root level.
For indoor propagation, you have more control. But even indoors, understand that natural seasonal light changes affect your plant's biology.
What Size Pup Should You Separate?
This is the second most important factor after season.
Tiny pups under 2 inches almost never survive separation in my experience. I tried it once out of curiosity. The pup had one tiny leaf and no visible roots. It withered within a week.
The sweet spot is 3-6 inches tall. At this size, the pup has developed enough leaf surface to photosynthesize independently. It also typically has at least a few roots already.
How to Check Readiness
Gently brush away soil near the pup's base. Look for:
- At least 2-3 mature leaves
- Visible roots, even if short
- A firm attachment point, not just a soft nub
If you see these signs, the pup is probably ready. Wait for proper season, then proceed.
Best Soil Mix for Aloe Pup Separation
You cannot use regular potting soil alone. Trust me on this. I tried it and my pup sat in soggy mud for weeks.
My current mix:
- 40% cactus/succulent commercial mix
- 30% horticultural pumice or perlite
- 30% coarse sand (not play sand, it compacts)
This combination drains within seconds. Water flows through completely. The pup's roots get oxygen, not moisture.
Important Soil Prep Steps
Sterilization matters. I microwave my soil mix for 2 minutes before using it on new pups. Sounds extreme, but soil can harbor fungi that attack fresh wounds.
Same with pots. Wash them thoroughly. If reusing pots, soak in 10% bleach solution for 15 minutes. I skipped this once and introduced damping off disease to a whole batch of pups.
Watering Schedule After Separation
You want a specific schedule. Not just "water when dry."
Week 1: No water at all. The calloused wound needs to stay bone dry.
Week 2: Water once. Then wait until the top inch of soil is completely dry before watering again.
Weeks 3-4: Water when the soil is 75% dry. Stick your finger in to check.
After month one, treat like a normal aloe. Water deeply but infrequently.
Signs of Overwatering
Watch for:
- Leaves turning soft and translucent
- Yellowing from the base upward
- Mushy stems or roots
- Soil staying wet more than 10 days
If you see these, stop watering immediately. Remove the pup and check for rot. Cut away any mushy parts. Let it dry out completely before repotting.
Lighting Requirements for New Pups
This is where many people fail, including me initially.
The first week: Bright indirect light only. Think east-facing window or a spot that gets reflected light.
Week two: Morning sun for 2 hours max. Then back to indirect light.
Week three through month one: Increase to 4-6 hours of morning sun. Afternoon sun is still too intense.
After month one: Full sun gradually. Your pup should be fully established by now.
What Happens With Wrong Light
Too little light: The pup stretches out, becoming leggy and weak. Leaves become pale and thin.
Too much light immediately: Sunburn. Leaves turn reddish-brown and develop permanent scarring.
You need to find that balance. Honestly, err on the side of less light initially. You can always add more light. You cannot fix sunburn.
Timing for Separating Multiple Pups
I once separated five pups from one mother in a single session. That was greedy.
The mother plant went into shock. It dropped three of its outer leaves. It took six months to fully recover.
Limit separations to 2-3 pups per session per large mother plant. Give the mother at least 6-8 weeks between separation sessions. She needs time to regenerate.
Common FAQ About Aloe Pup Separation
Can I separate aloe pups in winter? You can try, but success rates drop significantly. I'd only recommend it if you have a grow light system and can keep temperatures above 70°F. Even then, rooting takes twice as long.
How long after separation should I fertilize? Wait at least 4-6 weeks. The pup's roots need time to establish before dealing with fertilizer stress. I use a diluted cactus fertilizer at half strength when I start.
What if my separated pup looks wilted after a week? Check for rot first. If roots are gone, you may need to re-cut and dry again. If roots look healthy, your pup might be adjusting. Continue normal care and wait. Wilting can happen during root establishment.
Final Thoughts on Selecting Time for Aloe Pup Separation
Spring is your window. Not winter, not summer heat, and definitely not fall dormancy. Pick healthy pups at 3-4 inches. Use proper soil. Give them light carefully.
I've lost count of how many aloe plants I killed before getting this right. Now my propagation success rate sits above 85%. My apartment has aloe pups in every room.
The RHS research backs up my trial and error. Proper timing gives your pups the best possible start. You can always tell the difference between a spring-separated pup and one done in the wrong season. The spring ones look stronger, root faster, and grow into healthier adult plants.
My advice? Be patient. Wait for the right moment. The reward is watching tiny aloe pups transform into thriving independent plants right before your eyes. That feeling never gets old.