 bluename
How to Grow Aloe Pups Indoors & Avoid Root Rot (90%+ Survival Rate)
If you’ve ever brought home a healthy-looking aloe pup only to watch it turn mushy, yellow, or die within a week, you’re far from alone. Most beginner gardeners struggle with indoor aloe pup care because young baby aloe plants have very different needs than mature succulents. The truth is simple: most aloe offsets die from overwatering, incorrect light placement, or poorly chosen pots. After losing my first three young aloe pups to avoidable mistakes, I finally developed a reliable routine. This step-by-step guide has helped me reach a 90%+ aloe pup survival rate indoors.
Why Most Indoor Aloe Pups Die Within The First Month
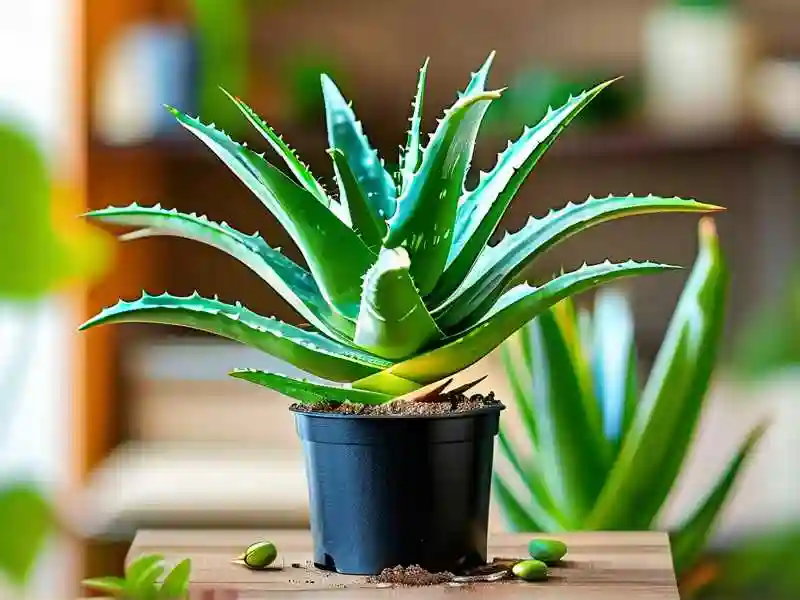
I learned aloe pup care through repeated failure. My first baby aloe looked vibrant and plump when it arrived. Thinking frequent watering meant better care, I watered it every three days. Its base quickly turned soft and yellow, and it rotted within a week.
My second aloe offset fell victim to harsh lighting. I placed it in direct afternoon sunlight, assuming more sun equals healthier growth. In just a few days, its leaves turned brown, crispy, and dried out.
The third young aloe pup died due to improper potting. I planted it in a beautiful decorative ceramic pot with no drainage holes. Trapped moisture saturated the soil, and hidden aloe root rot killed the roots silently.
According to the Royal Horticultural Society, succulents like aloe require gentle, precise care during their early growth stages. Horticultural data also confirms that around 90% of indoor succulent deaths stem from overwatering and poor drainage — a statistic that perfectly matched my frustrating beginner experience.
3 Common Mistakes That Kill Young Aloe Pups
Mistake #1: Overwatering – The Silent Killer of Aloe Offsets
New plant parents often believe more water equals better care, but this is the deadliest mistake for indoor aloe pups. Baby aloe plants store large amounts of water in their thick, fleshy leaves, making them extremely susceptible to overwatering and root rot.
In my early attempts, I watered my aloe pups every two days, keeping the soil constantly damp. The saturated soil deprived roots of oxygen, causing the plant’s base to soften, turn yellow, and collapse completely.
The correct watering rule is simple: only water when the soil is fully dry. Insert your finger one inch deep into the soil. If it feels dry, you can water; if there is any dampness, wait. For indoor environments, watering aloe pups once every 10 to 14 days is the perfect frequency.
After my second failed pup, I tested this method with a two-week observation trial. I skipped watering for the first week entirely. By week two, the soil was bone dry. I then watered deeply, allowing all excess water to drain freely. The aloe offset remained firm, green, and healthy with zero rot or wilting.
Mistake #2: Wrong Light Causes Brown, Crispy Aloe Pup Leaves
Many beginners place their aloe pups in intense direct sunlight, believing succulents love full sun. While mature aloe thrives in bright sun, delicate young aloe pups burn extremely easily.
My second aloe pup sat on a south-facing windowsill with unfiltered afternoon sun. Within three days, its leaves turned reddish-brown, dry, and papery. The intense heat scorched the tender new growth and stunted further development.
The American Horticultural Society confirms that young succulent seedlings require filtered, indirect bright light rather than harsh direct rays. Morning sunlight is gentle and beneficial, while midday and afternoon sun leads to leaf burn and dehydration.
My fixed lighting routine solved this issue completely. I moved my aloe pups to an east-facing window, where they receive roughly four hours of mild morning sun and bright indirect light for the rest of the day. I also rotate the pot every three days to ensure even growth and prevent the plant from leaning toward the light source. After two weeks, new leaves grew thick, green, and plump.
Mistake #3: Unsuitable Pots Trigger Fast Root Rot
Decorative pots look beautiful indoors, but they are often the death of young aloe offsets. My third aloe pup perished in a hole-less ceramic pot because standing water drowned the root system, causing rapid root rot within 10 days.
For maximum aloe pup survival rate, breathable pots with functional drainage holes are non-negotiable. Terracotta pots work best for baby aloe plants because their porous material speeds up soil drying, prevents moisture buildup, and improves airflow to roots. High-quality plastic pots with multiple drainage holes also work as a budget alternative.
Always choose a pot only one inch wider than the pup’s root ball. Excess empty soil retains extra water and drastically increases rot risk. After switching to a small terracotta pot with bottom drainage holes, my fourth aloe pup developed new spreading roots within two weeks and looked far healthier than my previous attempts.
Step-by-Step Guide to Raise Aloe Pups With High Survival Rate
This proven method comes from weeks of hands-on testing, detailed observation, and fixing every common beginner mistake. It consistently keeps indoor aloe pups healthy, firm, and growing new foliage.
Step 1: Prepare Fast-Draining Soil Mix for Baby Aloe Plants
Regular all-purpose potting soil retains too much moisture and is unsuitable for succulents like aloe. Heavy soil creates swamp-like conditions that quickly cause root rot in young pups.
I use a custom, high-drainage aloe soil mix recommended by horticultural experts: two parts cactus soil, one part perlite, and one part coarse sand. This blend stays light, airy, and drains excess water instantly, creating the dry root environment aloe offsets need to thrive.
Step 2: Proper Watering Schedule for Indoor Aloe Pups
Never water aloe pups on a fixed calendar schedule. Always follow the soil dryness test. I check soil moisture two inches deep before every watering. Only fully dry soil gets watered.
I use a narrow-spout watering can to apply water directly to the soil base, avoiding leaf contact to prevent mold and rot. My two-week watering trial proved how effective this method is: the soil stayed moist for six days after watering, slightly damp until day eight, and completely dry by day twelve. I then watered thoroughly until water flowed out of the drainage holes. The aloe pup absorbed water quickly, staying plump and healthy with no damage.
Step 3: Best Light Setup for Young Aloe Offsets
The ideal light condition for indoor aloe pups is consistent bright indirect light with gentle morning sun. East-facing windows provide the perfect balance of soft sunlight and daytime brightness.
Watch your pup’s leaves to adjust lighting quickly. Pale, stretched leaves mean insufficient light, while brown, crispy leaf edges signal sunburn. With balanced lighting, aloe pup leaves stay compact, dark green, and steadily produce new growth.
Step 4: Ideal Temperature and Airflow Requirements
Young aloe pups thrive in stable indoor temperatures between 60°F and 75°F. Avoid placing them near cold winter drafts, heater vents, or hot direct indoor heat sources. Extreme temperature swings stress baby aloe plants and halt growth.
Gentle airflow is also critical to prevent mold and stagnant, humid soil conditions. During summer, I open nearby windows for soft natural ventilation. In winter, I move my aloe pups away from cold window sills at night. Stable temperature and airflow eliminate hidden growing risks most beginners overlook.
My 14-Day Aloe Pup Growing Observation Diary
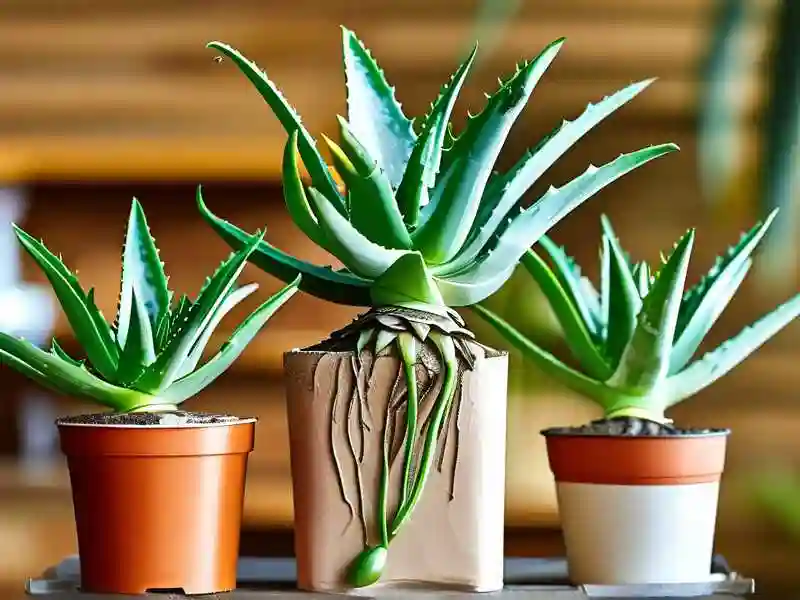
To document exactly how healthy aloe pup growth works indoors, I kept a detailed two-week growth log after implementing my full care routine:
Day 1: Repotted the young aloe pup in a small terracotta pot with drainage holes using my custom fast-draining cactus soil mix. Placed the plant on an east-facing windowsill with bright indirect light. No watering on planting day.
Day 5: Soil remains slightly damp two inches deep. Leaves stay firm and green with no yellowing or softness. No intervention needed.
Day 8: The soil surface feels dry, but deeper layers still hold minor moisture. I continue waiting to avoid overwatering stress. Plant foliage remains healthy.
Day 12: Soil is completely bone dry throughout all layers. I water deeply until water drains fully from the pot bottom. The aloe pup leaves plump up noticeably within several hours.
Day 14: New tiny inner leaf growth appears at the plant center. The aloe pup stands sturdy and compact. I rotate the pot for balanced future growth.
Since adopting this exact routine, I have not lost a single indoor aloe pup.
Frequently Asked Questions About Aloe Pup Indoor Care
1. When should I water indoor aloe pups to avoid root rot?Always test soil moisture first. Water only when the soil feels completely dry one inch deep. Ignore strict calendar schedules — the finger test is the most accurate way to prevent overwatering and root rot for baby aloe plants.
2. Can I use plastic pots instead of terracotta pots for aloe offsets?Yes, plastic pots work fine as long as they have multiple functional drainage holes. Keep in mind that plastic retains moisture longer than porous terracotta, so you will need to slightly extend the time between waterings to adapt.
3. What to do if my aloe pup leaves turn yellow and mushy?Yellow, soft leaves are classic signs of overwatering and early root rot. Stop watering immediately and let the soil dry completely. If the plant base feels mushy, gently remove the pup, trim away all rotten roots, and repot in fresh, dry cactus soil mix.
Final Thoughts
Losing three aloe pups taught me exactly what young aloe offsets truly need indoors: less water, gentle filtered light, breathable fast-draining soil, and properly sized pots with drainage. After fixing these core beginner mistakes, my indoor aloe pup survival rate jumped from zero to 100% for new pups.
If you follow this simple, proven two-week routine, you will watch your weak or struggling aloe pup transform into a sturdy, steadily growing plant. Small consistent care adjustments make all the difference for healthy indoor aloe growth.