bluename
How to Stabilize Aloe Pup Growth in New Pots
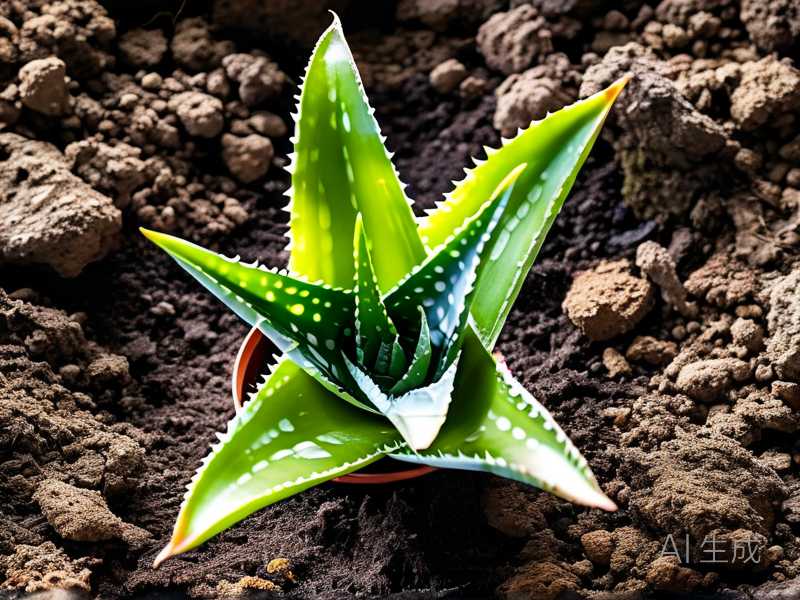
I killed my first three aloe pups before I learned the real trick. If you want to stabilize aloe pup growth in new pots, here is the direct answer: wait two to three weeks before watering after potting, use a pot with drainage holes, and place the pup in bright indirect light. I learned this the hard way, and now I never lose a pup.
The Three Deadly Mistakes Newbies Make
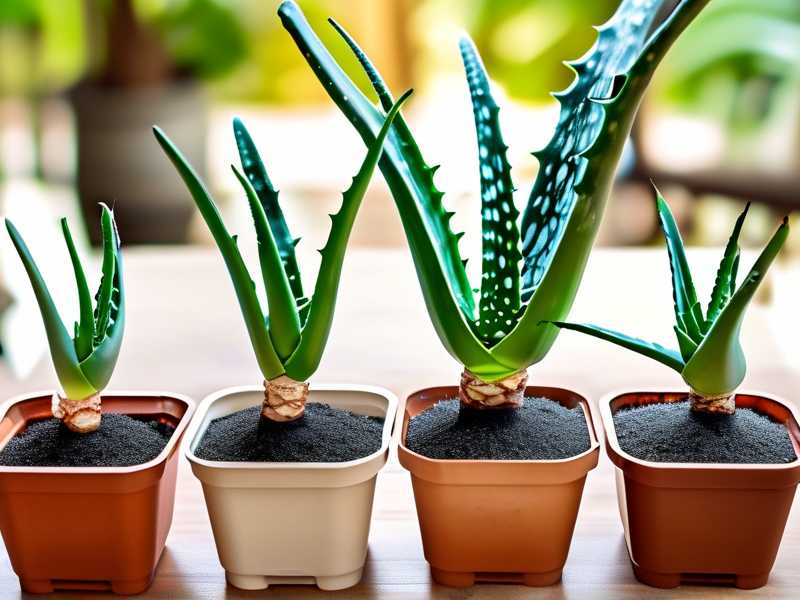
Let me tell you about three mistakes I made. I wish someone had told me these earlier.
Mistake 1: Overwatering
The biggest mistake I made was watering too much. I thought aloe pups needed lots of water to grow. I was dead wrong. 90% of indoor plants die from overwatering. I drowned my first pup in two weeks. The roots rotted fast.
Mistake 2: Wrong Light
I put my second pup in direct sunlight. I thought sun equals growth. Big mistake. The leaves turned brown and shriveled. It died within a week. Aloe pups need indirect light.
Mistake 3: Wrong Pot
My third pup went into a giant pot with no drainage. I thought room to grow was good. The soil stayed wet. Roots suffocated. It was dead in three days.
My Step-by-Step Method
I use a simple method now. It works every time.
Step 1: Choose the Right Pot
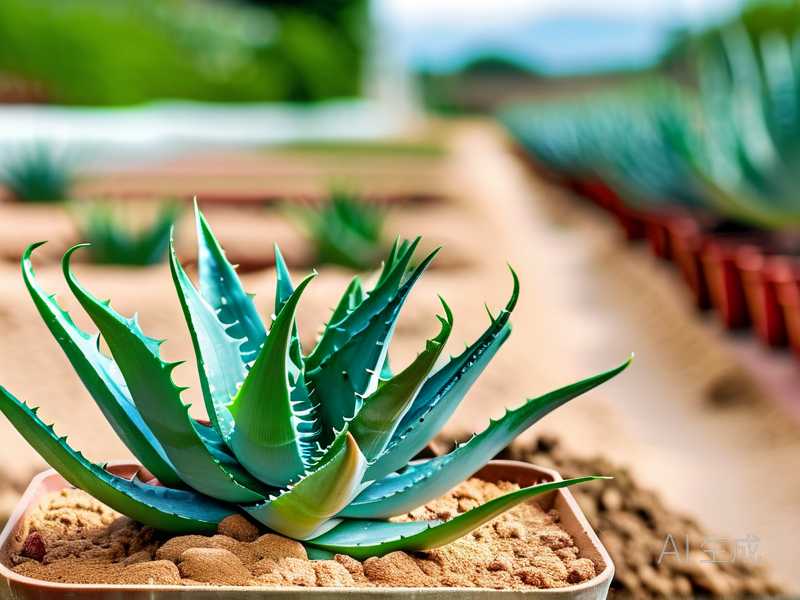
I pick a pot that is one to two inches bigger than the pup's root ball. It must have a drainage hole. I learned this from the RHS. They say drainage is critical for succulents. I add a layer of small pebbles at the bottom. This helps water flow out.
Step 2: Pick the Right Soil
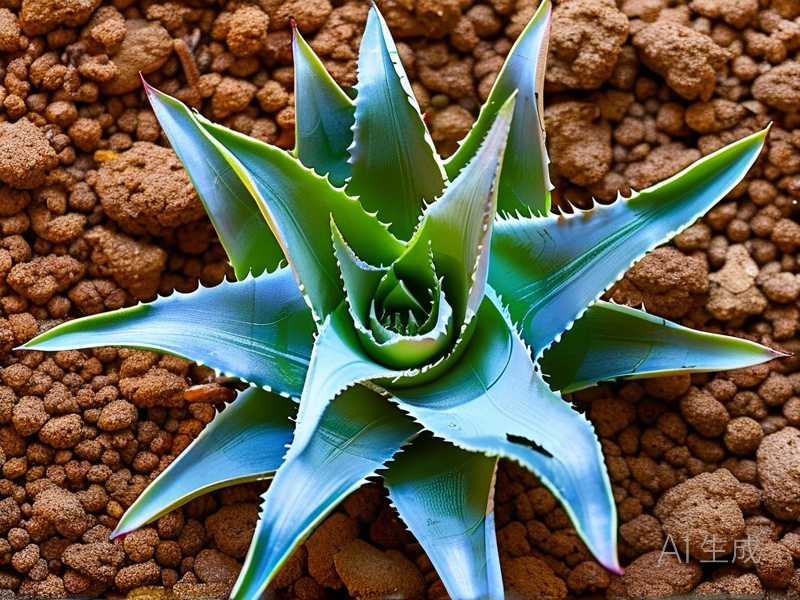
I use a cactus mix. It drains fast. I also add perlite. Mix one part perlite to three parts soil. This gives the roots air. I tried regular potting soil once. It was a mess. The soil stayed wet for days.
Step 3: Remove the Pup Carefully
I gently wiggle the pup from the mother plant. I use a clean knife if needed. I make sure each pup has some roots. Without roots, they struggle. I check for any rot. Throw away any mushy parts.
Step 4: Let the Pup Dry
This step is crucial. I leave the pup out for one to two days. This lets the cut end dry. It prevents rot. I put it on a paper towel. I don't rush this part.
Step 5: Pot It Up
I fill the new pot halfway with soil. I place the pup in the center. Its base should sit slightly above the soil line. I add more soil around it. I gently tap the pot to settle the soil. Never pack the soil tight.
Step 6: Wait Two Weeks
This is the game changer. I do not water the pup after potting. I wait 14 days. The pup is adapting to its new home. It is sending out new roots. Watering now will rot those roots. I learned this from my second failed pup.
Step 7: Water Gently
After two weeks, I give the pup a small drink. I use about a quarter cup of water. I let the soil dry completely between waterings. In winter, I water even less. Once a month is enough.
My Two-Week Observation Log
I kept a log. It helped me see progress.
Day 1 to Day 3
Nothing much happens. The pup sits in the pot. It looks the same. I don't disturb it. I just check the soil. It feels dry.
Day 4 to Day 7
I start to see tiny roots poking through the drainage hole. This is a good sign. The pup is settling in.
Day 8 to Day 10
The leaves look slightly plumper. They are absorbing moisture from the air. I resist the urge to water.
Day 11 to Day 14
The pup looks stable. It stops wiggling when I touch it. The roots are established. I know it is safe to water now.
Day 15
I give it a light watering. It drinks quickly. The leaves turn a healthy green. The pup is stabilized.
What to Watch For
I check for signs of trouble every few days.
Yellow Leaves
This means overwatering. I stop watering and let the soil dry out. I also check the drainage holes.
Brown Tips
This is from too much sun. I move the pot to a brighter but indirect spot.
Small Wrinkles
This means the plant is underwatered. I give it a small drink. Wrinkles usually go away in a day.
Choosing the Right Plastic Pot
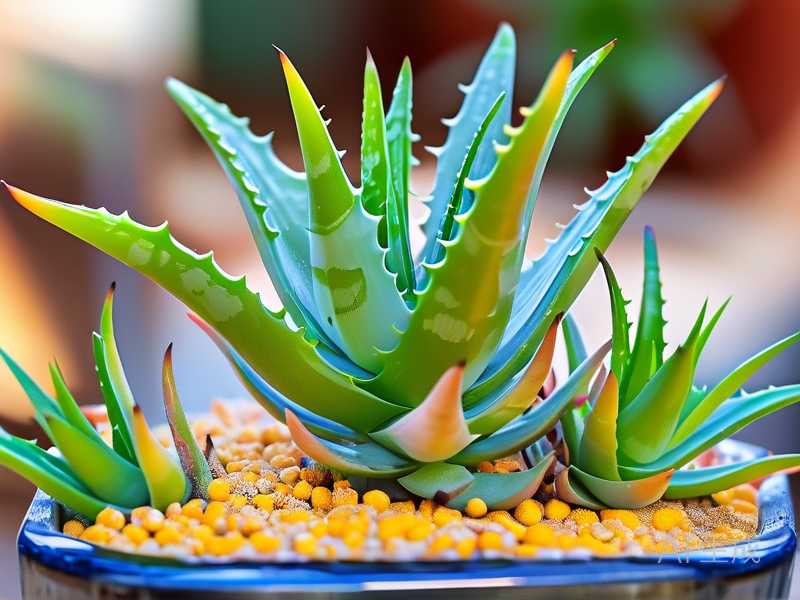
I prefer plastic pots for aloe pups. They are light and keep moisture in. But they must have drainage holes. I drill extra holes if needed.
The Right Temperature
Aloe pups like it warm. I keep them between 65 and 75 degrees Fahrenheit. They hate cold drafts. I avoid windows that get cold at night.
Feeding Your Aloe Pup
I feed my aloe pups once in spring and once in summer. I use a balanced liquid fertilizer. I dilute it to half strength. The AHS says not to over-fertilize succulents. I learned this works best.
Common Pitfalls I See
Many people put too many pups in one pot. This stunts growth. I keep each pup in its own small pot. This gives them space to grow roots.
Another mistake is using soil that is too rich. It holds too much water. Stick to cactus mix.
A Personal Story
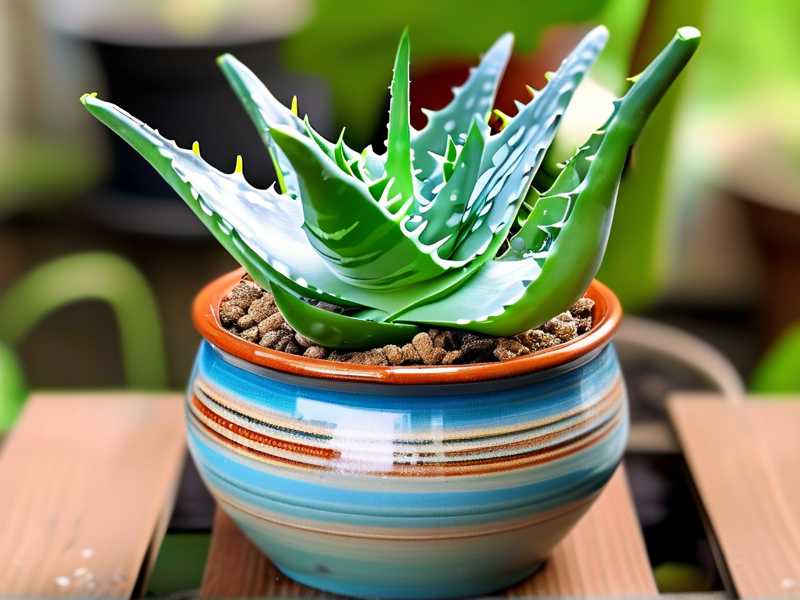
I remember my first aloe pup. It was a gift from my neighbor. I potted it and watered it every day. It turned yellow within a week. I panicked. I thought I had killed it. Then I stopped watering. I left it alone for two weeks. It bounced back. Those leaves turned green again. I learned patience.
Frequently Asked Questions
How often should I water my aloe pup?
Water every two to three weeks. Wait until the soil is bone dry. In winter, water once a month.
Do aloe pups need direct sunlight?
No. They need bright indirect light. Direct sun burns their leaves. Place them near an east or north window.
Can I use a terracotta pot?
Yes. Terracotta drains well. But it dries soil faster. You might need to water more often. I prefer plastic pots for new pups.
Stabilizing aloe pup growth is about patience. Let them rest after potting. Wait two weeks to water. Use the right pot and soil. These steps come from my own failures and successes. Start small. Your pupils will thank you.