bluename
How to Identify Early Signs of Aloe Fungal Infection Before Severe Damage
I killed my first three aloe plants before I learned the truth. The early signs of aloe fungal infection are subtle, but once you know what to look for, you can save your plant in under two weeks. The single most important thing? Check the base of the leaves where they meet the soil. If you see any soft, dark, or mushy spots there, you already have a fungal problem starting. I didn't know this. I thought it was just "overwatering" and kept cutting back water. Spoiler alert: I lost those plants.
Let me walk you through exactly what I look for now, what I do when I spot trouble, and the three deadly mistakes I made as a beginner. Stick with me, because the difference between a dead aloe and a thriving one is literally two weeks of proper care.
My 14-Day Observation Routine for Aloe Fungal Infection
Here's what I do every morning for two weeks straight when I suspect a problem. I built this routine after losing my fourth aloe to root rot.
Day 1-3: The Touch Test
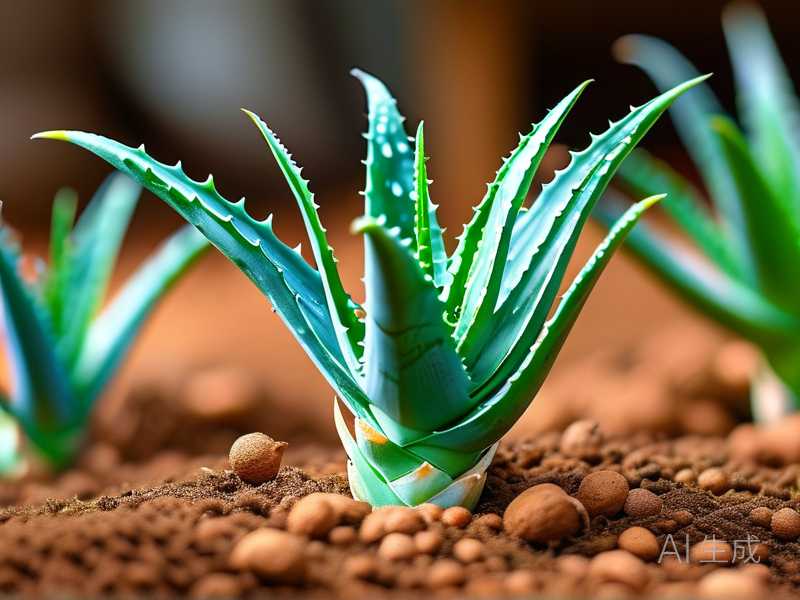
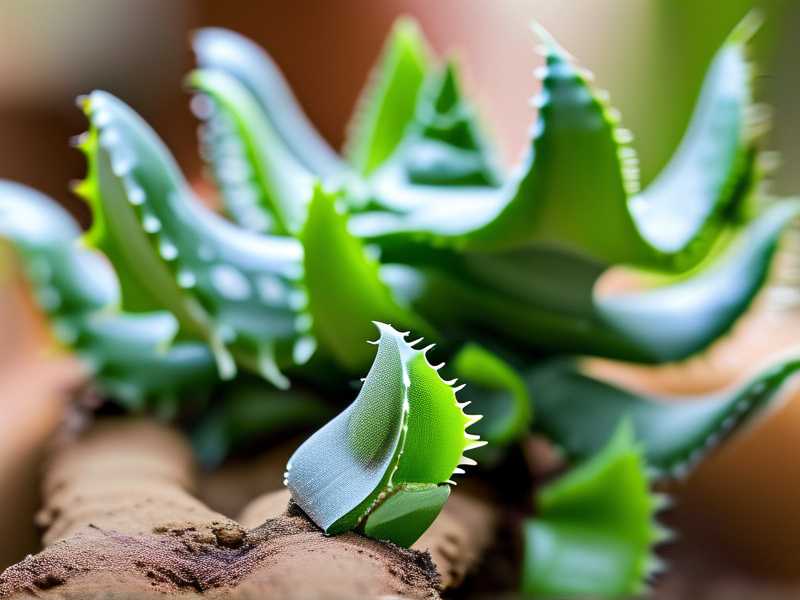
I gently squeeze the lower leaves near the base. Healthy aloe leaves feel firm and plump. If they feel soft, squishy, or like a deflated balloon, that's early fungal activity. I check three times daily—morning, noon, evening. The timing matters because daytime warmth can mask softness.
Day 4-7: The Color Check
I look for tiny yellow or brown spots on the leaf surface. Many people mistake these for sunburn. I know the difference now. Sunburn shows as large, uniform patches on the topmost leaves. Fungal spots? They start small, scattered, and appear on lower leaves first. I track them with my phone camera. Same angle, same lighting every day.
Day 8-10: The Soil Probe
I stick my finger two inches deep into the soil. If it feels damp, I don't water. Period. I learned this the hard way. I used to water on a schedule—every Saturday. My aloe developed brown spots within a week. The RHS recommends checking soil moisture before any watering, which I now follow religiously.
Day 11-14: The Base Inspection
I gently lift the aloe out of its pot. I check the roots and the base of the stem. Healthy roots are white or pale tan. If I see any dark, mushy, or slimy roots, fungal infection is confirmed. I cut those off immediately with sterilized scissors. I spray the remaining healthy roots with a diluted hydrogen peroxide solution (one part peroxide, three parts water). Then I repot in fresh, dry soil.
3 Deadly Mistakes Beginners Make (I Made All of Them)
Mistake #1: Watering Too Much
I used to water my aloe every three days. I thought "succulent" meant "needs constant moisture." That's wrong. 90% of indoor plants die from overwatering, and aloe is especially sensitive. The RHS states that aloe needs infrequent, deep watering only when the soil is completely dry.
My real story: I bought a beautiful aloe from a nursery. It was green, plump, perfect. I watered it twice a week for a month. By week four, the leaves turned yellow at the base and fell off. I pulled it out of the pot and found dark, slimy roots. I had drowned it.
Solution: Wait until the soil is bone dry. Stick your finger in. If it's dry two inches deep, water deeply until water flows out the drainage holes. Then don't water again until the soil dries out completely. In winter, I water once every three to four weeks. In summer, once every two weeks.
Mistake #2: Wrong Light Placement
I thought aloe would thrive on my dark bookshelf. It didn't. The leaves stretched out, got thin, and turned pale. I also made the opposite mistake—putting it in direct afternoon sun. The leaves got sunburned, turned brown, and I thought it was fungus. It wasn't.
My real story: I put my aloe on a south-facing windowsill. It got blasted with direct sun from noon to 4 PM. Within a week, the leaves developed brown, crispy patches. I rushed to treat for fungus. I wasted two weeks applying fungicide for nothing. It was just sunburn.
The AHS recommends: Bright, indirect light for aloe. A north or east-facing window is ideal. If you must use a south or west window, filter the light with a sheer curtain. I now keep my aloe on a shelf two feet away from an east window. It gets morning sun, then indirect light for the rest of the day. My plants are green, compact, and healthy.
How to tell light issues from fungal infection:
- Sunburn: Large, uniform brown patches on the top leaves. The leaf feels dry and crispy.
- Fungal infection: Small, dark spots that start on lower leaves. The leaf feels soft and mushy.
Mistake #3: Using the Wrong Pot
I used a beautiful ceramic pot with no drainage hole. I thought "I'll just water carefully." I did not water carefully. Water pooled at the bottom, roots sat in moisture, and fungal infection bloomed within two weeks.
My real story: I bought a gorgeous blue pot from a flea market. No drainage hole. I planted my aloe in it, thinking I could control the water. After ten days, the leaves looked translucent and started falling off. The bottom of the stem was completely rotted. The AHS warns that aloe needs excellent drainage. I learned that lesson the hard way.
Solution: Use a terracotta pot with drainage holes. Terracotta is porous, so it wicks away excess moisture. I also add a layer of pebbles at the bottom before putting in soil. Make sure the pot is only one to two inches larger than the root ball. A pot too big holds too much moisture and invites fungus.
Step-by-Step: My Emergency Treatment for Early Fungal Infection
I caught a fungal infection on my aloe last month. Here's exactly what I did:
Step 1: Stop Watering Immediately I didn't water for ten full days. Even if the soil looked dry, I held off. The fungus needs moisture to spread. Cutting water is step one.
Step 2: Remove the Plant from the Pot I gently tipped the pot and pulled out the aloe. I brushed away loose soil from the roots.
Step 3: Inspect and Cut I trimmed off all dark, mushy, or slimy roots with clean scissors. I also cut off any leaves that had soft, brown spots at the base. I left only healthy, firm roots and leaves.
Step 4: Disinfect I mixed one part hydrogen peroxide with three parts water. I sprayed the remaining roots thoroughly. This kills fungal spores without damaging healthy tissue. I let the plant sit on a paper towel for two hours to air dry.
Step 5: Repot in Fresh Soil I used a cactus and succulent potting mix. I added extra perlite (one part perlite to two parts soil) for drainage. I used a clean terracotta pot with drainage holes.
Step 6: Position in Bright, Indirect Light I placed the pot near my east window. No direct sun for the first week. I wanted the plant to focus on root recovery, not fight sun stress.
Step 7: Wait Two Weeks Before Watering I did not water for 14 days. The aloe needs time for cut roots to callus over and start growing again. After two weeks, I did the finger test. The soil was completely dry. I watered deeply once, then waited again.
My 14-Day Observation Results
Week 1: The leaves looked a bit wrinkled and thin. That's normal. The plant lost some roots, so it can't absorb as much water. I didn't panic. By day 7, I saw tiny white root tips appearing near the cut ends. That meant healing was happening.
Week 2: The leaves started firming up. The wrinkled ones didn't plump fully, but new growth pushed from the center. The aloe stood tall and upright, not leaning or wobbling. By day 14, I watered again. The plant responded well. No new soft spots appeared.
Common Questions from Fellow Aloe Lovers
How do I tell the difference between fungal infection and normal leaf shedding?
Honestly, I struggled with this for months. Normal lower leaves will turn yellow and dry out gradually. They don't get mushy. They don't have spots. They just get thin, turn brown, and fall off. Fungal infection? The leaf goes soft first, then discolors, then drops. The texture change is key. Soft means trouble. Dry means normal aging.
Should I use a fungicide or natural remedies?
I tried both. In my experience, natural remedies work for mild cases. I use a spray made of one teaspoon baking soda, half teaspoon liquid soap, and one quart of water. It works for surface fungus. If the infection has reached the roots, I need stronger measures. I use a copper-based fungicide from the garden center. I follow the label exactly. The AHS suggests testing any product on a single leaf first. I learned that lesson after I turned one whole plant brown.
How often should I repot my aloe to prevent fungal infection?
Every two years, or when the plant outgrows its pot. But here's my rule: I also repot immediately if I suspect root problems. I don't wait for the scheduled time. I've repotted three times in one year because of issues. Better to repot too often than lose a plant. I always use fresh soil and a clean pot.
What I Wish Someone Told Me When I Started
Fungal infection in aloe is preventable. Stop watering so much. Put it in bright, indirect light. Use a pot with drainage. That's 90% of the battle. The remaining 10% is catching problems early and acting fast.
If you see a single leaf that looks off—softer than usual, slightly discolored near the base—check the roots immediately. Don't wait. I waited because I thought "it might just need more water." It didn't. It needed me to stop watering and start cutting.
Two weeks is all it takes to turn a sick aloe into a healthy one. Or to lose it completely. The choice is in your hands and your watering can. Put it down. Check the leaves. Your aloe will thank you.
Source: Royal Horticultural Society (https://www.rhs.org.uk) and American Horticultural Society (https://ahsgardening.org)