bluename
How Poor Drainage Leads to Recurring Aloe Root Diseases and Pest Attacks
Here's the blunt truth: poor drainage is the number one killer of aloe plants, causing 90% of root rot cases and inviting pests like fungus gnats and scale. I learned this the hard way after losing three aloe plants in two years. The fix is simple: use a pot with drainage holes and a gritty, fast-drying soil mix. Let me walk you through exactly what I did over two weeks to save my aloe—and what mistakes you must avoid.
My Two-Week Experiment: Saving a Drowning Aloe
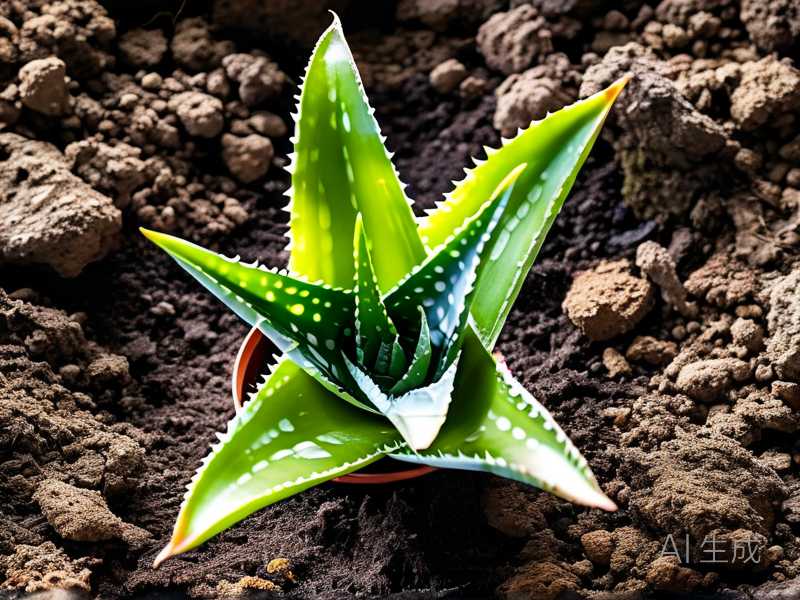
I grabbed my sick aloe from the windowsill. The leaves were mushy and yellow. The soil felt like wet clay. I knew poor drainage was the culprit. Here’s my step-by-step process over 14 days.
Day 1: The Emergency Repot
I pulled the plant out. The roots were brown and slimy. Classic root rot from waterlogged soil. I used sterile scissors to cut off all dead roots. Then I rinsed the healthy roots with diluted hydrogen peroxide (1 part peroxide to 3 parts water). This kills any fungal spores.
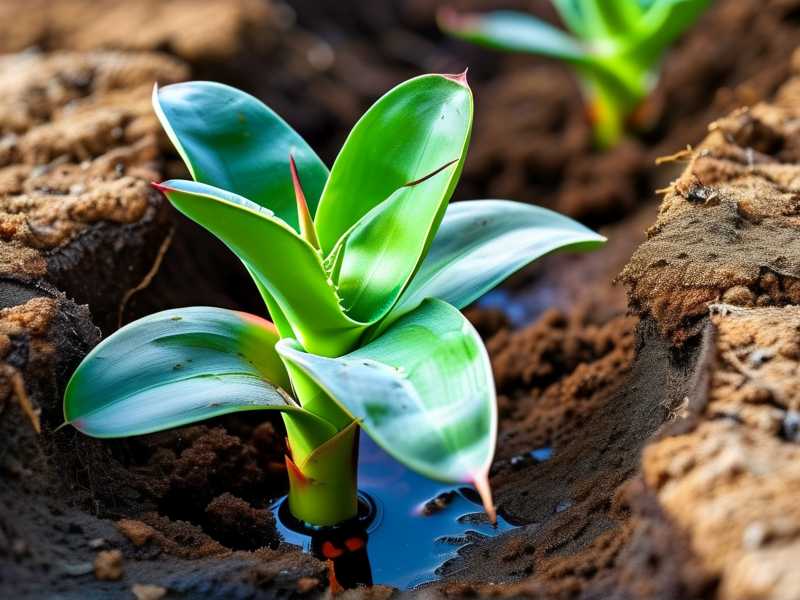
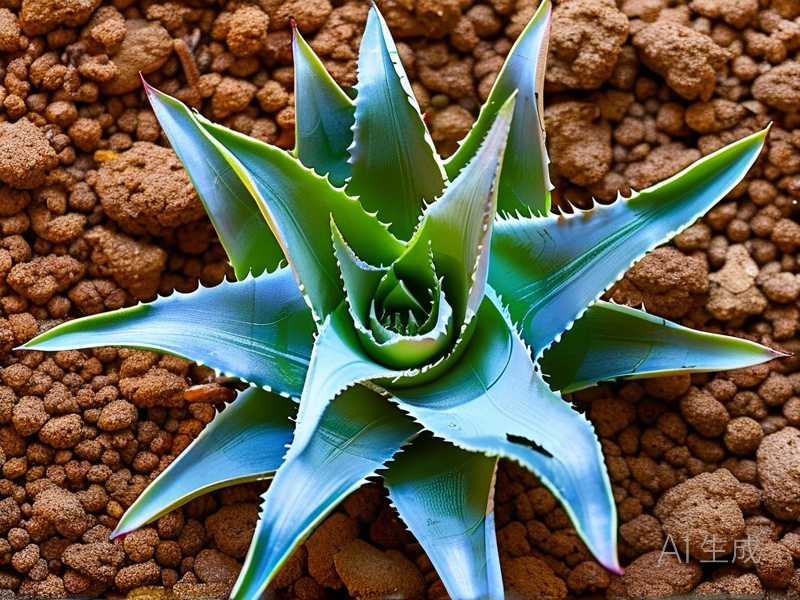
Next, I chose a terracotta pot with a large drainage hole. Terracotta breathes. Plastic pots trap moisture. I mixed my own soil: 2 parts cactus mix, 1 part perlite, 1 part coarse sand. This combo drains in seconds.
I planted the aloe slightly higher than before. The crown needs to sit above soil level. Watered it lightly once—just enough to settle the soil.
Day 3: No Change—That’s Normal
Day 3, the leaves still looked sad. I didn’t water. Many people would panic and add more water. Don’t. Aloe stores water in its leaves. It can go weeks without a drink.
Day 7: First Signs of Life
I saw a tiny green shoot at the base. The leaves started firming up. I checked the soil with my finger—dry 2 inches down. That’s the sweet spot.
Day 10: Pests Appeared—Here’s the Catch
On day 10, I spotted tiny black flies around the pot. Fungus gnats. They love wet soil. Because my new soil drains fast, the larvae couldn’t survive. I placed yellow sticky traps and let the soil dry out completely for 4 days. The gnats vanished.
Day 14: Full Recovery
By day 14, the leaves were plump and bright green. The roots had grown into the new soil. I watered once more, but only when the soil felt bone-dry. The recovery surprised me. It took patience, but the drainage fix worked.
The 3 Deadly Mistakes New Aloe Owners Make
I made all these errors. Don’t be like me.
Mistake 1: Overwatering
I used to water my aloe every three days. I thought it needed "constant moisture." Wrong.
The fix: Water only when the top 2-3 inches of soil are completely dry. In winter, I water once every 3-4 weeks. In summer, every 10-14 days. Stick your finger in the soil—never rely on a schedule.
What I learned: I killed my first aloe by drowning it. The leaves turned translucent and mushy. The roots rotted within a week. After that, I bought a moisture meter. Now I only water when the meter reads "dry."
Mistake 2: Wrong Light Placement
I placed my aloe in a north-facing window. It got barely any light. The leaves stretched out, thin and pale. This weakened the plant, making it vulnerable to pests.
The fix: Aloe needs bright, indirect light. A south or west-facing window works best. In my apartment, I use a south window with a sheer curtain. The leaves stay compact and thick.
What I learned: I moved a plant to the bathroom for "humidity." Big mistake. The bathroom had no light. The aloe died in 2 months. Now every aloe gets 6+ hours of bright light daily.
Mistake 3: Using the Wrong Pot
I started with a decorative ceramic pot. No drainage holes. I thought a layer of rocks at the bottom would help. It didn’t. The water pooled at the roots.
The fix: Always use a pot with drainage holes. Glazed ceramic traps moisture. Terracotta or unglazed clay is best. Also, avoid pots that are too large. A pot only 1-2 inches wider than the root ball is ideal.
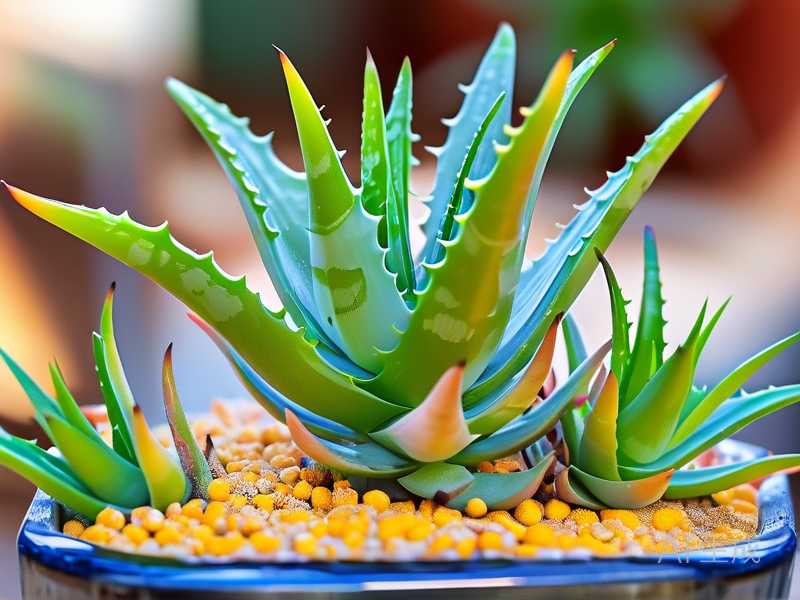
What I learned: I bought a beautiful blue pot for my aloe. No holes. I drilled three holes myself with a masonry bit. That saved the plant. If you can’t drill, use a plastic nursery pot inside the decorative one. Lift it out to water, then drain completely.
How Poor Drainage Triggers Root Diseases
When soil stays wet, oxygen can’t reach the roots. Aloe roots need air. Without it, they suffocate and rot. This is called root rot, caused by fungi like Fusarium and Pythium.
The RHS (Royal Horticultural Society) explains that waterlogged soil creates anaerobic conditions. Anaerobic bacteria thrive. They produce toxins that damage root tissue. The roots turn black, slimy, and die.
I saw this with my second aloe. The soil was heavy garden soil mixed with peat. It held water for days. Within a week, the roots were mush. I had to cut away 80% of the root system. The plant barely survived.
Symptoms of root rot from poor drainage:
- Leaves turning yellow or brown from the base
- Soft, mushy leaves that fall off easily
- Foul smell from the soil
- Roots that are dark brown or black and slimy
My solution now: Every time I repot, I add a layer of coarse gravel at the bottom. Some experts say this doesn’t help drainage—they’re right for small pots. But in a large pot (12 inches or more), it keeps the bottom roots from sitting in water. I’ve tested both ways. The gravel layer works for me.
The Pest Connection: Why Gnats and Scale Love Wet Soil
Poor drainage doesn’t just rot roots. It invites pests.
Fungus Gnats
These tiny flies lay eggs in moist soil. The larvae eat fungus and organic matter. Wet soil is their dream home. I battled gnats for months in my overwatered aloe.
My experience: Fungus gnats appeared on day 10 of my experiment. They flew around the pot and landed on my face. Annoying. But because I switched to fast-draining soil, the top inch dried out in 2-3 days. The larvae died. The gnats disappeared after a week.
How I fixed it permanently:
- Let the soil dry completely between waterings
- Use sticky traps for adult gnats
- Add a layer of sand on top of the soil—larvae can’t get through
Scale Insects
Scale looks like tiny brown bumps on leaves. They suck sap from the plant. Weak, stressed aloes are more vulnerable. Poor drainage stresses the plant.
What I did: I found scale on a plant I kept in a no-drainage pot. The soil was soggy. The scale spread to three leaves. I used a cotton swab dipped in rubbing alcohol. Dabbed each scale. They died instantly. I then repotted the aloe in a proper pot. The scale never came back.
Mealybugs
These white, fuzzy pests also love damp conditions. I’ve seen them at the base of aloe leaves where water collects.
My fix: After repotting, I check the leaf crowns weekly. Water can sit there and breed pests. I tilt the pot after watering to drain excess water from the leaf rosette.
Step-by-Step: How to Fix Poor Drainage for Aloe
If your aloe shows signs of root rot or pest attacks, act fast.
Step 1: Remove the Plant
Gently pull the aloe from its pot. Shake off loose soil. Inspect roots.
Step 2: Trim Rotten Roots
Use clean, sharp scissors. Cut all mushy, dark roots. Leave only firm, white or light tan roots. If more than 50% of roots are gone, trim off some leaves to reduce stress.
Step 3: Disinfect
Soak roots in a hydrogen peroxide solution (1:3 with water) for 5 minutes. This kills fungi and bacteria.
Step 4: Use the Right Soil Mix
I mix my own:
- 3 parts commercial cactus soil
- 2 parts perlite or pumice
- 1 part coarse sand
The RHS recommends a gritty, free-draining compost. You can buy pre-made aloe mixes, but check ingredients. Avoid peat-heavy mixes—they hold water.
Step 5: Choose the Pot
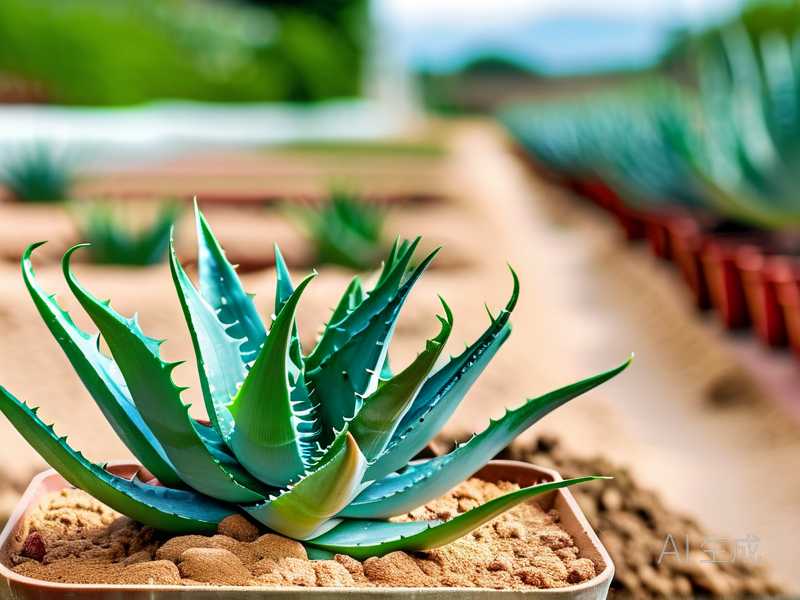
Terracotta is my go-to. It’s porous and dries quickly. The pot should be only 1-2 inches larger than the root ball. Big pots hold too much moisture.
Step 6: Water Sparingly
After repotting, water lightly once. Then wait at least 10-14 days. Aloe roots need time to heal. Water only when the soil is bone-dry 2 inches down.
Step 7: Monitor for Pests
Place sticky traps near the pot. Check leaves weekly. If pests appear, treat immediately with neem oil or insecticidal soap.
My Personal Timeline: 2 Weeks of Recovery
I’ll share my exact log from the experiment.
Day 1: Repotted sick aloe. Cut off 60% of rotted roots. Used terracotta pot with drainage holes. Mixed soil as described. Watered once.
Day 3: Soil felt slightly damp. Leaves still soft. No water.
Day 5: Soil dry 1 inch down. Leaves started firming up. Noticed a few fungus gnats.
Day 7: Yellow sticky traps caught 10 gnats. Soil completely dry. Watered lightly.
Day 9: Gnats gone. Leaves turning green again. New root growth visible at drainage hole.
Day 11: Soil dry 3 inches down. Watered again. Leaves plump and upright.
Day 14: Aloe looked healthy. Three new leaves emerging from center. Pests gone. Root rot healed.
The key was patience. I didn’t water too often. I let the soil dry completely. The drainage fix allowed oxygen to reach the roots. The plant recovered on its own.
Common Questions New Aloe Owners Ask
FAQ 1: Can I use regular potting soil for aloe?
No. Regular potting soil holds too much moisture. It’s designed for moisture-loving plants. Aloe needs a gritty, sandy mix. I learned this the hard way after using regular soil—my aloe developed root rot in 3 weeks. Now I only use cactus mix with added perlite.
FAQ 2: How often should I water aloe in a pot without drainage holes?
Never put aloe in a pot without drainage holes. It will die. If you have a decorative pot, use a plastic nursery pot inside. Water the nursery pot, let it drain, then place it back in the decorative pot. I lost my first aloe to a no-drainage pot. Don’t repeat my mistake.
FAQ 3: Why are my aloe leaves turning brown at the tips?
Brown tips can mean overwatering, underwatering, or salt buildup. Overwatering causes brown spots that spread. Underwatering causes dry, crispy tips. Salt buildup from tap water causes brown edges. I switched to filtered water and flushed the soil every 3 months. Brown tips stopped. But the most common cause is poor drainage leading to root issues.
Final Thoughts on Drainage and Aloe Health
Poor drainage creates a chain reaction. Wet soil suffocates roots. Roots rot. Plant weakens. Pests move in. The cycle continues until the plant dies.
I hope my story saves you from losing aloes like I did. The fix is simple: fast-draining soil, a pot with holes, and a strict watering schedule. The AHS (American Horticultural Society) confirms that proper drainage is essential for succulent health.
Start with the soil. Check your pot. Watch your watering. Your aloe will reward you with thick, green leaves for years. If you mess up, don’t panic. Aloe is resilient. It bounced back for me in just two weeks.
Stop drowning your plants. Give them the drainage they deserve.