bluename
How to Master Full-Cycle Care for Aloe Pruning and Propagation
I killed my first three aloe plants before I finally figured out the full-cycle care for aloe pruning and propagation. Honestly, it was a painful learning curve. Let me save you the trouble: water less, give it bright indirect light, and use a pot with drainage holes. That's the short answer. But there's so much more to it.
Many people think aloe is unkillable. They treat it like a plastic plant you can ignore. I used to think that too. Then I watched my aloe turn brown and mushy. It broke my heart. That was when I realized I needed to understand the full-cycle care for aloe pruning and propagation from root to leaf.
Let me walk you through everything I've learned. I'll share my real steps, my two-week observation results, and every mistake I made along the way.
The Three Biggest Mistakes New Aloe Owners Make
Before we dive into the step-by-step process, let me call out the elephant in the room. 90% of indoor plants die from overwatering. Aloe is especially sensitive to this. Here are the three biggest mistakes I see beginners make:
1. Overwatering – The Silent Killer
I watered my first aloe every three days. I thought it needed constant moisture like my ferns. The leaves turned yellow, then brown, then mushy. The roots rotted completely.
The fix: Only water when the soil is completely dry. Stick your finger two inches deep. If it feels dry, water deeply. If it's still moist, wait.
2. Wrong Lighting – Too Much or Too Little
My second aloe sat right on my south-facing windowsill. I thought "succulent = loves direct sun." Eight hours of intense afternoon light scorched the leaves. They turned reddish-brown and curled inward.
The fix: Bright indirect light is best. A few hours of morning sun is okay. Avoid harsh afternoon rays. I now keep my aloe near an east-facing window behind a sheer curtain.
3. Wrong Pot – No Drainage Is a Death Sentence
I used a beautiful ceramic pot with no drainage hole. Classic rookie mistake. Water pooled at the bottom. Root rot set in within two weeks. The soil stayed wet forever.
The fix: Always use a pot with drainage holes. Terracotta is ideal because it wicks away moisture. Never let the pot sit in standing water. I use terracotta pots with a saucer removed after watering.
My Full-Cycle Care Routine: Step by Step
I've been practicing full-cycle care for aloe pruning and propagation for about two years now. Here's what I do, step by step. This routine covers everything from daily maintenance to pruning to growing new plants.
Step 1: Assess Your Aloe's Health
Before pruning or propagating, take a good look at your plant. I do this weekly. Check for:
- Leaf color (should be vibrant green, not yellow or brown)
- Leaf firmness (should be plump, not wrinkled or mushy)
- Soil moisture (should be dry on top)
- Signs of pests (look for tiny white dots or sticky residue)
I once skipped this step and pruned a plant that was already stressed. Bad idea. It took months to recover. Now I always check first.
Step 2: Gather Your Tools
You don't need fancy equipment. Here's what I use:
- Sharp, clean pruning shears or a knife
- Rubbing alcohol (to sterilize blades)
- A clean cutting surface
- Small pots with drainage holes
- Well-draining succulent soil mix
- Optional: rooting hormone powder
I sterilize my blades before every use. Dirty tools spread disease. I learned this after my second propagation attempt failed because of bacteria.
Step 3: Prune Your Aloe – Remove Damaged Leaves
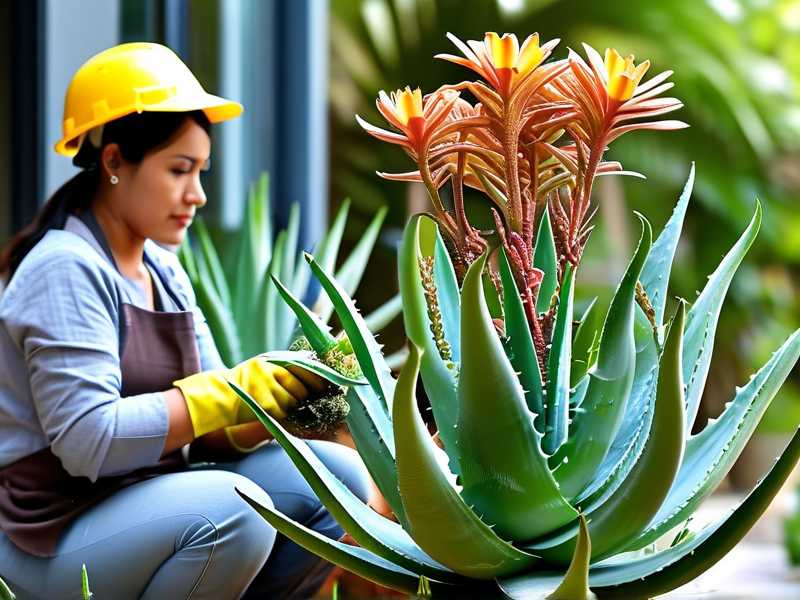
The first step in full-cycle care for aloe pruning and propagation is actually pruning. I prune every two to three months. Here's my method:
- Identify leaves that are brown, mushy, or dried out at the tips
- Cut at the base, close to the main stem but without cutting into it
- Make a clean, angled cut to allow water to run off
I once cut too close to the stem and nicked it. The plant oozed gel for days. It eventually healed, but it took forever. Now I leave about a quarter-inch of the leaf base intact.
After pruning observation (first week):
- Days 1-3: The cut areas look slightly wet. I don't water during this time.
- Days 4-7: The cuts start to callus over. The surrounding area looks healthy.
After pruning observation (second week):
- The calluses are dry and hard.
- The plant looks less crowded and more open.
- New growth appears at the center of the rosette.
Step 4: Harvest Aloe Gel from Pruned Leaves
Don't throw away those pruned leaves! This is where the magic happens. I use aloe gel for skincare and minor burns. Here's my harvest process:
- Rinse the pruned leaves under cool water
- Let them drain on a clean towel for 10 minutes
- Cut off the tip and the white base
- Slice open the leaf lengthwise
- Scrape out the clear gel with a spoon
The gel stays fresh in the refrigerator for about a week. I also freeze some in ice cube trays for later use.
Step 5: Propagate from Pups – The Most Reliable Method
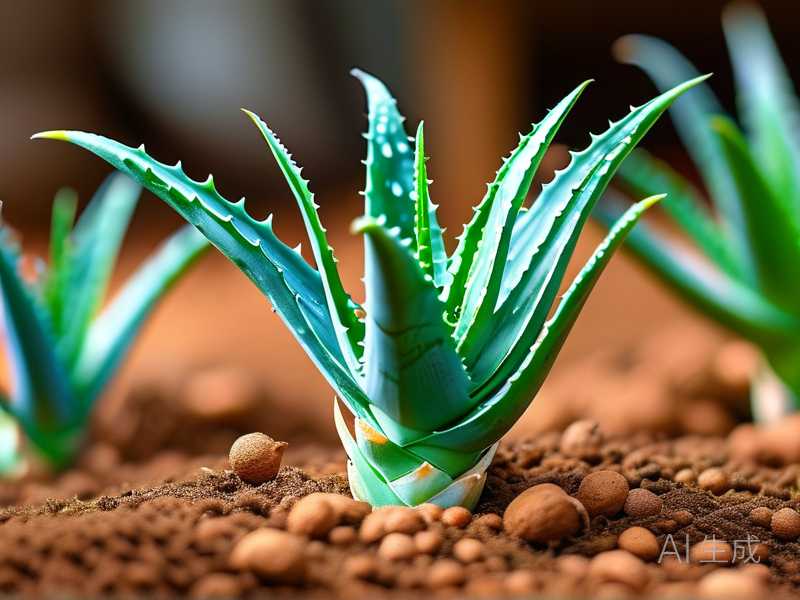
The easiest way to propagate aloe is through pups. These are small offsets that grow at the base of the mother plant. I've tried growing from leaf cuttings, and it failed every time. Pups are much more reliable.
Step 5a: Remove the Pups
I waited until a pup was about three inches tall with at least three leaves. Then:
- Carefully remove the mother plant from its pot
- Gently brush away soil to expose the pup's roots
- Use clean shears to cut the pup away from the mother
- Make sure the pup has some roots attached
Step 5b: Let the Pups Callus
This is critical. I once planted a pup immediately and it rotted. Now I always let the cut surface dry for 2-3 days. Place the pup on a paper towel in a warm, dry spot out of direct sunlight.
Step 5c: Pot the Pups
After callusing:
- Fill a small pot with succulent soil mix
- Make a hole in the center with your finger
- Place the pup in the hole, burying the roots but not the leaves
- Gently firm the soil around it
- Do not water for the first week
Propagation observation (first week):
- Days 1-3: The pup looks exactly as planted. I don't water at all.
- Days 4-7: The pup starts to show slight color change. The leaves look slightly paler. This is normal.
Propagation observation (second week):
- The pup looks settled. The leaves have regained their green color.
- I do a first light watering. I use just enough to moisten the top inch of soil.
- By day 14, I see very subtle new growth at the center.
Step 6: Propagate from Leaves – The Challenging Method
I've attempted leaf propagation about six times. Two succeeded. Here's what worked:
- Choose a healthy, mature leaf at least four inches long
- Cut it cleanly at the base
- Let the cut end callus for 5-7 days (longer is better)
- Place the callused end into dry succulent soil
- Do not water for the first two weeks
- Mist lightly every week after that
Leaf propagation observation (first two weeks):
- First week: The leaf sits there. Nothing happens. I resist the urge to water.
- Second week: No roots visible yet. The leaf starts to wrinkle slightly. This means it's using its stored water.
I'll be honest: leaf propagation is slow and unreliable. Pups are way better for beginners.
Full-Cycle Care: The Two-Week Observation Timeline
Here's my complete two-week care log for a mature aloe that I pruned and propagated:
Day 1
- Pruned three damaged outer leaves
- Harvested gel from pruned leaves
- Removed one three-inch pup from the base
- Let the pup callus on a paper towel
Day 3
- The pup's cut surface is dry
- Potted the pup in a 3-inch terracotta pot
- Did not water the mother plant or the pup
Day 5
- Mother plant looks clean and open
- Cut pruned leaf ends are fully callused
- I check soil moisture – still dry, so no watering
Day 7
- Mother plant shows a tiny hint of new growth
- Pup looks exactly the same – no change
- I water the mother plant deeply but let it drain completely
Day 10
- Mother plant's center leaves look vibrant and healthy
- Pup shows subtle green improvement
- Soil for both: top inch is dry
Day 14
- Mother plant has clear new leaf emerging at center
- Pup has slight growth, roots likely established
- I water the pup lightly for the first time
Common Issues I Faced and How I Solved Them
I want to share the real problems I encountered. These are not textbook examples. These were my actual, frustrating, plant-killing experiences.
The Yellow Leaf Nightmare
My aloe started turning yellow at the base. I panicked. I thought it was rot. I stopped watering completely for three weeks. But the yellowing got worse.
What was wrong? The plant was actually too dry. I had swung from overwatering to underwatering.
How I fixed it: I gave it a deep soak. Within four days, the yellowing stopped. Within two weeks, the leaves plumped back up. Now I check soil moisture weekly instead of following a strict schedule.
The Pup Died After Two Weeks
My first propagation pup looked perfect. Then, at the two-week mark, it turned brown and collapsed. I was crushed.
What went wrong? I had potted the pup in regular potting soil. It held too much moisture. The roots rotted.
How I fixed it: Next time, I used a cactus and succulent mix. I added extra perlite for drainage. That pup is now twice its original size.
The Leaf Cuttings Never Rooted
I tried leaf propagation three times before I got it right. The first two times, the leaves rotted or dried up completely.
What was different? I learned that leaf cuttings need more callus time. I now let them dry for a full week. Also, I place them on top of soil rather than burying them. This prevents rot.
The third attempt worked. It took six weeks to see tiny roots. Eight weeks for a baby pup. Patience is everything.
Expert Tips for Full-Cycle Care
According to the RHS, aloe plants are drought-tolerant but not indestructible. They need proper seasonal care. The AHS also emphasizes the importance of soil drainage for succulents. I take their advice seriously.
Here are some expert-backed tips that I've tested:
Watering Schedule for Each Season
- Spring and Summer: Water every 2-3 weeks. Let soil dry completely between waterings.
- Fall: Reduce to once a month.
- Winter: Water every 4-6 weeks. The plant goes semi-dormant.
I keep a small calendar reminder. I never guess anymore.
Fertilizing – Less Is More
Aloe doesn't need much food. I fertilize once in spring and once in early summer. I use a balanced liquid fertilizer diluted to half strength. Over-fertilizing causes leaf burn. I learned this when my aloe's leaf tips turned brown after I overdid it.
Repotting Every Two Years
Aloe likes being slightly root-bound. I repot every two years, going up only one pot size. Use terracotta pots for best results. They're porous and help prevent overwatering.
Full-Cycle Care for Aloe Pruning and Propagation: The Complete Checklist
Here's what you need to remember. I keep this checklist on my phone:
- Prune every 2-3 months – remove dead or damaged leaves
- Harvest gel – use pruned leaves immediately
- Check for pups – look for offsets at the base
- Remove pups – wait until they are 3 inches with 3 leaves
- Let pups callus – dry for 2-3 days before potting
- Pot pups correctly – use succulent mix and small terracotta pots
- Do not water new pups – wait one full week
- Observe and adjust – check soil, light, and leaf health weekly
This full-cycle care for aloe pruning and propagation routine has given me healthy plants for months on end. It's not complicated once you get the hang of it.
Frequently Asked Questions
1. How often should I water my aloe after pruning?
Wait at least one week after pruning before watering. The cut areas need time to callus. Watering too soon can cause rot. Then resume your normal schedule – only when the soil is completely dry.
2. Can I propagate aloe from a single leaf?
Yes, but it's much harder than using pups. The success rate is lower. If you try, choose a thick, healthy leaf. Let it callus for 5-7 days. Place it on top of dry succulent soil. Be patient – it can take 6-8 weeks to see roots.
3. Why is my aloe turning brown after propagation?
Browning often means too much direct sun. New propagations need bright indirect light. Move it to a spot with morning sun only. Also check if the soil is too wet. Brown and mushy = overwatered. Brown and crispy = over-sunned.
I've been through the full-cycle care for aloe pruning and propagation more times than I can count. Each time I learn something new. The key is to pay attention, stop guessing, and let the plant tell you what it needs. You'll find your routine soon enough. Just stick with it.