bluename
 How to Adjust Aloe Vera Watering for Clay Soil: A Two-Week Rescue Mission
I love my aloe vera plants. Their plump, soothing leaves are a constant source of pride. But when I moved to a new home with dense, heavy clay soil in the garden, my thriving potted aloes faced their biggest challenge yet. I quickly learned that how to adjust aloe vera watering for clay soil isn't just a minor tweak; it's a complete rethink of your care routine. Clay acts like a sponge, holding onto water for what feels like forever, which is a death sentence for these drought-loving succulents. If you're struggling with soggy soil and a worried-looking aloe, join me on my two-week journey to get the watering just right.
My initial mistake was treating my clay-based aloe like my old ones in sandy mix. A weekly sip led to persistently damp soil and the first dreaded sign: a slightly soft, yellowish tinge at the base of a lower leaf. I knew I had to act fast.
Understanding the Enemy: Why Clay Soil and Aloe Vera Clash
Aloe vera roots crave oxygen as much as they dislike constant moisture. In their natural habitat, they experience torrential rain followed by rapid drainage and long dry spells. Clay soil, composed of extremely fine particles, packs tightly together. This leaves minimal space for air pockets and causes water to drain at a glacial pace. The Royal Horticultural Society (RHS) clearly states that succulents like aloe vera require "excellent drainage" and are prone to rot in waterlogged conditions. My garden soil was the antithesis of that.
My core realization was that watering frequency wasn't the only variable; I had to manage the soil environment itself. Simply watering less often wasn't enough if every watering event left the roots swimming for days.
The Two-Week Adjustment Protocol: Step-by-Step
I committed to a 14-day observation and intervention plan. Here’s exactly what I did.
Week 1: Assessment and Immediate Intervention
First, I gently tipped the plant out of its pot to assess the damage. The roots were damp but thankfully not yet black or mushy—a sign of early-stage overwatering. The soil ball was heavy and cold to the touch, even days after its last drink.
My immediate action was two-fold:
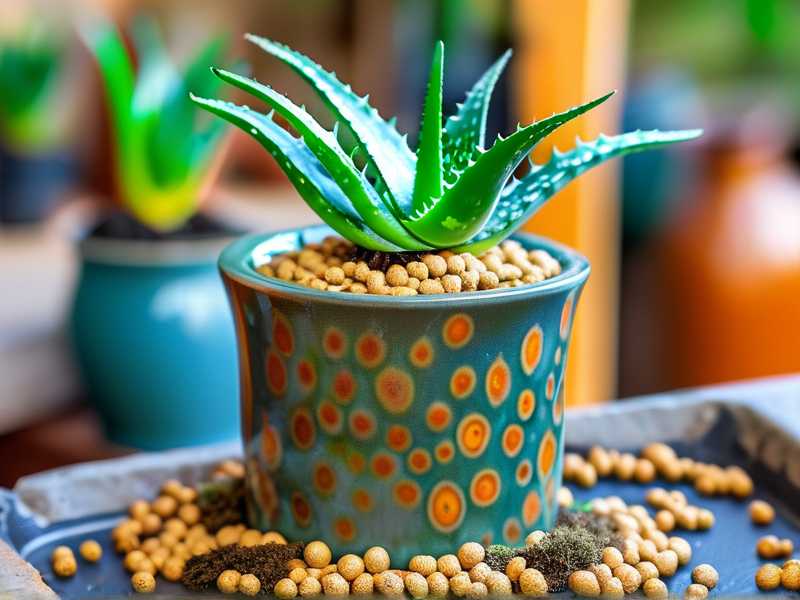
- Amend the Soil, Drastically: I couldn't change the clay's nature, but I could dilute it. I created a new mix right in the pot. Carefully loosening the outer and bottom third of the root ball, I blended in a generous amount of coarse sand and perlite. The goal was to create channels for water to escape and air to enter. The American Horticultural Society (AHA) emphasizes the importance of soil structure, noting that amendments like perlite "improve aeration and drainage" in heavy soils.
- The Deep Dry-Out Test: I did not water the plant after repotting. Instead, I placed it in bright, indirect light with good airflow. My mission was to let the entire soil mass dry out completely. I used the classic "finger test," but for clay, you must go deeper. I inserted a wooden skewer into the soil near the root zone, left it for an hour, and pulled it out. If it came out with damp soil sticking to it, the core was still wet. This became my new moisture metric.
The First Week's Observations: The plant looked stagnant but not worse. The yellowing leaf didn't spread, which I took as a positive sign. The surface soil dried quickly, but the skewer test revealed a persistently damp core for nearly five full days. This confirmed my theory: surface dryness in clay is a liar.
Week 2: Implementing a New Watering Rule
By day eight, the skewer came out almost completely clean. This was my cue. Here, I applied the critical watering technique for aloe in slow-draining soil.
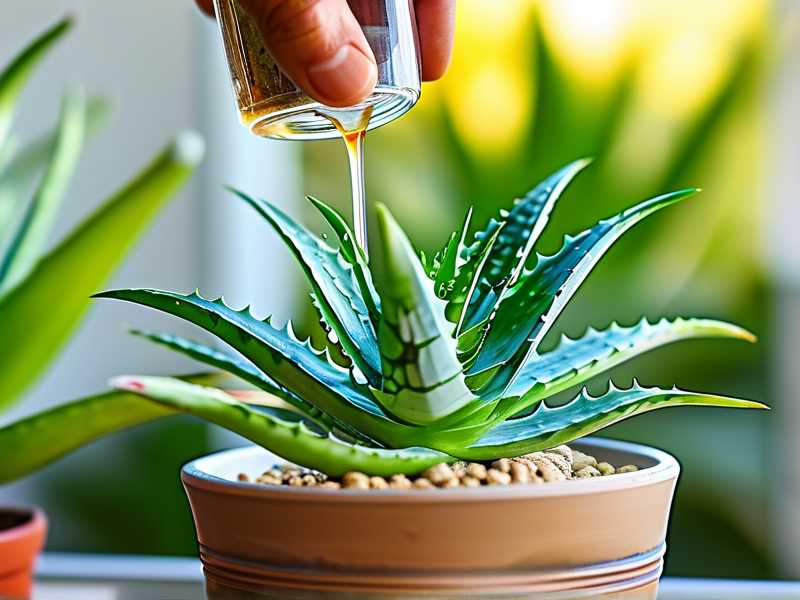
I took the entire pot to the sink. I watered deeply, allowing water to flow freely through the drainage hole for a solid minute. This serves a crucial purpose: it ensures the entire root ball is evenly moistened and helps flush out salts. Then, I let it drain thoroughly for another hour before returning it to its spot.
Then, the waiting game began again. I resumed my skewer test, checking every two days.
The Second Week's Observations: This was the breakthrough. After the thorough deep watering, the amended soil dried out much more efficiently. The damp core period reduced from five days to just under three. The aloe plant itself showed subtle signs of gratitude. The firmness returned to its lower leaves, and I spotted the tiniest hint of new growth at its center—a pale green nub pushing upward. My aloe vera clay soil watering schedule was becoming clear: water only after a complete, deep dry-out, which would be approximately every 10-14 days under my conditions, not weekly.
The Pitfalls I Encountered and How I Fixed Them
My journey wasn't perfectly smooth. I hit a couple of snags that taught me valuable lessons.
Pitfall 1: Misjudging "Dry" by Surface Appearance. After the first amendment, the top inch of soil looked bone-dry in three days. I almost watered. Thankfully, the skewer test stopped me, showing a wet core. Relying on sight alone for clay soil is a recipe for overwatering.
- Solution: The wooden skewer or chopstick is your truth-teller. Make it a non-negotiable part of your routine.
Pitfall 2: The "Rescue Watering" Temptation. During the dry-out phase, some leaves became slightly wrinkled and less plump. My instinct was to give it a little water to perk it up. This is dangerous.
- Solution: I learned that slight wrinkling is aloe's way of saying it's using its internal water reserves, which is healthy and expected. A consistently overwatered aloe will die from root rot much faster than a slightly underwatered one will die of thirst. I held firm and waited for the true dry signal.
Pitfall 3: Neglecting Seasonal Changes. My two-week test occurred in a warm, sunny period. As seasons change, so does drying time.
- Solution: The "schedule" is not calendar-based but condition-based. In cooler, dimmer months, the complete dry-out between waterings for my clay-potted aloe might stretch to three or even four weeks. Constant vigilance with the skewer test is key.
Long-Term Success: Beyond the Two-Week Fix
The two-week mission saved my plant, but long-term health required more. For my next repotting, I will use a proper succulent and cactus mix and only use my native clay as a minor component, if at all. Ensuring the pot has multiple, large drainage holes is also critical. I now group my clay-potted aloe with other drought-tolerant plants, which reminds me not to reach for the watering can too often.
How often should I water aloe vera in clay soil outdoors? Even less frequently than indoors. Outdoor conditions like rain and humidity add variables. Always use the deep dry-out method and protect the plant from excessive rainfall, perhaps with a movable overhang or by placing it under a patio edge.
Can I just add rocks to the bottom of the pot for drainage? This is a common myth. Research from soil scientists shows that a layer of rocks or gravel at the pot base can actually create a "perched water table," holding moisture higher in the soil profile right where the roots are. It's better to amend the entire soil volume with gritty materials.
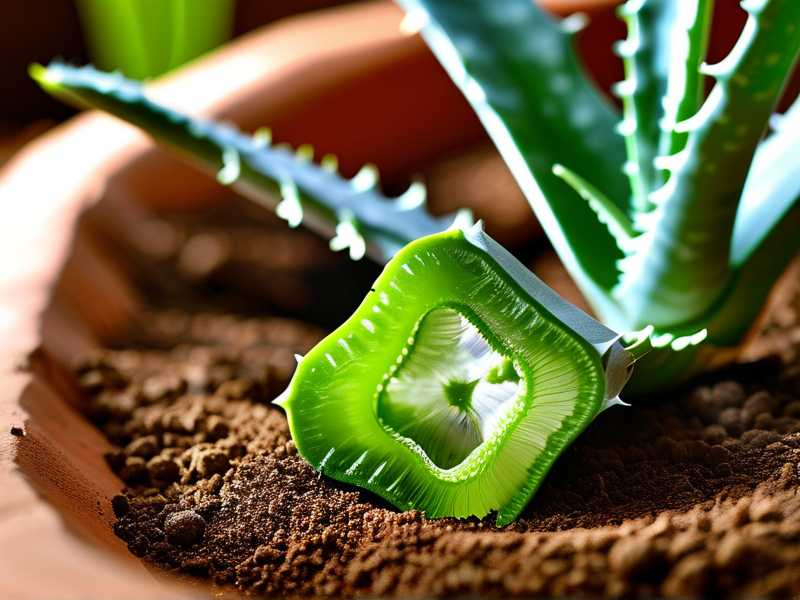
My aloe in clay soil is already mushy and brown. Is it too late? Not necessarily. Unpot the plant immediately. Cut away any black, mushy roots and soft, rotten leaves. Let the healthy crown and any firm roots callus over in the air for a day or two. Then, repot in a fresh, dry, well-draining mix and do not water for at least a week. This gives it a fighting chance to reroot.
Growing aloe vera in clay soil is a practice in patience and restraint. It forces you to listen to the plant and understand the physics of your soil. By amending the medium, adopting the deep dry-out method verified by a skewer test, and resisting the urge to over-care, you can successfully keep your aloe healthy. The reward is a resilient plant that thrives against the odds, its vibrant green leaves a testament to your adapted care.