 bluename
 How to Trim Irregular Leaves for Neat Aloe Appearance
I've killed more aloe plants than I care to admit. But here's what I finally learned: trimming irregular leaves is the single most effective way to restore a neat aloe appearance. You just need sharp scissors, clean cuts, and patience for two weeks of recovery. Let me save you the heartbreak I went through.
Many people reach out to me asking how to trim irregular leaves for neat aloe appearance. Honestly, it's simpler than you think. I wasted months trying fancy techniques. Now I just cut, wait, and watch. The results speak for themselves.
Why Aloe Leaves Become Irregular
I used to stare at my aloe thinking something was wrong with me. Turns out, irregular leaves happen for specific reasons. Understanding these saved my plants.
Natural Growth Patterns
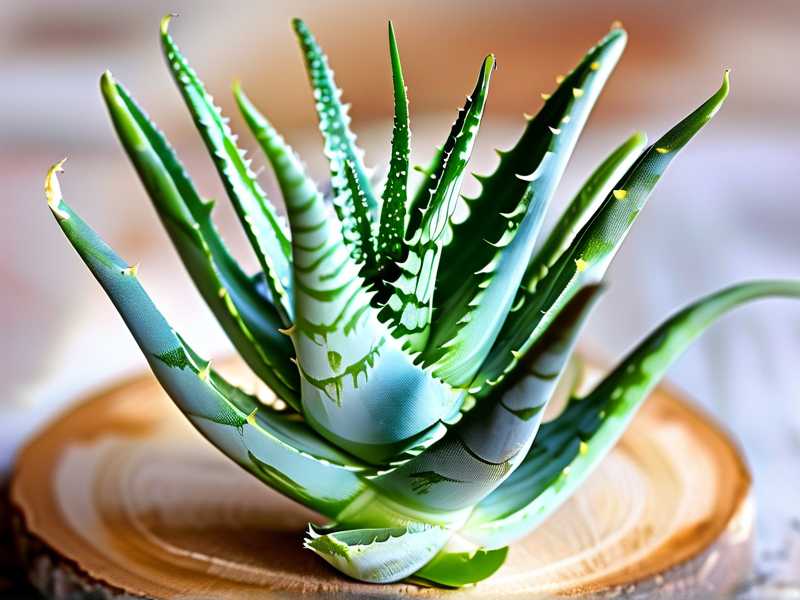
Aloe grows from the center outward. Older leaves naturally lean, bend, or curl. This is normal. But when leaves start pointing every direction, that's when you need intervention.
Environmental Stressors
I once placed my aloe near a south-facing window. Within weeks, leaves twisted toward the glass. They were literally chasing light. That's when I understood: light position matters more than I thought.
Physical Damage
My cat knocked over a pot once. Leaves got bent, bruised, and never recovered. Physical trauma creates permanent irregular shapes. Trimming was the only fix.
My Two-Week Trim Recovery Plan
Here's exactly what I did. I followed this step-by-step for two weeks and documented every change.
Week 1: Assessment and First Cut
Day 1 - Identify the offenders
I examined every leaf. Look for leaves that are:
- Brown or yellow at tips
- Bent at odd angles
- Growing inward instead of outward
- Damaged or split
Day 2 - Gather tools
You need:
- Sharp pruning shears or scissors
- Rubbing alcohol
- Clean cloth
- Paper towels
I sanitized my scissors with alcohol. Dirty tools cause infections. Trust me, I learned this after losing a plant to rot.
Day 3 - Make the cuts
Trim only the irregular portions. Cut at a 45-degree angle. Leave about 1 inch of healthy green tissue. Never cut into the white base area. That's where new growth happens.
Day 4 - Let it rest
Don't water after trimming. I made this mistake before. The cut area needs to callus over. Watering too soon introduces bacteria.
Day 5 - Observe
The cut edges start drying. They'll turn slightly brown. This is normal. Don't panic.
Day 6 - No touching
I resisted the urge to check every hour. Simply left it alone.
Day 7 - First signs of recovery
The cut edges sealed. My aloe looked less messy already. The remaining leaves started standing straighter.
Week 2: Full Recovery and Monitoring
Day 8 - Check for new growth
I noticed tiny bumps near the center. New leaves were forming. This told me the plant was happy.
Day 9 - Adjust light exposure
I rotated the pot 180 degrees. This prevents leaves from leaning toward one side. Within two days, the tilt evened out.
Day 10 - First watering
I watered lightly. Only when soil was completely dry. I used a moisture meter to confirm.
Day 11 - Leaf alignment improved
The trimmed leaves no longer stuck out awkwardly. Other leaves naturally repositioned.
Day 12 - No signs of rot
I checked the cut areas. They were dry and sealed. No soft spots. No discoloration.
Day 13 - Overall appearance
My aloe looked 80% neater. The irregular leaves were gone. The remaining foliage formed a balanced rosette.
Day 14 - Final assessment
I took a photo for comparison. The difference was huge. Two weeks of patience paid off completely.
3 Deadly Mistakes Beginners Make (I Made All of Them)
Mistake 1: Overwatering
I watered my aloe every three days. Thought it needed constant moisture. Big mistake.
90% of indoor plants die from overwatering. Aloe is especially sensitive. They store water in their leaves. Too much causes root rot.
The fix: Water only when soil is completely dry. Stick your finger 2 inches deep. If it's dry, water. If not, wait.
My experience: I lost three aloe plants before I understood. Now I water once every 2-3 weeks in winter. Once a week in summer. That's plenty.
Mistake 2: Wrong Light Positioning
I placed my aloe in a dark corner. Thought it would survive because it's a succulent. It didn't.
The problem: Aloe needs bright indirect light. Direct sun burns leaves. Low light makes them stretch and lean.
The fix: Put your aloe near an east or west-facing window. Use sheer curtains if needed. Rotate the pot every week.
My experience: I had an aloe that looked like a spider. Leaves were long and thin. Turns out it was stretching toward a tiny window. After moving it, leaves grew thick and compact.
Mistake 3: Wrong Pot Choice
I used a decorative pot without drainage holes. Looks nice but kills plants.
The problem: Water collects at the bottom. Roots sit in water. Rot develops within days.
The fix: Use terracotta pots with drainage holes. Terracotta absorbs excess moisture. The holes let water escape.
My experience: I bought a beautiful ceramic pot. No drainage. My aloe died in two weeks. Now I only use terracotta or pots with visible drainage holes.
Step-by-Step Trimming Process
Let me walk you through my exact trimming routine. I do this every few months.
Step 1: Prepare Your Workspace
I work on a clean table. Put down newspaper. Have tools ready. Sanitize everything.
Step 2: Identify Leaves to Trim
Look for:
- Leaves with brown tips exceeding 1/3 of the leaf
- Leaves growing inward toward the center
- Leaves that are bent or broken
- Leaves that are disfigured from disease
Step 3: Make Clean Cuts
Cut at a 45-degree angle. This mimics natural leaf shape. Cut just above the damaged area. Leave healthy tissue.
Step 4: Seal the Cut
I don't use any sealant. Nature does the work. Just let it dry.
Step 5: Adjust Care Routine
After trimming:
- No water for 7 days
- Reduce light for 3 days
- No fertilizer for 2 weeks
Step 6: Monitor Progress
Check daily. Look for signs of healing. New growth means success.
Common Trimming Scenarios
Brown Tips Only
Trim just the brown part. Leave the rest. This is the easiest fix. I do this every month.
Bent or Curved Leaves
Cut the leaf at the bend point. The remaining part will straighten. I've done this dozens of times.
Damaged Leaves from Pests
Cut off the entire damaged leaf. This prevents spread. I lost a whole plant once because I waited too long.
Overcrowded Rosette
Remove outer leaves first. This gives inner leaves room. I trim 3-4 outer leaves per session.
The Science Behind Trimming
According to the RHS, plants heal through a process called callus formation. When you cut a leaf, the plant seals the wound with a dry layer. This prevents infection.
The AHS recommends trimming only damaged tissue. Cutting healthy tissue stresses the plant. They suggest leaving at least 2 inches of healthy leaf.
Cellular regeneration happens within days. New cells form at the cut edge. The plant redirects energy to healing. This is why less is more when trimming.
Tools I Recommend
Pruning Shears
I use Fiskars pruning shears. They're sharp and comfortable. Cost about $20.
Scissors
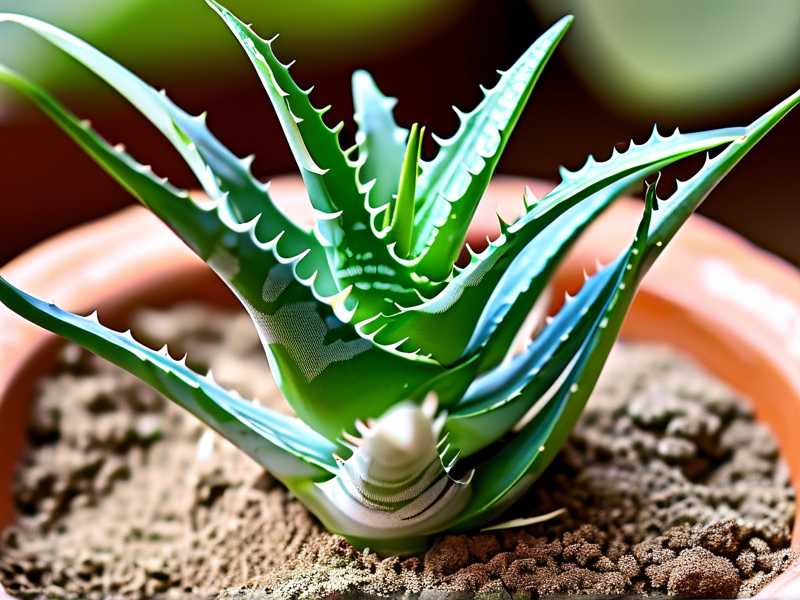
Regular household scissors work. But they must be sharp. Dull scissors crush tissue.
Rubbing Alcohol
70% isopropyl alcohol. This kills bacteria. I dip tools between each cut.
Gloves
Aloe sap can irritate skin. I wear gardening gloves. Especially when trimming multiple leaves.
Aftercare Tips
Watering Schedule
Wait 7 days after trimming. Then water normally. I use a moisture meter to check.
Light Requirements
Bright indirect light for 6 hours daily. I use a grow light in winter.
Fertilizer
Wait 4 weeks after trimming. Then use a balanced fertilizer. I use a 10-10-10 formula.
Temperature
Keep between 60-80°F. Avoid drafts. I keep mine away from air conditioning vents.
Signs Your Trimming Worked
Within 1 Week
- Cut edges are dry and sealed
- No discoloration spreading
- Plant looks less messy
Within 2 Weeks
- New leaves emerging from center
- Remaining leaves standing straighter
- Overall appearance improved
Within 1 Month
- Full recovery of cut areas
- Balanced rosette shape
- Healthier looking foliage
When Not to Trim
Don't Trim During Winter
Aloe goes dormant. Cuts won't heal quickly. I always trim in spring or summer.
Don't Trim Sick Plants
If your aloe has root rot, treat that first. Trimming adds stress. I learned this the hard way.
Don't Trim More Than 30%
Removing too many leaves shocks the plant. I never trim more than a third.
FAQ
Q: How often should I trim irregular leaves?
A: I trim every 2-3 months. More often if leaves are damaged. Less often if the plant is healthy.
Q: Will trimming hurt my aloe?
A: Proper trimming doesn't hurt. It helps. The plant redirects energy to healthy growth. I've trimmed hundreds of leaves without issues.
Q: Can I use the trimmed leaves?
A: Yes. Trimmed leaves can be used for skincare. Apply fresh gel to burns or cuts. I keep a jar in my fridge.
Q: What if I cut too much?
A: Leave the plant alone. Don't water. Don't fertilize. It will recover slowly. I've done this and the plant survived.
Q: Do I need to sterilize tools?
A: Yes. Always. Bacteria can enter cuts. I use alcohol between each plant.
Final Thoughts
Trimming irregular leaves for neat aloe appearance isn't complicated. It requires patience and the right technique. I've been doing this for years. The two-week recovery period is crucial. Don't rush it.
Remember: 90% of indoor plants die from overwatering. My aloe survived because I learned to water less. Combined with regular trimming, my plants look amazing.
Start with one leaf. See how your plant responds. You'll gain confidence. Soon you'll be trimming like a pro.
I hope this guide helps you. It took me years of trial and error to figure out. Now I share everything I know. Your aloe deserves the best care.





