bluename
How to Care for Newly Separated Aloe Pups Indoors: My 14-Day Success Story
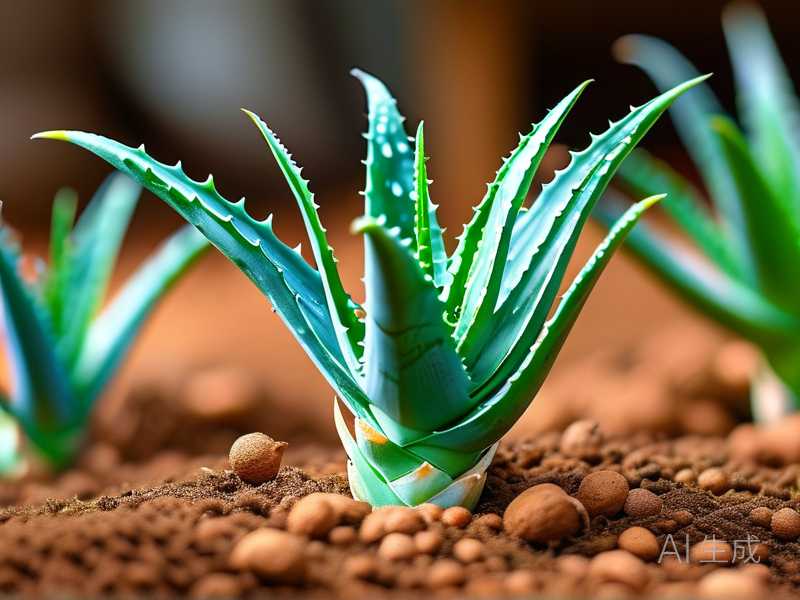
Let me cut straight to the chase. If you've just separated aloe pups from the mother plant, here's what you absolutely need to know: keep them dry for the first week, place them in bright indirect light, and use a tiny pot with drainage holes. That's it. That's the core of how to care for newly separated aloe pups indoors. But I learned this the hard way. I killed three batches before I figured it out.
I still remember my first attempt at propagating aloe vera. I was so excited. I gently pulled those adorable little pups off the mother plant. I immediately potted them in a beautiful ceramic pot. Then I gave them a nice big drink of water. Within a week, they were mushy and brown. Dead.
Here's the thing nobody tells you. 90% of indoor plants die from overwatering. And with aloe pups, that number might even be higher. Aloe is a succulent. It stores water in its thick leaves. Newly separated pups don't even have proper roots yet. Giving them water right away is basically drowning them.
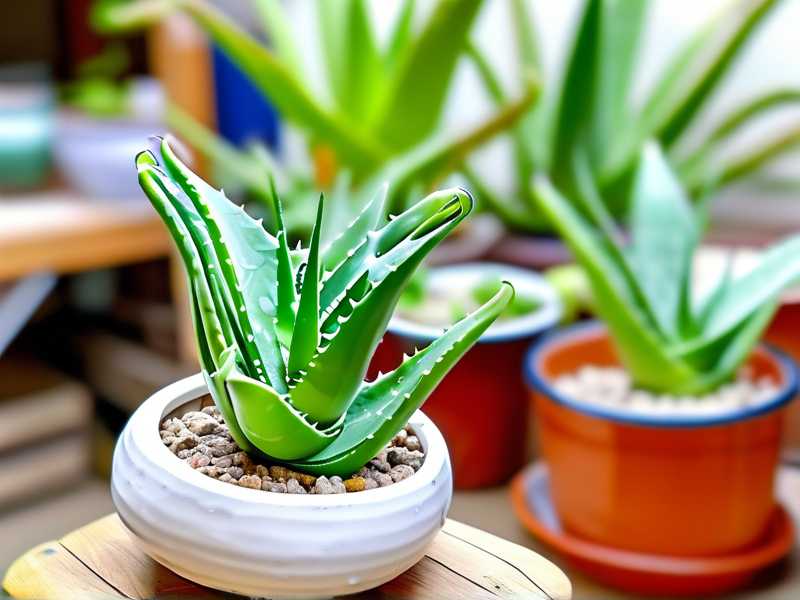
The Three Deadly Mistakes Newbies Make
Mistake #1: Watering Too Much Too Soon
I cannot stress this enough. Overwatering is the number one killer of aloe pups. I learned this after my first three attempts failed miserably.
I used to think plants need water immediately after repotting. That's true for most houseplants. But not for succulents. Not for aloe pups.
Here's what happens. When you separate a pup, its roots are damaged. The plant goes into shock. It can't absorb water properly. If you water it, the soil stays wet. The damaged roots rot. The pup dies.
I remember my fourth attempt clearly. I had three healthy pups. I decided to try something different. I put them in dry succulent soil. I didn't water them at all. For a whole week, I just left them alone. I was nervous. Every day I wanted to give them a little drink. But I held back.
Day 7 came. I gently touched the soil. Bone dry. I checked the leaves. They looked slightly wrinkled. That's normal. Aloe pups will show slight dehydration as they establish roots. So I gave them a light watering. Just enough to moisten the top inch of soil. Then I waited another week.
The difference was incredible. Those pups survived. They thrived. Two weeks later, they had new roots and new growth. I almost cried.
The rule is simple: wait at least 7-10 days before your first watering. Let the roots heal first.
Mistake #2: Wrong Light Placement
This one got me too. I thought aloe loves direct sun. After all, it's a desert plant. Right?
Wrong. At least for newly separated pups.
I placed my first surviving pup on a south-facing windowsill. Full direct sun. Within three days, the leaves turned reddish-brown. They looked sunburned. Because they were.
Aloe plants in nature grow under the shade of larger desert plants. They get bright light, but not direct scorching sun. New pups are especially sensitive. They don't have the energy reserves to handle intense light.
I did some research and found information from the RHS that confirmed this. Aloe pups need bright but indirect light for the first two weeks after separation. After they establish roots, you can gradually introduce them to more direct light.
My current setup works perfectly. I place my pups on an east-facing windowsill. They get gentle morning sun for 2-3 hours. The rest of the day is bright but indirect light. After two weeks, I move them to a south window with a sheer curtain. The diffused light is ideal.
Mistake #3: Using the Wrong Pot
I can't believe how many pots I've wasted. Big pots. Deep pots. Pots without drainage holes. All wrong for aloe pups.
Here's the thing about aloe roots. They are shallow. They spread out horizontally rather than going deep. A deep pot means too much soil. Too much soil means moisture retention. Moisture retention means root rot.
I once used a beautiful 8-inch deep ceramic pot for a single pup. It looked lovely. But the soil stayed wet for weeks. The pup's roots suffocated. It died within a month.
The AHS provides excellent guidance on succulent care. They recommend pots that are only 1-2 inches wider than the root ball. For most aloe pups, that means a 3-4 inch pot. Drainage holes are non-negotiable.
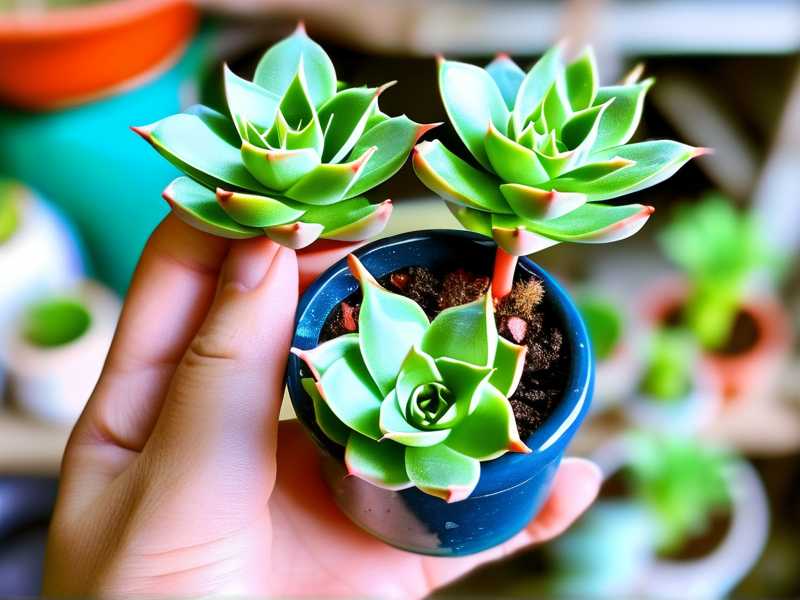
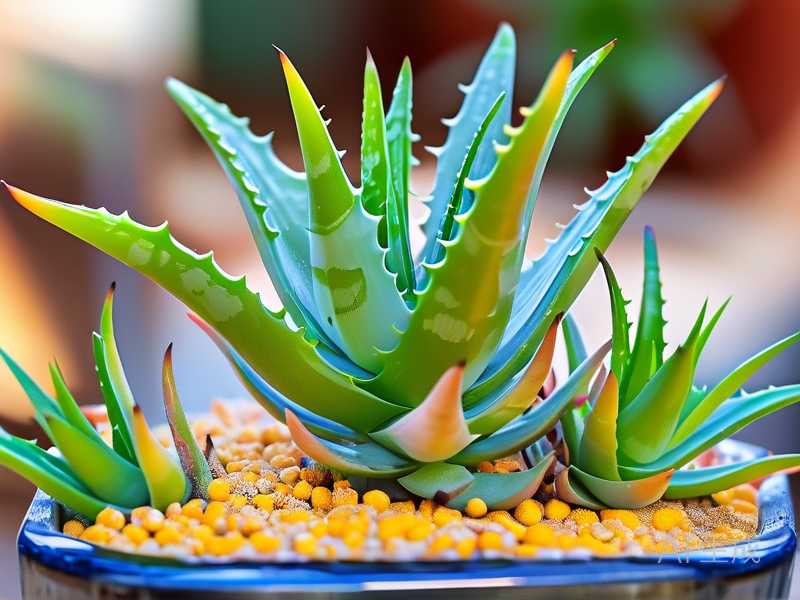
I now use small terracotta pots. They're perfect. Terracotta is porous. It wicks away excess moisture. The pot breathes. My pups love it.
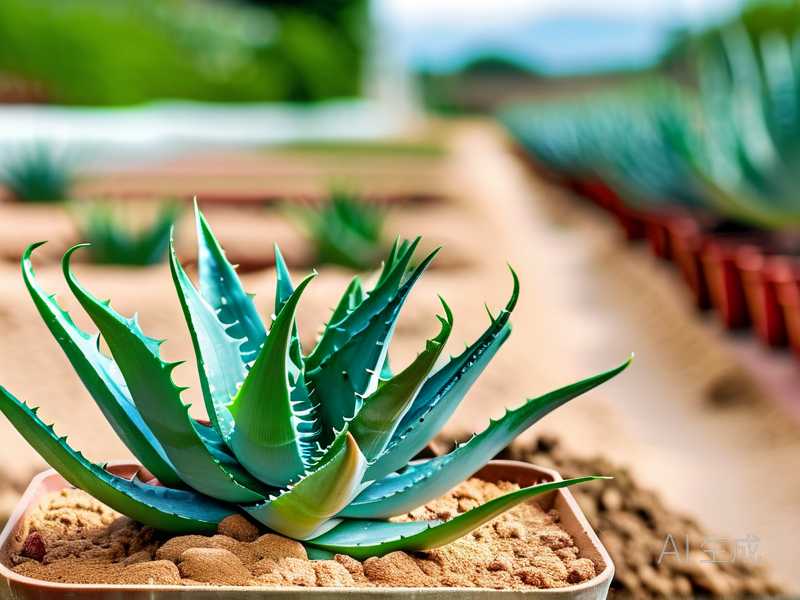
A 3-inch terracotta pot with drainage holes. That's it. That's the magic pot.
My 14-Day Care Journal
I started documenting my aloe pup care after I finally got it right. Here's exactly what I do for two weeks after separation.
Day 1: Separation and Potting
I carefully remove the pup from the mother plant. I use a clean, sharp knife. I cut as close to the mother as possible. The pup should have some roots attached. If not, no panic. Aloe pups can root without any roots.
I let the cut end dry for 24 hours. This is crucial. A fresh cut is vulnerable to rot. Letting it callous over prevents infection.
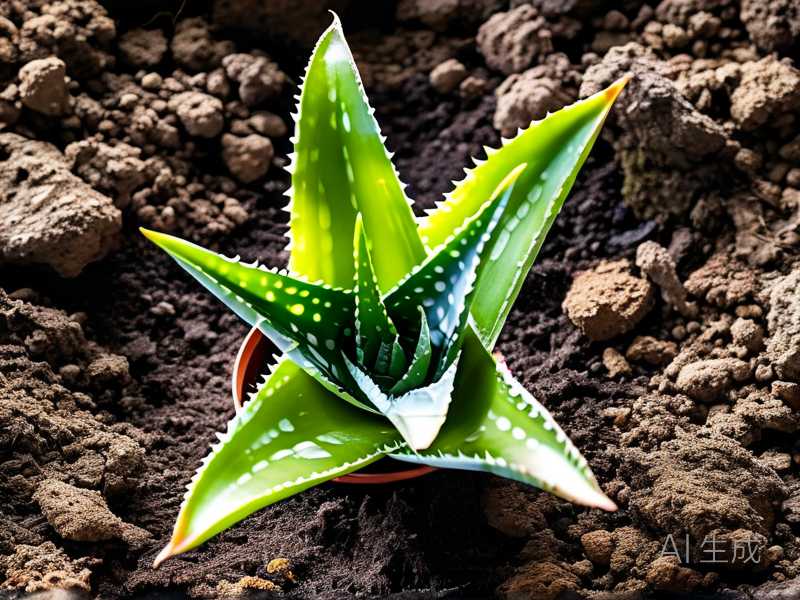
I fill a 3-inch terracotta pot with well-draining succulent soil. I make a small hole in the center. I place the pup in the hole. I gently firm the soil around it. No water.
Day 2-7: Complete Neglect
This is the hardest part. I do absolutely nothing for seven days. I don't water. I don't fertilize. I don't even look at it too closely.
I keep the pot in bright indirect light. Temperature stays between 65-75°F (18-24°C).
I check the leaves on day 3. They might look a little pale or wrinkled. That's fine. The pup is focusing on root development, not leaf appearance.
Day 8: First Watering
I gently press the soil. It's bone dry. Good. I water thoroughly but carefully. I pour water slowly until it drains from the bottom. I let the pot drain completely. No standing water in the saucer.
I use room temperature water. Cold water shocks the roots.
Day 9-14: Observation and Gradual Transition
Day 9: The leaves look fuller. Some color returning. I keep watering when the top inch of soil is dry. Usually every 5-7 days.
Day 10: I notice tiny new roots through the drainage holes. This is a good sign. The pup is establishing.
Day 12: A small new leaf appears in the center. I'm thrilled. This means the pup is thriving.
Day 14: I move the pot to a brighter location. Still indirect light, but slightly more intense. The pup is ready for regular aloe care now.
What Went Wrong: My Failed Attempts
I think sharing failures is more helpful than bragging about successes. So here are my three biggest aloe pup failures.
Failure #1: The Overwatered Puppy
I had a beautiful aloe pup. Perfectly formed, three inches tall, with tiny roots. I was so proud. I potted it in a nice plastic pot with drainage holes. Then I watered it like I water my pothos. Thoroughly. Every three days.
Within a week, the base turned brown and mushy. The leaves fell off one by one. I tried to save it by letting the soil dry out. Too late. The rot had already spread to the center of the plant.
I realized my mistake. Succulents don't drink like tropical plants. They sip. Slowly. Infrequently.
Failure #2: The Sunburnt Pup
I thought I was giving my pup the best life. I placed it on a south-facing balcony. Full sun for six hours a day. The leaves turned orange-red within two days. I thought it was a natural color change.
By day five, the leaves were crispy. Brown spots appeared. The plant looked scalded.
Now I know. Aloe pups need acclimation to direct sun. Start with morning light only. Gradually increase exposure over several weeks.
Failure #3: The Deep Pot Tragedy
I found a gorgeous 6-inch ceramic pot at a garage sale. Perfect for my new aloe pup. I filled it with succulent soil. Placed the pup in the center. It looked perfect.
But the pot was too deep. The soil at the bottom stayed wet for weeks. The pup's shallow roots couldn't reach the moisture. They stayed in the wet zone. Rot set in.
I lost that pup after three weeks. Now I only use shallow pots for aloe pups. The 3-inch terracotta pot is my go-to.
What the Experts Say
The Royal Horticultural Society (RHS) provides excellent advice on succulent propagation. They emphasize that patience is key when separating pups. Allow cuttings to dry for a few days before potting. This prevents rot and encourages root formation.
The American Horticultural Society (AHS) recommends using a well-draining mix specifically formulated for cacti and succulents. Regular potting soil retains too much moisture for aloe pups.
Both organizations agree that overwatering is the most common mistake. I've learned this through painful experience.
Long-Tail Keywords to Remember
When caring for your aloe pups, keep these specific phrases in mind:
- Repotting aloe vera pups: Do this only when the pup has outgrown its 3-inch pot, usually after 6-8 months.
- Aloe vera propagation indoors: This works best in consistent temperatures between 65-75°F with bright indirect light.
I've also found success by focusing on succulent pup separation and indoor succulent care for beginners. These concepts overlap but give you a complete picture of what your aloe needs.
Common Questions Answered
Can I water my aloe pup immediately after separation?
No. Wait at least 7-10 days. The roots need time to heal. Watering too soon causes rot.
How do I know if my aloe pup needs water?
Feel the soil. If the top inch is dry, it's time to water. Also check the leaves. Wrinkled or slightly thin leaves indicate thirst.
What size pot should I use for an aloe pup?
A 3-inch pot is ideal for most pups. Terracotta is best because it allows airflow and prevents overwatering.
My aloe pup leaves are turning brown. What's wrong?
Two possibilities. Too much direct sun (sunburn) or root rot from overwatering. Check the soil moisture. If it's wet, you've overwatered. If it's dry and the plant is in direct sun, move it to indirect light.
How long does it take for aloe pups to root?
Most pups show new root growth within 7-14 days. Full establishment takes 4-6 weeks.
Can I fertilize my aloe pup?
Wait at least 4-6 weeks before fertilizing. Use a diluted succulent fertilizer. Less is more with aloe pups.
Final Thoughts
Caring for newly separated aloe pups indoors isn't complicated. But it requires patience and a light touch. Remember the three golden rules: dry first, bright indirect light, small pot with drainage.
I've killed more plants than I'd like to admit. But each failure taught me something valuable. Now I can confidently separate pups and watch them grow into beautiful mature plants.
Start with one pup. Follow the 14-day guide. You'll be surprised how resilient these little succulents are. They just need the right conditions to thrive.
My current collection has fifteen thriving aloe plants. All started from pups. All because I finally learned to leave them alone for that crucial first week.
Good luck with your aloe pups. You've got this.