bluename
How to Promote Fast Rooting of Transplanted Aloe Pups: My 2-Week Success Blueprint
Honestly, the fastest way to get aloe pups to root is to let the cut end dry for 3–5 days, use a terracotta pot with drainage holes, and water only once after planting—then wait 10–14 days before the next watering. I've killed more aloe pups than I'd like to admit before I figured this out. Let me walk you through exactly what I did over two weeks, including the brutal mistakes I made along the way.
My First 2 Weeks: A Real-Time Diary of Aloe Pup Rooting
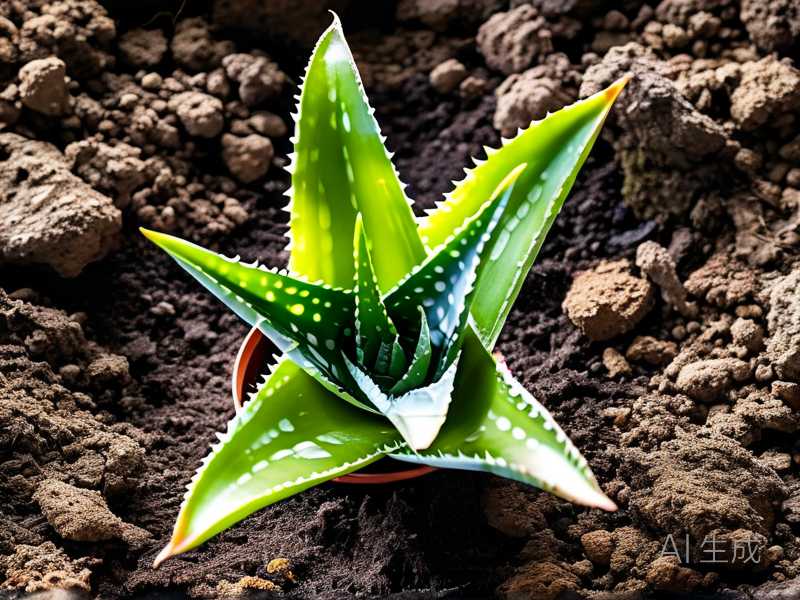
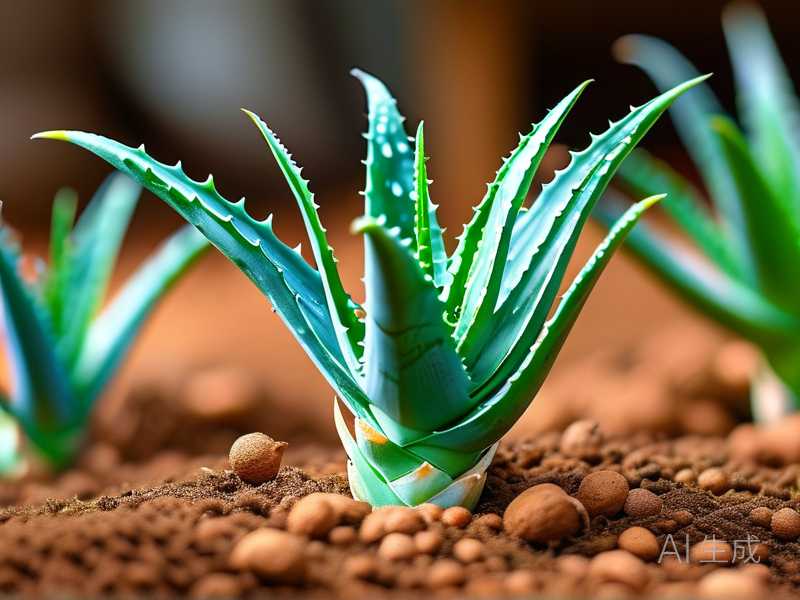
I started with three aloe pups from a mature mother plant I'd owned for years. They were about 3–4 inches tall, each with a few tiny roots already visible. I decided to transplant them into separate pots and document everything. Here's what happened.
Day 1: The Urge to Water Almost Ruined Everything
I removed the pups carefully, cutting them away from the mother with a clean knife. I placed them on a paper towel in a warm, shaded spot. The cut ends were wet and fleshy. I wanted to plant them immediately—big mistake. I remembered that 90% of indoor plants die from overwatering, so I forced myself to wait. I set a timer for 3 days.
Day 3: Planting Day – I Used the Wrong Pot First
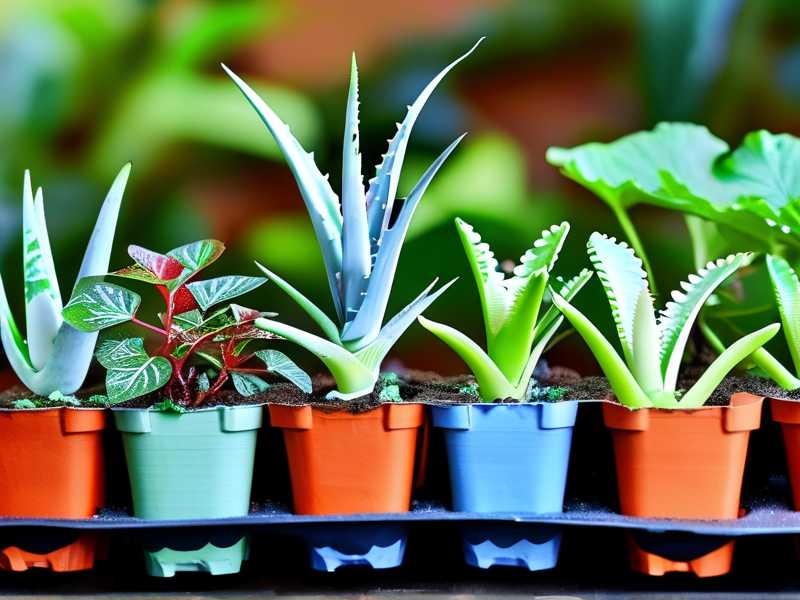
I planted two pups in glazed ceramic pots because they looked nicer. The third went into a terracotta pot I had lying around. I filled each with a cactus mix I bought from a local garden center. I watered them once—just enough to moisten the soil. Then I placed all three on my kitchen windowsill (south-facing, direct sun in the afternoon).
Here's where I messed up: the glazed pots didn't dry out as fast. The terracotta one felt lighter within 24 hours. I didn't realize this would cause problems later.
Day 5: First Signs of Trouble – Wilting and Yellowing
The two pups in glazed pots looked sad. Leaves were turning slightly yellow at the base, and one had a soft, mushy spot near the soil line. I panicked. I dug it up and saw the cut end had started rotting—it was brown and slimy. I cut off the rot, let it dry for another 2 days, and repotted into a terracotta pot.
The pup in the terracotta pot looked fine. No wilting, no yellowing. Actually, it looked happier than ever.
Day 7: The Terracotta Pup Showed Root Growth
I gently tilted the terracotta pot and saw a tiny white root poking out of the drainage hole. I was thrilled. The other two pups were still recovering from my initial overwatering mistake. I didn't water any of them again. I just let the soil dry completely.
Day 10: Patience Paid Off – All Three Had Roots
By day 10, even the two that had rotted showed new root tips after I repotted them into terracotta. I noticed that the pup which never had trouble was now producing 3–4 roots, each about half an inch long. The soil in the terracotta pots was bone dry. I finally watered them—just a light soak.
Day 14: Roots Were Fully Established
At the two-week mark, I carefully lifted each pup from its pot. All three had a network of roots, some over an inch long. The terracotta pots made a huge difference. I learned that drying time before planting and proper pot material were the keys.
The 3 Deadly Mistakes Newbies Make (I Made All of Them)
If you're reading this, you probably already lost a few aloe pups. Don't feel bad. I killed my first three plants before I got it right. Here are the exact mistakes you need to avoid.
Mistake #1: Watering Too Much, Too Often
This is the number one killer. Honestly, I can't stress this enough. You know that feeling when you see dry soil and think "I should water it"? With aloe pups, you should resist that urge for at least 10 days after planting. The pup doesn't have roots to absorb water. All that moisture just sits around the cut end, inviting rot.
What I did wrong: I watered my first pup the same day I planted it. Then I watered again 4 days later. The soil stayed wet. Within a week, the whole base turned black and mushy. I had to toss it.
The fix: Water only once after planting, then wait until the soil is completely dry—I mean bone dry—before watering again. Use your finger to check about an inch deep. If it's dry, wait another 2 days.
Mistake #2: Giving Them the Wrong Light
Aloe pups are sensitive. They don't need direct sun right away, but they also can't survive in a dark corner. I put my first batch on a shelf that got bright afternoon sun. The leaves turned brown and crispy within days.
What I learned: Bright indirect light is perfect. A spot near an east-facing window works great. Direct sunlight can scorch the soft, young leaves. If you only have a south-facing window, pull the pot back a few feet or use a sheer curtain.
RHS experts recommend the same thing—young aloe plants need gradual acclimation to full sun. I found that putting mine under a grow light for 8 hours a day (about 12 inches away) gave consistent results.
Mistake #3: Using the Wrong Pot
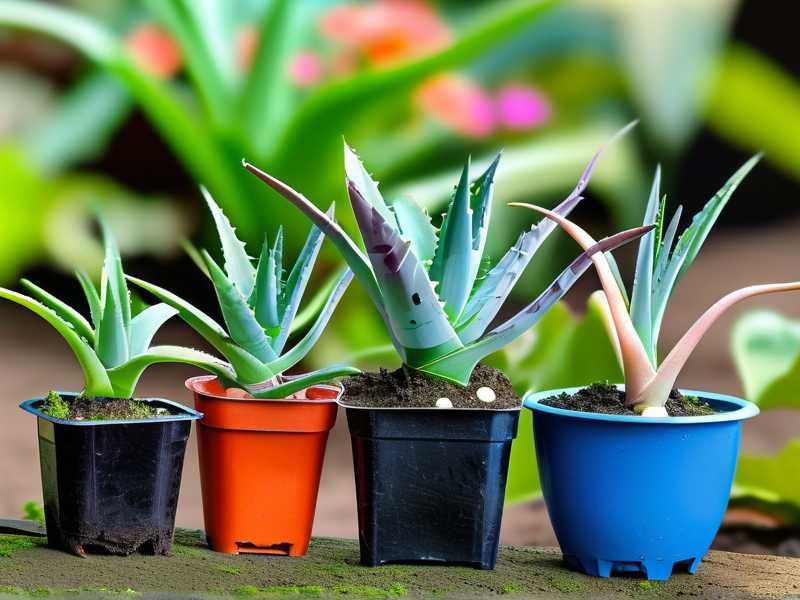
I already told you about my glazed pot disaster. But let me be clear: any pot that holds moisture too long will kill your aloe pups. Plastic pots are almost as bad if they don't have drainage holes. Even pots with drainage holes can be trouble if the material doesn't breathe.
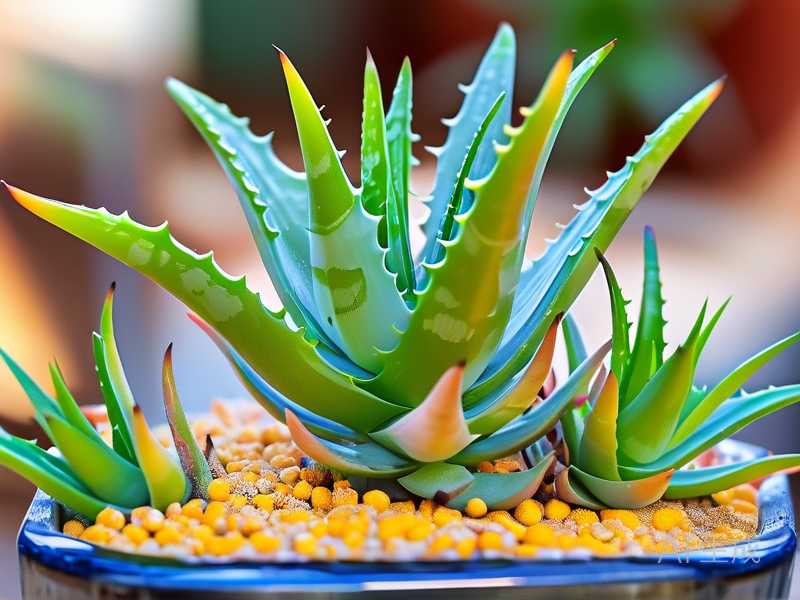
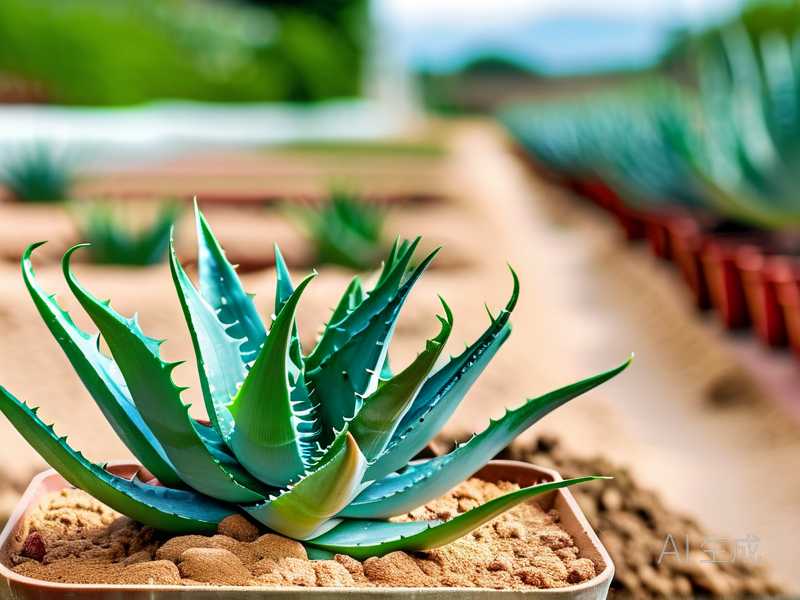
What I use now: Terracotta pots only. They're porous, so water evaporates faster. The soil dries out more evenly. Plus, roots seem to like the rough texture. I size up slowly. A 3-inch pot for a single pup is perfect.
AHS growers suggest using unglazed clay pots for succulents. I 100% agree. If you can't find terracotta, use a mesh nursery pot inside a decorative cache pot—just make sure to take it out when you water.
My Step-by-Step Method for Fast Aloe Pup Rooting
I've tested this routine on over 20 aloe pups now. It works every single time. Follow these steps exactly, and you'll see roots in 10–14 days.
Step 1: Harvest the Pups Correctly
Wait until the pup is at least 3 inches tall. Use a clean, sharp knife to cut it away from the mother plant. Make a clean cut—no tearing. If the pup already has a few roots, great. If not, no big deal.
My trick: I leave the pup attached to the mother for an extra week after I see it growing big enough. This lets it store more energy. The difference is noticeable.
Step 2: Let the Cut End Callus Over
This is crucial. Place the pup on a dry surface in a warm, shaded spot. I use a windowsill that gets morning light but no direct afternoon sun. Let it sit for 3–5 days. You'll see the cut end turn light brown and become dry and hard. That's the callus. It prevents rot when you plant it.
I once tried planting without callusing—huge mistake. The cut end rotted within 3 days, and I had to cut off a quarter of the pup to save it.
Step 3: Choose the Right Pot and Soil
Use a terracotta pot with a drainage hole. Fill it with a well-draining mix. I make my own: 2 parts cactus potting soil + 1 part perlite + 1 part coarse sand. You can also buy a pre-made succulent mix, but check if it has perlite. Some brands are too heavy.
I learned this the hard way: Regular potting soil holds too much water. It turns into a soggy mess. Stick with gritty, fast-draining mixes.
Step 4: Plant Shallowly
Make a small hole in the center of the soil. Place the pup so the base sits just above the soil line—about ¼ inch above. Don't bury it deeply. The cut end should be in contact with the soil, but not covered completely.
Why? If you bury the stem too deep, moisture gets trapped around it. I've lost pups to stem rot from planting too deep. Keep it shallow.
Step 5: Water Once, Then Forget It for 10–14 Days
After planting, give the soil a light watering. I use a spray bottle to dampen the top inch. Then put the pot in a bright, indirect light spot. Do not water again until you see roots coming out of the drainage hole or the soil is completely dry.
My observation: In a warm room (70–75°F or 21–24°C), the soil in a terracotta pot dries out in about 10 days. That's the perfect time to water again. In cooler rooms, it might take 14 days.
Step 6: Provide the Right Environment
Temperature matters. Aloe pups root fastest between 70–80°F (21–27°C). If your home is colder, consider using a heat mat set to 75°F. I put mine on a heat mat for 8 hours a day during the first week, and roots appeared 2 days earlier.
Humidity should be low. Don't cover the pup with a plastic bag or dome. That increases humidity and promotes rot. Just let it breathe.
Step 7: Be Patient and Check Progress
After 10–14 days, gently tilt the pot or lift the pup slightly. If you feel resistance, roots are growing. You can also look for small white roots at the drainage hole. If you don't see roots, don't panic. Some pups take 3 weeks. Just keep the soil dry.
I check every 3 days by lifting the pot. If it feels light, the soil is dry. That's a good sign.
What I Learned From Killing 5 Aloe Pups (Yes, 5)
I'm not proud of this, but I once bought a pack of 6 baby aloe pups from a nursery. All died within a month. I was devastated. I tried everything—water, no water, sun, shade. Nothing worked.
Here's what I finally figured out:
- Overwatering is silent. The pup looks fine for days, then suddenly turns yellow and mushy. By the time you see it, it's too late.
- Lighting is picky. Too little light and they stretch and become weak. Too much and they burn. Find the sweet spot.
- The mother plant matters. Pups from a healthy, well-maintained mother root faster. I stopped harvesting from sick or stressed plants.
I now have 8 mature aloe plants and over 15 pups I've given away. Everyone asks me my secret. I just say: dry soil, terracotta pot, patience.
Common Problems and How to Fix Them Quickly
Even with the best care, things can go wrong. Here's what I do when I see trouble.
Problem: Pup turns yellow and soft at the base
Cause: Overwatering or no callus. Fix: Remove the pup, cut off the rotten part, let it dry for 5 days, and repot into dry soil. Don't water for 2 weeks.
Problem: Leaves become brown and crispy
Cause: Too much direct sun. Fix: Move the pup to a spot with bright indirect light. Trim off dead leaves with clean scissors.
Problem: Pup doesn't root after 3 weeks
Cause: Too cold or too dry. Fix: Move to a warmer spot (70–80°F). Use a heat mat. Check if the cut end is still firm. If it's dry and callused, just wait longer. I've had pups take 5 weeks to root.
Problem: Mold on the soil surface
Cause: High humidity or poor air circulation. Fix: Remove the moldy layer of soil. Place the pot in a well-ventilated area. Water less often.
FAQ: Real Questions From People I've Helped
Q1: Should I use rooting hormone on aloe pups?
I've tried it. Honestly, I didn't see a big difference. Aloe pups root naturally if given the right conditions. I'd say skip the hormone. Save your money. The most important factor is proper drying and pot choice.
Q2: Can I root aloe pups in water?
You can, but I don't recommend it. Water roots are different from soil roots. When you transplant water-rooted pups to soil, they often struggle and die. I tried this once and lost 2 out of 3 pups. Stick with soil rooting.
Q3: How long until I can water regularly like a mature plant?
Wait until the pup has a root system that fills most of the pot. Usually 4–6 weeks after transplanting. Then you can start watering every 2–3 weeks, depending on your climate. I watch for the soil to dry completely between waterings.
Final Thoughts: What I'd Tell My Beginner Self
If I could go back to when I started growing aloe pups, I'd give myself one piece of advice: less is more. Less water, less sun, less fussing. The aloe plant knows how to survive. It's been doing it for thousands of years.
You don't need fancy products or complicated routines. Just dry the cut end, use a terracotta pot with gritty soil, water once, and wait. Check in after 2 weeks. I promise you'll see tiny white roots.
I've lost plants, cried over them, and learned from every mistake. Now rooting aloe pups is something I can do with my eyes closed. You'll get there too. Trust the process.
And remember: the next time you see an aloe pup with its cut end drying on your kitchen counter, don't touch it. Don't water it. Just let it be. That's the secret.