 bluename
 How to Trim Lopsided Aloe Foliage for Balanced Growth
You notice your aloe plant leaning to one side, looking unbalanced. How to trim lopsided aloe foliage for balanced growth is simpler than most think. Cut the heavy, outward-leaning leaves at the base with a clean, sharp knife, angled slightly downward. That's the direct answer. But I've learned the hard way that trimming alone won't fix things if your care routine is off. I've killed three aloe plants before I got this right.
Why Your Aloe Grows Lopsided in the First Place
Let me tell you, my first aloe looked like it was trying to escape the pot. It leaned so far right I thought it would tip over. I figured it was just "how aloes grow." Nope. Lopsided growth usually means your plant is chasing light. Aloe vera is a sun-lover, but it stretches toward the brightest source. If you only have one window, that side gets all the growth.
I remember my second aloe. I put it on a shelf that got morning light from the left side. Within three months, every leaf pointed left. It looked like a green hand waving at me. I didn't trim it then. I just turned the pot every week. That helped a little, but the shape was already set. Trimming had to happen.
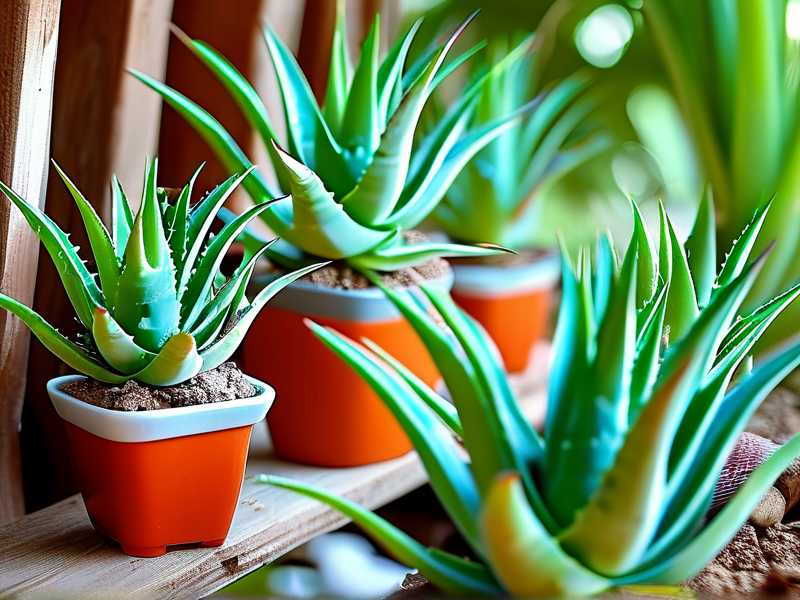
Another reason? Watering habits. I used to water on a schedule, every Sunday. That led to overwatering. The leaves got heavy and droopy, pulling the plant sideways. 90% of indoor plants die from overwatering, and aloe is no exception. Leggy, unbalanced growth often signals you're giving too much water or too little light.
3 Deadly Mistakes Beginners Make (I Made All of Them)
Mistake #1: Overwatering Like There's No Tomorrow
I swear, my first aloe died because I loved it too much. I gave it water every three days. The leaves turned mushy and brown. The whole plant slumped over like a tired dog. I thought "more water = more life." Truth is, aloe stores water in its leaves. They hate wet feet.
What to do instead: Water only when the soil is bone dry. Stick your finger two inches deep. If it's dry, you're good. If it's damp, wait. Simple as that. I switched to a terra cotta pot after my second plant died. That material breathes. It helps soil dry faster. My aloe stopped looking lopsided after I fixed watering.
Mistake #2: Giving the Wrong Light
I had my aloe on a north-facing windowsill. That was dumb. Aloe needs bright, indirect sunlight. North windows give weak, inconsistent light. My plant stretched toward the south side of the room, growing long and thin leaves. It looked like a skinny, leaning tower.
AHS, the American Horticultural Society, notes that succulents like aloe thrive with at least 6 hours of bright light daily. I learned to place mine near a south or west window. When I couldn't do that, I used a grow light for 10 hours a day. No more lopsided stretching after that.
Mistake #3: Using the Wrong Pot
Plastic pots are evil for aloe. I fell for it. I had a cute blue plastic pot. Water stayed trapped inside. Roots rotted. Leaves fell off. Plus, the pot was too small, so the aloe got top-heavy and tipped. I tried to prop it up with rocks. That just damaged the leaves more.
My fix: Use a pot with drainage holes. Terra cotta or unglazed ceramic works best. The pot should be only slightly bigger than the root ball. I went from a 6-inch pot to an 8-inch one after repotting. The roots had room to spread, but not so much that water pooled. My aloe stayed upright after that.
How I Trim Lopsided Aloe Foliage: Step-by-Step
I've trimmed my current aloe three times over two years. Each time taught me something. Here's my process, exactly as I do it.
What You Need
- Sharp, clean pruning shears or a kitchen knife
- Rubbing alcohol (to sanitize)
- A towel or old newspaper
- Gloves (aloe sap can irritate skin)
I bought a cheap pruning set online. Sanitize the blades with alcohol before every cut. I learned this after getting a fungal infection on a cut leaf. Gross. Now I never skip this step.
Step 1: Identify Which Leaves to Cut
Look at your aloe from above. Pick the heaviest, most tilted leaves on the leaning side. Don't cut leaves that are healthy and upright. Only remove leaves that pull the plant off balance. RHS, the Royal Horticultural Society, recommends cutting no more than one-third of the plant at a time.
I once cut too many leaves at once. My aloe looked like a bald chicken. It took months to recover. Now I cut only 2-3 leaves per session. Patience is key.
Step 2: Cut at the Base
Hold the leaf firmly but gently. Cut as close to the soil line as possible. Angle the cut slightly downward so water doesn't pool in the cut. Use a single, clean motion. Don't saw back and forth. That tears the leaf and stresses the plant.
First time I did this, I left a stub. That stub rotted and attracted bugs. Now I cut cleanly against the stem. No stubs left behind.
Step 3: Let the Cut Dry
Don't water immediately. The cut needs to callus over. Place the plant in a bright spot but away from direct sun for a day or two. The wound will close naturally. I skip watering for a full week after trimming. This prevents rot.
I once watered right after cutting. The wound absorbed moisture and turned black. The leaf next to it started rotting too. I had to remove three more leaves because of my impatience. Learn from my mistake.
Step 4: Rotate the Pot Weekly
After trimming, turn the pot a quarter turn every week. This forces new growth to stay balanced toward the light. I set a reminder on my phone. Easy habit. My aloe now grows straight up, not sideways.
Step 5: Monitor for Pests
Check the cut area every few days. Look for fungus or bugs. I use a cotton swab dipped in hydrogen peroxide if I see anything weird. One time, spider mites showed up near a cut. I treated with insecticidal soap. Caught it early, so no big damage.
2-Week Observation: What I Saw After Trimming
I trimmed a heavy leaning aloe on a Monday. Here's my exact log.
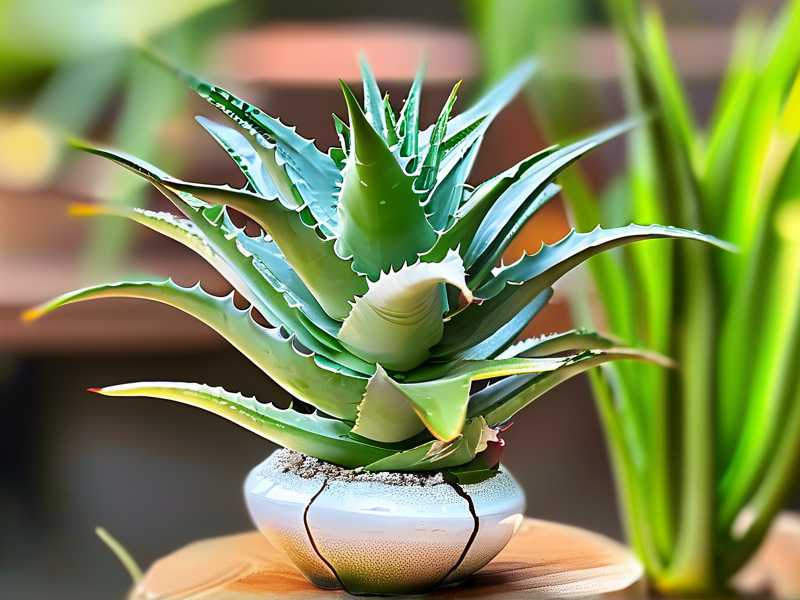
Day 1-3: The cut edges looked pale green. The plant seemed "shocked" for a day. One leaf curled slightly inward. I didn't panic. I just kept it in bright, indirect light.
Day 4-7: The cut surface turned brown and hardened. That's callusing. Healthy. No rot. New baby leaves started emerging from the center. I noticed the remaining leaves stood up straighter. The plant looked less top-heavy.
Day 8-10: The new leaves were thick and plump. No sign of leaning. I watered for the first time since trimming. Only a little. The soil felt dry two inches deep. The aloe perked up overnight.
Day 11-14: My aloe looked balanced. The trimmed side had smaller new growth. The heavy side was gone. I rotated the pot twice during this period. The overall shape was even. I felt like I finally got it right.
Mistakes I Made During This Process (Real Stories)
I'm not perfect. Here's what went wrong along the way.
The Overcut Disaster: I trimmed six leaves at once. My aloe went into shock. Leaves dropped. Growth stopped for three weeks. Fix: Never remove more than a third of the plant. Cut 2-3 leaves max. Wait a month before trimming again.
The Wrong Tool: I used dull scissors. The cut was jagged. That leaf got infected. Fix: Use sharp, clean pruners. A single smooth cut heals faster. I now keep a dedicated shears for succulents.
The Bad Timing: I trimmed in winter. The plant was dormant. It took forever to heal. Fix: Trim in spring or early summer when aloe is actively growing. Recovery is faster. My aloe bounced back in two weeks instead of two months.
FAQ: Real Questions I Get From Fellow Plant Lovers
Will trimming hurt my aloe?
No, if done correctly. Aloe is tough. It can handle a trim. Just don't go crazy. Remove only what's necessary. I've trimmed my aloe multiple times. It always grows back healthier.
How often should I trim lopsided foliage?
Only when it's visibly unbalanced. Maybe once or twice a year. I trim mine every spring as part of routine care. More frequent trimming stresses the plant. Let it rest between sessions.
Can I use the trimmed leaves?
Yes. Aloe leaves are useful for burns and skin care. Store trimmed leaves in the fridge for a week. But don't use leaves that show rot or disease. Slice them open and apply the gel fresh. I keep a jar of aloe gel from trims.
Final Thoughts: Balanced Growth Isn't Magic
You don't need to be an expert to trim lopsided aloe foliage for balanced growth. I started as a clueless plant killer. Now? My aloe sits straight and proud on my windowsill. The key is patience, sharp tools, and avoiding the three big mistakes I listed. Give it two weeks after trimming. You'll see new growth center itself. The plant knows what to do. You just need to help it along.
Remember RHS advice: "Proper trimming promotes healthy growth, but over-pruning stunts development." My first aloe taught me that lesson the hard way. But I learned, and you can too. Start with one trim. Watch your plant for two weeks. Adjust your care. Your aloe will thank you.
And honestly? There's nothing better than seeing a balanced, happy plant after you've fixed its tilt. I smile every time I walk past mine. You will too.





