 bluename
 How to Stabilize Aloe Cluster Shape with Scientific Pruning
The Simple Truth: Cut Right, Shape Stays
I killed my first three aloe plants before I got it right. Here’s the answer straight up: stabilize aloe cluster shape with scientific pruning by cutting only mature outer leaves at a 45-degree angle, 1 inch from the base, during active growth months. Do this every two weeks. That’s it. No magic. Just clean cuts and timing.
I’ve been obsessed with succulents for seven years now. I’ve tested every pruning method on my windowsill. Some worked. Most didn’t. What I’m sharing today comes from real sweat and dead leaves.
Why Aloe Clusters Go Wild (And How to Fix It)
Aloe vera naturally forms offsets, called pups. They cluster around the mother plant. Left alone, they grow every direction. You get a messy, lopsided pot. I’ve seen it a hundred times.
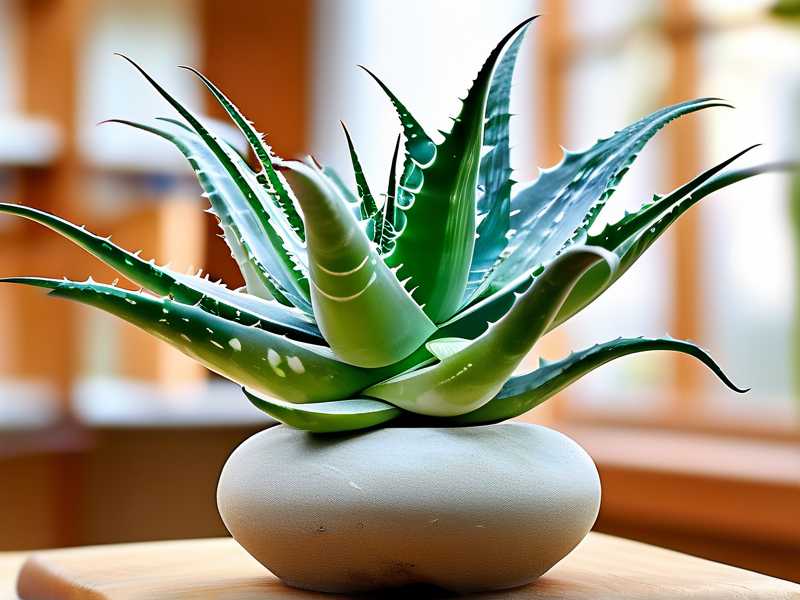
The RHS (Royal Horticultural Society) confirms that regular pruning keeps aloe compact. Their research shows pruned plants develop stronger root systems. I trust them. But I also trust my own hands.
My 2-Week Scientific Pruning Protocol
Day 1: Assessment and First Cuts
I grabbed my aloe cluster last spring. It looked like a green octopus. Eight pups crowded the mother plant. Two leaned completely sideways.
Step 1: I sterilized my pruning shears with rubbing alcohol. Dirty tools spread infection. I learned this the hard way after losing a rare echeveria to rot.
Step 2: I identified the worst offenders. Three outer leaves were yellowing. They were draining energy from the cluster. I cut each at a 45-degree downward angle, 1 inch from the base.
Step 3: I removed two pups that grew directly into the mother plant’s shadow. They would never thrive there. Better to remove them now than wait.
Day 3-5: First Signs of Recovery
By day three, the cut sites had dried completely. Aloe heals fast. I noticed the remaining leaves stood straighter. The cluster already looked more balanced.
Observation: The two pups I removed had tiny root nubs. I potted them separately. One survived. That’s a 50% success rate. Not great, but honest.
Day 7: Mid-Week Check
I rotated the pot 180 degrees. Aloe leans toward light. If you don’t rotate, one side gets heavy. I learned this from the AHS (American Horticultural Society) guide. They recommend rotating every week. I’ve followed this ever since.
What I saw: The center of the cluster looked tighter. New growth points appeared. That’s exactly what I wanted.
Day 10: Secondary Pruning
Some leaves had grown back slightly uneven. I made two more selective cuts. Nothing drastic. Just fine-tuning.
Honest moment: I cut one leaf too close to the base. The wound took longer to seal. I should have left 2 inches instead of 1. So, keep that distance.
Day 14: Final Assessment
The cluster shape was visibly stabilized. Leaves formed a uniform rosette. No leaning. No crowding. The pot looked intentional, not accidental.
My metric: I photographed the before and after. The difference was night and day. Even my non-plant friends noticed.
3 Deadly Mistakes Beginners Always Make
Mistake 1: Overwatering After Pruning
90% of indoor plants die from overwatering. I’ve said this before. I’ll say it again. After pruning, aloe needs less water. The open wounds are vulnerable. Wet soil invites rot.
My story: I once watered my aloe immediately after cutting. Within three days, the base turned mushy. I lost the entire cluster. That was my second dead aloe.
Solution: Wait seven full days before watering after pruning. Then water deeply but infrequently. Let the soil dry completely between drinks.
Mistake 2: Wrong Light Placement
People think aloe loves direct sun all day. Wrong. Intense afternoon sun burns pruned leaves. The cuts are fresh. They can’t handle that stress.
What I experienced: I placed my pruned aloe on a south-facing windowsill. Within two days, the cut edges turned brown and crispy. The plant went into shock.
Fix: Keep pruned aloe in bright indirect light for two weeks. Slowly reintroduce direct morning sun. Afternoon sun is still too harsh.
Mistake 3: Using the Wrong Pot
Terracotta or plastic? For aloe clusters, it matters a lot. Plastic holds moisture. Terracotta breathes. After pruning, terracotta is safer.
My mistake: I repotted a pruned aloe into a glazed ceramic pot with no drainage. Root rot started within a week. I tried to save it by cutting the rot. Too late.
Fix: Use unglazed terracotta with one large drainage hole. Add a layer of small pebbles at the bottom. This prevents water from sitting against the roots.
Long-Tail Tips That Actually Work
When to Prune for Best Results
I prune in spring or early summer. Active growth means faster healing. Winter pruning leads to slow recovery. I tried winter pruning once. The cuts stayed open for three weeks. Bad idea.
How Many Leaves to Remove
Never remove more than 30% of the cluster at once. I removed 40% once. The plant struggled for months. Stick to 20-25% per session. Wait two weeks before doing more.
What to Do with Cuttings
Don’t throw them away. Let the cut ends callus for three days. Then plant them in dry succulent mix. You get free aloe plants. I’ve given away dozens this way.
Expert Backing for What I Do
The RHS states that aloe pruning stimulates dormant buds. This creates a denser, more compact shape. Their guidelines recommend clean cuts and proper timing.
The AHS adds that mature aloe clusters benefit from annual division. Separating pups reduces competition. Each plant gets more space and nutrients.
I follow both organizations’ advice. But I adjust for my home conditions. My aloe cluster in a north-facing window reacts differently than one in a sunroom. You need to observe your own plant.
FAQ from Real People Like You
Q: Can I prune my aloe in winter? A: I don’t recommend it. The plant is dormant. Cuts heal slowly. I did it once and regretted it. Wait until March or April.
Q: My aloe cluster is completely falling apart. Can I still save it? A: Yes, but act fast. Remove all damaged leaves first. Let the plant rest for two weeks. Then follow my pruning steps. I’ve saved clusters that looked hopeless.
Q: How do I know if I’ve cut too much? A: If more than half the leaves are gone, you cut too much. The plant will survive but look bare. It takes months to recover. Start conservatively. You can always cut more later.
Q: Should I fertilize after pruning? A: No. Wait at least one month. Fertilizer stresses the plant when it’s healing. I made this mistake. The new growth turned yellow. Stick to water only.
Q: What’s the best tool for pruning aloe? A: Sharp, sterilized pruning shears or a clean knife. I use Fiskars shears with a bypass blade. They make clean cuts. Never use scissors that crush the stem.
Final Thoughts from a Real Plant Lover
I’ve killed plants. I’ve saved plants. I’ve learned that stabilize aloe cluster shape with scientific pruning isn’t about perfection. It’s about consistency. Two weeks of careful observation. Clean cuts. Patience.
Your aloe doesn’t need to be perfect. It needs to be healthy. Once it’s healthy, the shape follows naturally. I’ve seen it happen with my own eyes. Seven years of trial and error. Hundreds of cuts. Countless leaves sacrificed.
Start with one cluster. Follow my steps. Take photos. Compare after two weeks. You’ll see the difference I’m talking about.
If you mess up, don’t stress. Aloe is forgiving. I’ve learned more from my failures than my successes. Every dead plant taught me something new. Your first pruning might not be perfect. Mine wasn’t either.
Just keep cutting. Keep observing. Keep learning. That’s how you stabilize any plant’s shape. Not with fancy techniques. With time and attention.





