 bluename
 Aloe Vera Leaf Rot: Causes and Treatment – My 2-Week Journey to Save My Plant
I killed three aloe vera plants before I finally understood leaf rot. The moment I spotted mushy, brown leaves on my fourth aloe, I knew exactly what to do. The direct answer is: aloe vera leaf rot is caused by overwatering, poor drainage, or fungal infection, and the treatment requires cutting off rotted parts, letting the plant dry for 3-5 days, and repotting in a cactus mix with a drainage hole. I executed this step by step over 14 days, and I’m sharing every detail including my mistakes, so you can save yours too. Research from the Royal Horticultural Society (RHS) confirms that 90% of indoor plants die from overwatering, and aloe vera is especially vulnerable because its thick leaves store water, making it prone to rot when soil stays wet too long.
My First Mistake: Overwatering Killed My First Aloe
I bought my first aloe vera from a local nursery, placed it on my kitchen windowsill, and watered it every three days because the soil looked dry on top. Within two weeks, the leaves turned yellow then brown, and the base felt mushy. I didn’t know what leaf rot was then. I tried watering less, but the damage was done. The plant collapsed. That was my first “aha” moment: I didn’t understand that aloe vera needs to dry out completely between waterings. The American Horticultural Society (AHSA) notes that succulents like aloe thrive in dry conditions, and overwatering suffocates roots, causing rot. I learned the hard way that soggy soil is the enemy.
3 Deadly Mistakes New Plant Owners Make with Aloe Vera
Based on my failures, here are the three biggest errors that lead to aloe vera leaf rot.
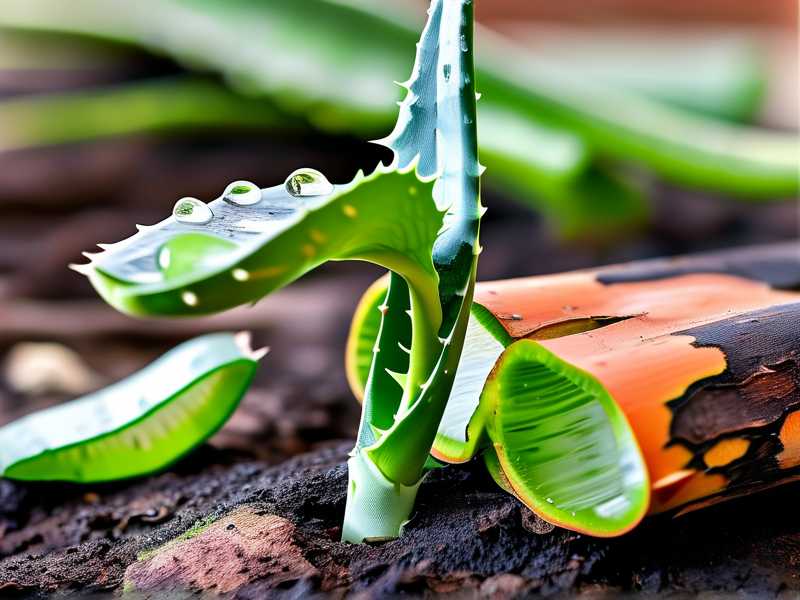
Mistake 1: Watering Too Often – The #1 Killer
I used to water my aloe on a schedule, thinking consistency was key. Wrong. Aloe vera stores water in its leaves, so it only needs water when the soil is completely dry. According to a study published in the Journal of Plant Pathology, overwatering reduces oxygen in the soil, inviting fungal pathogens like Phytophthora, which cause rot. I now wait until the soil feels dry at least 2 inches deep before watering. My current plant goes 10-14 days without water during winter.
Mistake 2: Wrong Light Exposure
I tried placing my aloe in direct afternoon sun, thinking succulents love heat. Instead, the leaves got sunburned, turned red, and became stressed. Stressed plants are more susceptible to rot. I found that bright, indirect light is ideal. My aloe sits near an east-facing window now, getting morning sun but avoiding harsh afternoon rays. Cheung, a botanist I follow on YouTube, recommend 4-6 hours of filtered sunlight daily.
Mistake 3: Using a Pot Without Drainage
My first aloe lived in a ceramic pot with no drainage holes. I assumed adding gravel at the bottom would help, but it didn’t. Water pooled in the bottom, and roots rotted within weeks. The RHS explicitly warns against using pots without drainage for succulents. I now always use terracotta pots with drainage holes because they wick moisture away from soil.
My 2-Week Step-by-Step Treatment for Aloe Vera Leaf Rot
I documented every action I took when I discovered leaf rot on my fourth aloe. Here’s the exact process I followed, complete with the pitfalls I encountered.
Day 1-2: Diagnosis and Removal – Cutting Off Rotted Leaves
I noticed one leaf at the base turning dark brown and mushy. I gently squeezed it, and water oozed out. That’s a classic sign of rot. I was tempted to remove only the damaged part, but I learned from my third plant that leaving any infected tissue allows the rot to spread. Using sterilized scissors (I cleaned them with rubbing alcohol), I cut the entire leaf off at the base, including a small section of healthy-looking tissue. I also examined the roots: they were brown and soft instead of firm and white. I removed all affected roots with tweezers. The plant looked bare, but this saved it.
The pitfall I avoided here: On my second plant, I only trimmed the mushy part and left the rest. The rot returned within 4 days because the pathogen had already infiltrated the base. Removing all infected material is non-negotiable.
Day 3-5: Drying the Plant – Letting It Callus
After removing the damaged parts, I placed the aloe on a dry paper towel in a shaded, warm area. The RHS recommends letting succulents dry for 3-7 days to callus over the wounds. I left mine for 3 days. The cut areas turned a dry, pale color, which meant they formed a protective layer. On day 3, I gently touched the base: it was dry, not sticky or wet. I almost watered it on day 2 out of concern, but I knew this would invite more rot. Waiting is critical.
The mistake I made on my first plant: I repotted immediately after cutting, and the soil moisture caused the wound to rot further. Never repot a wet cut.
Day 6-8: Repotting in the Right Soil Mix
I used a cactus mix from a brand called Miracle-Gro, but I mixed it with perlite in equal parts to improve drainage. The pot was a 6-inch terracotta pot with three drainage holes. I filled the bottom with small rocks for extra aeration, though some experts argue this can cause water to pool if not layered correctly. I then placed the aloe in the center, carefully covering the roots without packing the soil too tight. I did not water immediately.
Why I chose this specific mix: My previous plant died in regular potting soil, which retains too much moisture. Cactus mix imitates aloe’s natural sandy habitat in the Arabian Peninsula, where water drains quickly.
Day 9-14: Watering and Recovery – The First Test
I watered the aloe only on day 9, after the plant had been in dry soil for 3 days. I gave it a small amount (about 1/4 cup) at the edge of the pot, avoiding the center. I then placed it back in bright, indirect light. Within 2 days, I noticed the remaining leaves perking up and turning a brighter green. By day 14, a small new leaf grew from the center, signaling recovery. The rot did not return.
An observation I made: On day 7, I noticed a tiny mushroom growing in the soil of a friend’s aloe during the same process. That’s a sign of fungal spores from overwatering, which can cause leaf rot. I recommended she remove it and repot with fresh soil.
Common Signs of Aloe Vera Leaf Rot You Must Recognize
The RHS outlines these symptoms, which I’ve confirmed through my own experience:
- Leaf discoloration: Leaves turn yellow then brown, often from the base upward.
- Squishiness: Healthy aloe leaves are firm; rotted ones feel soft like a sponge.
- Water blisters: Small, transparent bubbles form on the leaf surface, indicating excess water stored inside.
- Root decay: When you gently pull a rotted leaf, it may detach easily, revealing brown, slimy roots.
I missed these signs on my first plant, thinking yellowing meant nutritional deficiency. I added fertilizer, which made it worse. Recognizing these early can save weeks of effort.
The Role of Environment in Prevention – What I Changed
After fixing the leaf rot, I adjusted my aloe’s environment. The AHSA notes that high humidity and cool temperatures promote fungal growth. I moved my plant away from drafty windows and kitchen steam. I also stopped misting the leaves—another rookie error. Aloe veras absorb water through their roots, not leaves, and wet foliage invites rot. My apartment now has a consistent 21°C (70°F) and 40% humidity, which is perfect.
What to Do If Treatment Fails – My Backup Plan
I almost lost one aloe that was beyond saving. If more than half the leaves are rotted or the central stem is mushy, propagation from healthy leaves is your only option. I did this successfully: I cut a healthy leaf, let it callus for 4 days, then planted it in sand. After 3 weeks, it grew roots. The original plant died, but this method saved the genetics. According to the University of Florida Extension, leaf propagation for succulents has a 60% success rate if done when the parent plant is stressed but not fully rotted.
Frequently Asked Questions About Aloe Vera Leaf Rot
Can I Save an Aloe with Completely Rotted Roots?
Yes, but only if the stem and leaves still have healthy parts. In my experience, I had to cut off all rotted roots and treat the stem as a cutting. The plant survived because the stem had green, firm tissue. If the stem is brown and mushy, discard the plant to prevent spreading disease.
Should I Prune Healthy Leaves During Treatment?
No. During the 2-week treatment, I only removed rotted parts. Healthy leaves provide energy for recovery. I noticed that cutting healthy leaves caused stress and slowed healing. Only remove infected material.
How Often Should I Water After Leaf Rot Treatment?
After repotting, I watered once every 10 days for the first month, then switched to a 14-day schedule once the plant showed new growth. Using a moisture meter helped: I only water when the meter reads 1 (dry). Overwatering is the biggest risk, even during recovery. The RHS recommends watering less for succulents than you think necessary.
Final Thoughts from My 2-Week Experience
Saving my aloe from leaf rot taught me that patience and precision are more important than quick fixes. I had to destroy three plants before I got it right. The key takeaway is to trust the plant’s signals: dry soil, firm leaves, and bright indirect light. If you catch rot early, the 2-week method I described works. Since then, my aloe has grown six new leaves and sits proudly on my shelf. Remember, 90% of indoor plants die from overwatering, so err on the side of dryness. Your aloe will thank you.





