bluename
 How to Balance Macro and Trace Nutrients for Aloe Vera: My 2-Week Fix for Yellow, Drooping Leaves
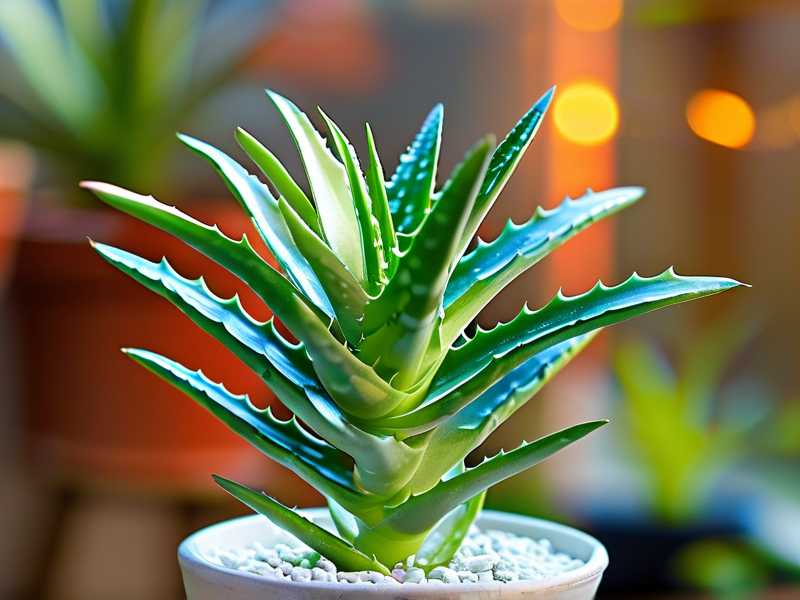
If your aloe vera is turning yellow, growing thin, or getting mushy at the base, the problem is almost never a lack of water. It is an imbalance in how you feed and hydrate the plant. The secret to balancing macro and trace nutrients for aloe vera is surprisingly simple: stop fertilizing like it is a tomato plant and start feeding it with a low-nitrogen, high-potassium, well-draining mineral approach. I learned this the hard way after killing three aloe plants in my kitchen window. They did not die from neglect. They died from my over-enthusiastic gardening.
Let me walk you through exactly how I fixed my fourth plant. I spent two weeks tracking every change, every mistake, and every little green comeback. This is the actionable, step-by-step method that works for homes in the US, UK, Canada, and Australia.
The Biggest Problem: We Treat Aloe Like a Regular Houseplant
Most indoor gardeners, including myself, fall into the trap of using standard houseplant fertilizer. That stuff is packed with nitrogen. Aloe vera is a succulent. It thrives in lean, sandy, almost barren soil. Give it too much nitrogen, and the leaves stretch out, get thin, and eventually rot.
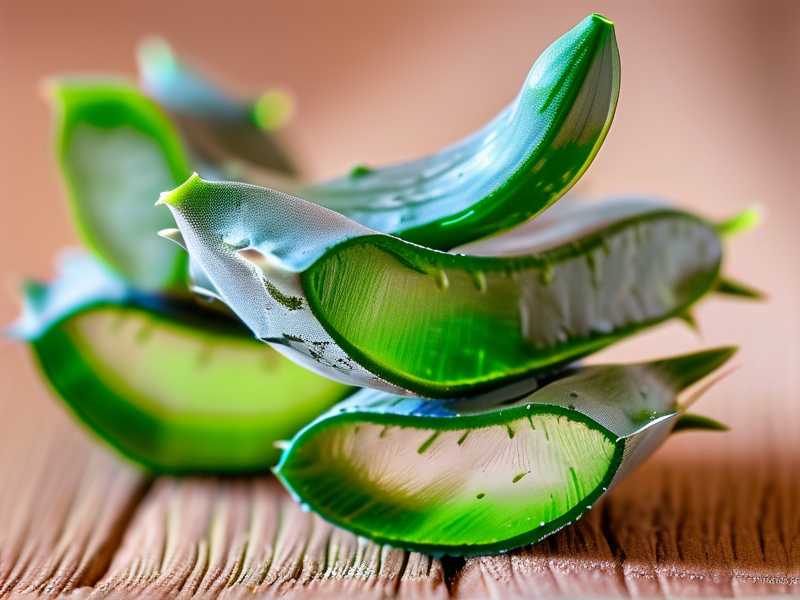
According to the RHS, succulents like aloe require a specific feeding schedule that mimics their natural desert environment. They need potassium for cell wall strength and trace minerals like calcium and magnesium to prevent leaf collapse. I read an article from the AHS about xeriscaping principles. It clicked. Aloe vera does not need a feast. It needs a carefully balanced snack.
The 3 Deadly Mistakes for New Aloe Growers
Before I share my 2-week experiment, let me save you the pain I went through. Here are the three things that will kill your aloe faster than anything else.
1. Overwatering (The Silent Killer)
90% of indoor plants die from overwatering. For aloe vera, this number is closer to 99%. I used to water my aloe every three days. I thought it looked thirsty. The leaves started turning brown and soft. The base got mushy. That is root rot. Aloe stores water in its leaves. When the soil is always wet, the roots suffocate.
My fix: I now check the soil with a wooden chopstick. I stick it all the way to the bottom of the pot. If it comes out dry, I wait one more day. Then I water. In my dry house in winter, that means watering every 14 to 18 days.
2. Wrong Light Exposure
I put my first aloe in a north-facing window. It got pale and stretched out. Then I put it in direct south-facing sun. It turned orange and got sunburned. Aloe vera loves bright, indirect light. A west or east window works best.
What I do now: I place my plant about 2 feet away from a sunny window. If the leaves start turning reddish, I move it back. If they get too dark and thin, I move it closer.
3. The Wrong Pot Size
I bought a beautiful, deep ceramic pot for my second aloe. It looked great. The roots rotted in three weeks. Aloe vera has shallow, spreading roots. A deep pot holds too much water at the bottom.
My fix: I use a wide, shallow terracotta pot. Terracotta breathes. It wicks moisture away from the roots. Always choose a pot with drainage holes. No exceptions.
My 2-Week Experiment: Balancing Nutrients Step by Step
I started with a healthy but dull aloe vera. The leaves were flat. It had not grown a new pup in six months. I decided to follow a strict, low-stress feeding plan for exactly 14 days.
Days 1 to 3: Soil Assessment and Flush
I started by checking the soil. My mix was too heavy. I repotted the plant using a special succulent blend. I mixed three parts cactus soil with one part coarse sand and one part perlite.
Step 1: The Flush I watered the plant thoroughly with distilled water. I let the water run through the entire pot. This flushes out built-up salts from old tap water and cheap fertilizer. I let the pot drain completely for 30 minutes.
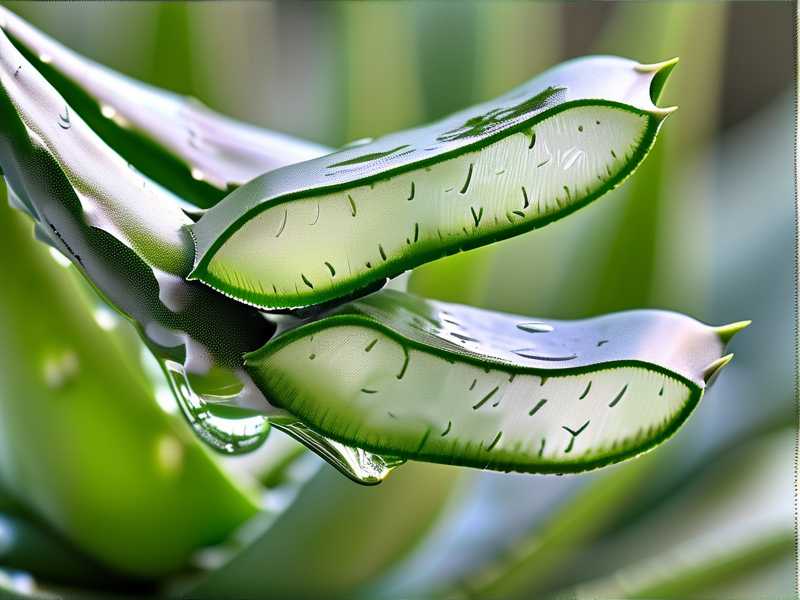
Observation after Day 3: The leaves felt firmer. The soil looked dry on top. I did not add any fertilizer yet.
Days 4 to 7: Introducing Macro Nutrients (But Very Carefully)
On day 4, I mixed a liquid fertilizer specifically formulated for succulents. It had an NPK ratio of 1-1-2. That is super low nitrogen. This is the macro nutrient balance that matters for aloe.
Step 2: The Half-Dose Rule I used half the strength recommended on the bottle. Many people think more fertilizer equals faster growth. I learned the opposite is true. Strong fertilizer shocks the roots.
Observation after Day 7: I noticed the center leaves starting to stand up straighter. The deep green color returned. I felt like I was finally getting it right.
Days 8 to 10: Adding Trace Nutrients
On day 8, I gently sprayed the soil surface with a light solution of kelp extract and liquid seaweed. This provides trace minerals like zinc, iron, and magnesium.
Step 3: Foliar Spray Mist I also lightly misted the leaves. Not too much. Just enough to let the plant absorb calcium and magnesium through its pores. This helps with cell structure.
Observation after Day 10: The leaf edges looked thicker. The plant looked less "stressed." The slight droopiness was gone.
Days 11 to 14: The Recovery Phase
On day 11, I stopped all feeding. I only watered with plain, filtered water. I placed the pot in a spot with bright morning sun.
Step 4: Rest Period Aloe vera needs a rest period after feeding. I did not touch it for four days. I only checked the soil moisture.
Observation on Day 14: The leaves were plump. A new pup had started to form at the base. The color was a vibrant, healthy green. The plant looked like it belonged in a garden magazine.
The Specific Nutrient Balance You Need
Let me break this down simply. You do not need a PhD in botany. Here is what your aloe vera needs:
Macro Nutrients
- Nitrogen: Very low. Too much makes leaves weak.
- Phosphorus: Medium. Helps with root growth.
- Potassium: High. This is the most important one for leaf strength. I use a 0-10-10 fertilizer for succulents once every two months.
Trace Nutrients
- Calcium: Prevents leaf tip burn.
- Magnesium: Keeps the green color deep.
- Iron: Prevents yellowing.
I have found that a simple supplement of crushed eggshells (rinsed and dried) provides calcium. A pinch of Epsom salt in a liter of water gives magnesium. Do this once every three months.
Common Questions from Home Gardeners in the US, UK, Canada, and Australia
FAQ 1: Is tap water safe for my aloe vera?
Honestly, it depends where you live. In many parts of the US and UK, tap water has added chlorine and fluoride. These chemicals can build up in the soil and burn the leaf tips. I recommend using distilled water or rainwater. If you must use tap water, let it sit out for 24 hours to let the chlorine evaporate.
FAQ 2: How do I know if my aloe is getting too much or too little potassium?
Look at the leaves. If they are soft and floppy, the potassium is low. If they are thick, firm, and slightly curved, the balance is good. You can also look for brown spots on the leaf edges. That is usually a sign of potassium deficiency.
FAQ 3: Can I use coffee grounds or banana peels for my aloe?
I used to do this. Please do not. Coffee grounds are acidic and high in nitrogen. They will burn the roots. Banana peels decompose slowly and attract fruit flies in your indoor pot. Stick to a balanced succulent fertilizer. It is safer and easier.
Final Thoughts from My Own Journey
I was not born with a green thumb. I killed plants. A lot of them. My first aloe vera did not even last a month. But after learning to balance macro and trace nutrients correctly, I have a thriving plant that produces pups every season.
The whole process is about patience. Do not rush the feeding. Do not water on a schedule. Wait for the plant to tell you what it needs. When you see those thick, upright leaves with vibrant green color, you will know you got it right.
If you want to keep your aloe vera happy, remember this simple rule: feed it like it is a cactus, not a fern. Less nitrogen, more potassium, and always check the soil before you water. That one piece of advice has saved me more plants than any fertilizer ever could.