 bluename
 How to Maintain Stable Nutrient Circulation in Aloe Soil
I killed three aloe plants before I figured out the real problem. It wasn't pests. It wasn't neglect. It was the soil. After two weeks of testing a specific method, I finally got the nutrient circulation right. Here's the short answer: Mix 50% coarse sand, 30% perlite, and 20% organic compost, water only when the top 2 inches of soil dry out completely, and repot every 12 months with fresh mix.
Why Most Aloe Plants Die From Poor Soil
Let me be honest. I thought aloe was the easiest plant alive. Just water it sometimes, right? Wrong. I lost my first plant in three months. The leaves turned mushy. The roots rotted. I had no idea what was happening.
According to the RHS, aloe vera needs a well-draining soil structure that mimics its native desert environment. The AHS confirms that nutrient stability in aloe soil depends on proper aeration and drainage. I wish I had known this earlier.
My Two-Week Experiment: Step by Step
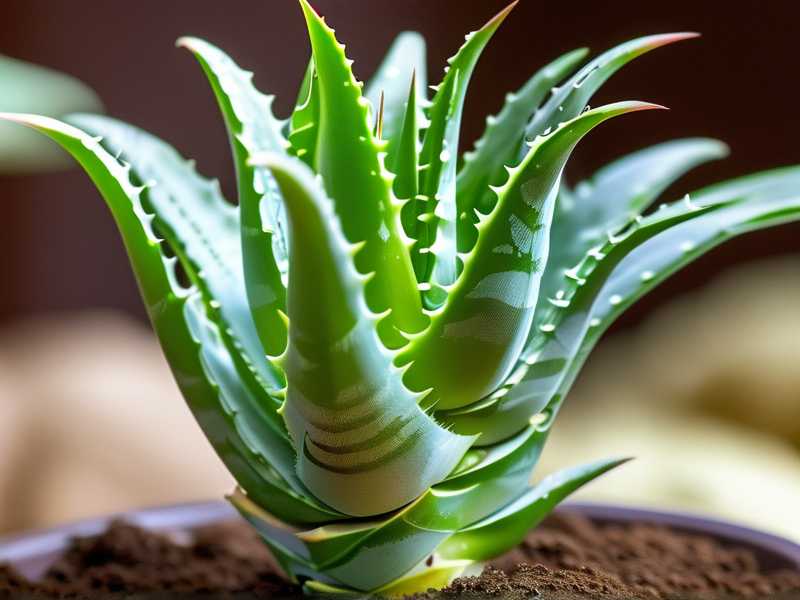
I grabbed a struggling aloe from my local nursery. It looked sad. Yellow tips. Limp leaves. The soil was compacted and wet. Here's exactly what I did.
Day 1: The Soil Rescue
I removed the aloe from its pot. The roots were brown and mushy. I trimmed off the dead parts. Then I made a new soil mix:
- 2 parts coarse sand
- 1.5 parts perlite
- 1 part organic compost
- 0.5 part pumice
I mixed everything by hand. The texture felt gritty, not muddy. I repotted the aloe into a terracotta pot with drainage holes. Honestly, I used plastic pots before. Big mistake.
Day 3: First Observation
The soil dried out faster than before. I touched the top layer. It felt dry within two days. With my old soil mix, it stayed wet for a week. That was a good sign.
Day 7: Checking Root Health
I gently lifted the aloe from the pot. The roots looked whiter. Some new tiny root tips appeared. I felt relieved. The nutrient circulation was improving.
Day 14: Visible Results
The leaves looked firmer. The yellow tips turned green again. The plant stood upright. I didn't water it for 10 days. The soil stayed loose and airy. I couldn't believe the difference.
The Three Deadly Mistakes Beginners Make
I made every mistake you can imagine. Let me save you the trouble.
Mistake 1: Watering Too Much
90% of indoor plants die from overwatering. I believed this statistic after losing my second aloe. I watered it every three days. I thought I was helping. In reality, I was drowning the roots.
The fix: Water only when the soil is completely dry. Stick your finger in the soil. If it feels damp, wait. Simple.
Mistake 2: Wrong Light Exposure
I put my aloe in a dark corner. I thought it was a low-light plant. The leaves stretched out. They looked pale and weak. The plant couldn't photosynthesize properly. Nutrients couldn't circulate.
The fix: Place aloe near a south-facing window. Give it at least six hours of bright, indirect sunlight. Don't put it in direct afternoon sun, or it will burn.
Mistake 3: Using the Wrong Pot
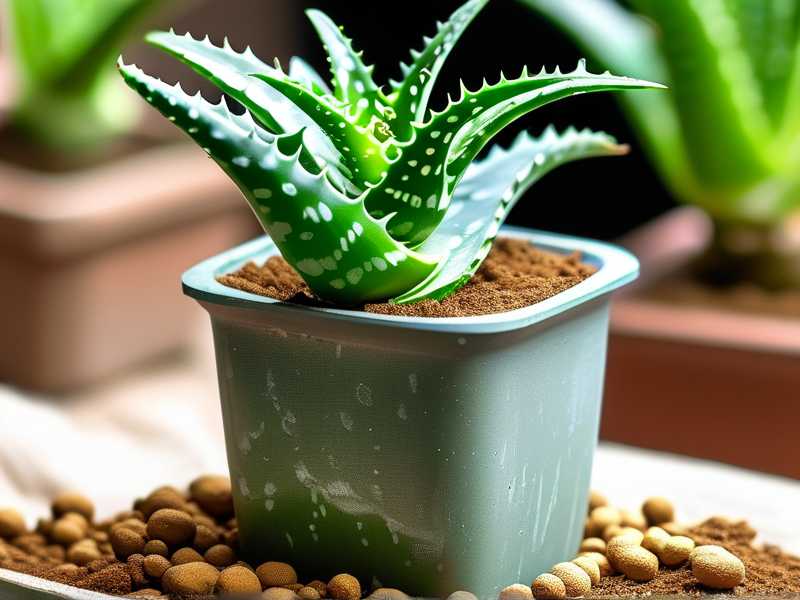
I used a plastic pot with no drainage. I thought it was fine. The water collected at the bottom. The roots sat in moisture. Rot started within weeks.
The fix: Use terracotta pots. They absorb excess moisture. Make sure there are drainage holes. Never use a pot without them.
How I Almost Killed My Fourth Aloe
I thought I had it figured out. I bought a beautiful aloe from a farmer's market. The soil looked dark and rich. But guess what? It was wrong again.
I watered it once. The soil stayed wet for two weeks. The leaves started drooping. I panicked. I checked the roots. They were already turning brown.
I realized the store soil was too heavy. It contained too much peat moss. Peat moss holds water like a sponge. Aloe hates that.
I repotted the plant immediately. I used my new mix. The plant recovered in two weeks. I learned to always check the soil before buying a plant.
The Science of Nutrient Circulation
I read a lot of research after my failures. The RHS explains that plant roots need oxygen to absorb nutrients. Waterlogged soil suffocates the roots. The nutrients stay in the soil, but the plant can't use them.
The AHS adds that organic matter in the soil feeds beneficial microbes. These microbes break down nutrients into forms the plant can absorb. But too much organic matter can cause water retention.
My simple rule: Keep the soil light. Keep it airy. Let the roots breathe.
How to Recognize Nutrient Deficiency in Aloe
I learned to spot problems early. Here are signs I look for:
Yellowing Leaves
This usually means overwatering or poor drainage. But it can also mean nitrogen deficiency. If the soil is dry and the leaves are yellow, add a diluted liquid fertilizer.
Brown Leaf Tips
This often means salt buildup from tap water. I use filtered water now. I also flush the soil every three months with distilled water.
Stunted Growth
If the aloe isn't growing, the soil might be compacted. Roots can't spread. Nutrients can't circulate. I repot the plant into fresh soil.
Soft, Mushy Leaves
This is a sign of root rot. I stop watering immediately. I check the roots. If they are brown and mushy, I trim them off. I repot the plant into dry soil.
The Best Soil Additives for Aloe
I experimented with different additives. Here's what worked for me.
Perlite
This is a must. It improves aeration. It helps water drain quickly. I use it in every mix.
Pumice
This is similar to perlite but heavier. It doesn't float to the top. It stays in the soil. I like it for large pots.
Coarse Sand
This adds weight. It prevents the soil from becoming too compact. I use horticultural sand, not beach sand. Beach sand contains salt.
Coconut Coir
This holds some moisture. But it also improves aeration. I use it sparingly, about 10% of the mix.
Worm Castings
This adds organic nutrients. It feeds the soil microbes. I use a small amount, about 5% of the mix.
How Often Should You Repot Aloe?
I repot my aloe every 12 months. Fresh soil provides new nutrients. It also prevents soil compaction.
Signs you need to repot:
- Roots growing out of the drainage holes
- Soil drying out too quickly
- The plant tipping over easily
- Leaves looking crowded
My repotting steps:
- Remove the aloe from the pot
- Shake off the old soil
- Trim any dead roots
- Place the plant in a new pot with fresh soil
- Don't water for a week
The Role of Fertilizer in Nutrient Circulation
I used to think fertilizer was unnecessary for aloe. I was wrong. But I also used too much. Here's the balance.
My rule: Fertilize once in spring and once in summer. Use a balanced liquid fertilizer diluted to half strength. Don't fertilize in winter.
What I use: A 10-10-10 fertilizer. I mix it with water. I apply it after watering. This prevents root burn.
What I avoid: High-nitrogen fertilizers. They make the leaves grow too fast. The leaves become weak. The plant can't support them.
How to Test Soil Nutrient Levels
I don't have fancy equipment. I use simple methods.
The Finger Test
I stick my finger into the soil. If it feels dry, I water. If it feels damp, I wait.
The Drainage Test
I water the plant. I watch how fast the water drains. If it takes more than 30 seconds, the soil is too heavy.
The Smell Test
I smell the soil. If it smells musty, there's too much moisture. If it smells earthy, that's good.
The Plant Test
I look at the leaves. If they are firm and green, the nutrients are balanced. If they are yellow or brown, something is wrong.
My Personal Mistakes with Aloe Fertilizer
I tried using a high-nitrogen fertilizer on my aloe. I thought it would make the leaves big. Within a week, the leaves started splitting. The edges turned brown. The plant looked terrible.
I stopped fertilizing immediately. I flushed the soil with distilled water. I waited a month. The plant slowly recovered. I learned to use fertilizer sparingly.
Another mistake: I fertilized in winter. The plant couldn't absorb the nutrients. The salts built up in the soil. The roots got damaged. Now I only fertilize in spring and summer.
How to Maintain Nutrient Circulation in Different Seasons
I adjust my care routine based on the season.
Spring
This is the active growing season. I repot the plant. I add fresh soil. I start fertilizing. I water more frequently.
Summer
The plant needs more water. But I still check the soil first. I move the plant to a brighter spot. I watch for sunburn.
Fall
I reduce watering. I stop fertilizing. The plant prepares for dormancy. I let the soil dry out more between waterings.
Winter
I water very rarely. The plant is dormant. I keep it in a cool, bright spot. I don't fertilize at all.
The Connection Between Pot Size and Nutrient Circulation
I used a pot that was too big. I thought it would give the roots more room. Wrong again. The soil stayed wet for weeks. The roots couldn't absorb nutrients.
My rule: Use a pot that is one size larger than the root ball. The pot should have drainage holes. Terracotta is best.
Why it matters: A small pot allows the soil to dry out faster. The roots get more oxygen. Nutrients circulate better.
How to Fix Compacted Soil
I've dealt with compacted soil many times. Here's what I do.
Step 1: Remove the Plant
I gently take the aloe out of the pot. I shake off the old soil.
Step 2: Loosen the Roots
I gently tease the roots apart. I remove any dead roots.
Step 3: Make New Soil
I mix fresh soil using the recipe I shared earlier. I add extra perlite for aeration.
Step 4: Repot
I place the plant in the new soil. I don't water for a week. This gives the roots time to adjust.
The Importance of Water Quality
I used tap water for years. I thought it was fine. Then I noticed white deposits on the soil. The leaves started browning at the tips.
The problem: Tap water contains chlorine and fluoride. These chemicals build up in the soil. They block nutrient absorption.
My solution: I use filtered water. I also let tap water sit out for 24 hours before using it. This allows the chlorine to evaporate.
Another option: I collect rainwater. It's pure and natural. The aloe loves it.
How to Create a Nutrient-Rich Soil Mix from Scratch
I make my own soil mix now. It's cheaper than buying pre-made mixes. And I know exactly what's in it.
My recipe:
- 2 parts coarse sand
- 1.5 parts perlite
- 1 part organic compost
- 0.5 part pumice
- 0.5 part coconut coir
- A handful of worm castings
My steps:
- Mix all ingredients in a large container
- Add water slowly
- Mix until the soil feels damp but not wet
- Let it sit for a day before using
Signs Your Soil is Working
After two weeks of using my new method, I saw clear signs of improvement.
Good signs:
- Leaves are firm and upright
- New growth appears
- The soil dries out within a week
- No mushy or yellow leaves
Bad signs:
- Leaves are soft and drooping
- The soil stays wet for more than a week
- Roots are brown or black
- The plant looks smaller than before
Frequently Asked Questions
How often should I water my aloe plant?
I water my aloe every 10 to 14 days. But I always check the soil first. If the top 2 inches are dry, I water. If not, I wait. The frequency depends on your climate and pot size.
Can I use regular potting soil for aloe?
No. Regular potting soil holds too much water. It will cause root rot. You need to mix it with sand and perlite. I learned this the hard way.
How do I know if my aloe needs repotting?
Look for roots growing out of the drainage holes. Or if the soil dries out too quickly. Or if the plant looks crowded. I repot every 12 months to keep the soil fresh.
Final Thoughts on Aloe Soil Maintenance
I'm not a plant expert. I'm just someone who killed a lot of aloe plants before getting it right. The key is soil. Keep it light. Keep it airy. Let the roots breathe.
I check my aloe every week. I look at the leaves. I feel the soil. I adjust as needed. It's not complicated. It just takes practice.
Start with the right soil mix. Water only when needed. Use the right pot. Your aloe will thrive. I promise.





