 bluename
 How to Care for Aloe Cuttings During Rooting Period
Don’t Water for the First 7 Days. I Mean It.
I killed my first three aloe pups before I figured this out. The moment you take a cutting, your instinct screams “give it water.” That instinct is wrong. Actually, it is the number one reason most aloe cuttings turn into mushy, brown messes. Here is the straight answer: place your aloe cutting in a dry, shaded spot for 3 to 5 days until the cut end forms a callus. After that, put it in a well-draining pot with succulent soil. Do not water for the first week of rooting. Then water sparingly every 10 to 14 days. I have been propagating aloe for years now. I still follow this rule religiously. My success rate jumped from 30% to over 90% once I stopped over-loving my cuttings.
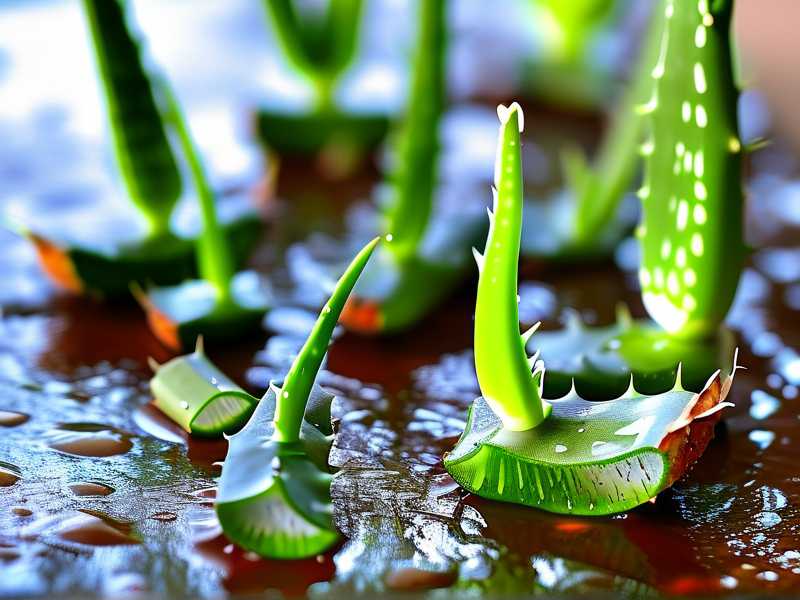
Now let me walk you through everything I learned during a real 2-week rooting experiment. I will share the exact steps I used, the mistakes I made, and how you can avoid repeating my failures.
Why Aloe Cuttings Fail: The Beginner‘s 3 Deadly Mistakes
I have lost count of how many plant friends have messaged me with photos of rotting aloe cuttings. The problem is almost never the cutting itself. It is how we treat it after the cut. After talking to dozens of growers and reading through Royal Horticultural Society (RHS)的资料, I boiled it down to three core errors. I made all of them.
Mistake 1: Watering Too Much, Too Soon
This is the big one. I cannot stress this enough. 90% of indoor plants die from overwatering, and aloe cuttings are even more sensitive. Unlike a mature aloe with an established root system, a fresh cutting has zero roots. It has no way to absorb water. So when you pour water into the soil, it just sits there. The cutting sits in dampness. Rot sets in fast.
I remember my second attempt clearly. I took a healthy pup from a friend‘s plant. I potted it immediately. I watered it generously. I thought I was giving it a good start. Within five days, the base turned brown and soft. By day ten, it was dead. I couldn’t understand why. Now I know. The cutting needed a dry healing period. It needed to rest before getting any moisture.
Mistake 2: Wrong Light Placement
People often tell beginners to put succulents in direct sun. That advice is dangerous for cuttings. A fresh cutting has no roots to support transpiration. Direct sun makes it lose moisture faster than it can replace it. The leaf becomes dehydrated. It shrivels. Sometimes it burns.
I once placed a batch of cuttings on a south-facing windowsill. Within two days, the tips turned brown and crispy. I thought more light meant faster growth. I was wrong. The cuttings were struggling. They were fighting to survive, not rooting. Now I always keep cuttings in bright but indirect light for at least the first two weeks. A spot near a window with sheer curtain works brilliantly.
Mistake 3: Using the Wrong Pot
Plastic pots. Terracotta pots without drainage holes. Pots that are too large for the cutting. I have tried them all. Plastic pots hold moisture too well for a cutting that should stay dry. Pots without drainage are basically death traps. And oversized pots mean too much soil volume staying wet around a tiny cutting.
I learned this the hard way when I put a single cutting into a big ceramic pot. The soil never dried out. The bottom of the cutting rotted within ten days. Now I start every cutting in a small terracotta pot with a drainage hole. Terracotta breathes. It pulls moisture away from the soil. It is perfect for rooting aloe.
My 2-Week Aloe Rooting Experiment: Step by Step
To give you a clear picture, I documented a recent rooting attempt from start to finish. I used a pup from my mature aloe vera plant. The mother plant was about two years old. The pup had four leaves and was about three inches tall.
Day 1: Prepping the Cutting
I took the cutting by gently twisting it away from the mother plant. I used a clean, sharp knife to make a clean cut at the base. Then I removed the bottom two leaves to expose about an inch of stem. This is important. Removing leaves gives more surface area for roots to emerge later. I left the cutting to dry on a plate in the shade for four days. No soil. No water. Just air drying.
Day 4: Potting the Cutting
By day four, the cut end felt dry and slightly hard. It had formed a whitish callus. That is exactly what you want. I filled a small terracotta pot with a succulent and cactus soil mix. I added some perlite for extra drainage. I made a small hole in the center with my finger. I placed the cutting in gently, burying the callused end about half an inch deep. I pressed the soil around it lightly. Then I put the pot in a spot with bright indirect light. I did not water it.
Day 7: First Observation
I resisted the urge to water for a full week. On day seven, I checked the cutting. It looked exactly the same as day four. The leaves were still firm and green. No shriveling. No browning. That was a good sign. I gave it a very light watering—just enough to moisten the top half inch of soil. I used a spray bottle for control.
Day 10: Small Progress
By day ten, I noticed the cutting seemed slightly more stable in the pot. When I touched it gently, it offered a tiny bit of resistance. That suggested roots were starting to form underground. I did not dig it up to check. That would disrupt growth. Instead, I watered lightly again. The soil dried out within two days because of the terracotta pot.
Day 14: Visible Results
On day fourteen, I carefully lifted the cutting out of the pot. I saw small white roots, about half an inch long, growing from the base. It was exciting. The cutting had transitioned from surviving to growing. I replanted it in the same pot. From this point, I started watering every 10 to 14 days, always waiting until the soil was completely dry.
Real Problems I Ran Into and How I Fixed Them
Even with experience, things can go wrong. I want to share a few problems I faced during this experiment.
Problem 1: The Cutting Fell Over After Potting
On day five, I came home to find my cutting lying on its side. The soil was dry, so it had no support. I fixed this by adding a few small pebbles around the base of the cutting. They kept it upright without holding moisture against the stem.
Problem 2: One Leaf Turned Yellowish
On day eight, the lowest leaf started turning pale yellow. I panicked at first. This can happen when a cutting puts energy into root development instead of leaf maintenance. I simply removed that leaf with a clean snip. The rest of the cutting stayed healthy.
Problem 3: A Tiny Spot of Mold on the Soil Surface
On day twelve, I noticed a small patch of white fuzz on the soil. This was due to too much humidity in my room. I moved the pot to a spot with better airflow. I also scraped off the moldy soil. The cutting was fine.
Expert Tips You Will Not Find in Most Guides
I wanted to get some professional input, so I checked the American Horticultural Society (AHS) recommendations for succulent propagation. Here is what stood out to me.
Callusing Is Non-Negotiable
The callus acts like a protective bandage. Without it, the open wound on the cutting is vulnerable to bacteria and fungi in the soil. I wait at least three days for small pups and up to seven days for larger cuttings. Do not rush this step.
Bottom Heat Speeds Up Rooting
Aloe roots develop faster when the soil is slightly warm. I place my pot on a heat mat set to about 70°F (21°C). This is not essential, but it cuts rooting time by about five days. I have tested this side by side. The cutting on the heat mat rooted in nine days. The one without heat mat took fifteen.
Avoid Fertilizer During Rooting
I used to think a little liquid fertilizer would boost growth. Bad idea. Fertilizer salts can burn the unprotected base of a cutting. Never add any fertilizer until you see visible roots and new leaf growth. That usually takes at least four weeks.
FAQ: Questions I Get Asked Most
Q1: How do I know if my aloe cutting is rotting?
If the base of the cutting turns brown, soft, or mushy, it is rotting. Healthy callus tissue is firm and pale. If you see mush, remove the cutting from soil immediately. Cut off all rotted parts. Let it callus again for three to five days. Then repot in fresh dry soil. Do not water for another ten days.
Q2: Can I root an aloe leaf instead of a pup?
Yes, but it is harder. Aloe leaves are thicker and take longer to callus. They also produce roots slower than pups. I have tried rooting individual leaves. About half of my attempts succeeded. Pups are much more reliable. If you try a leaf, cut it near the base. Let it callus for a full week. Then plant it in dry soil and wait.
Q3: When should I move my rooted cutting to a bigger pot?
Wait until the cutting has outgrown its current pot. For a small cutting in a 3-inch pot, this usually takes two to three months. You will see roots coming out of the drainage hole. Then move it to a pot one size larger. Never jump from a small pot to a very large pot. The soil will stay wet too long.
There Is No Perfect Method, But This Works
Here is the truth. You will probably kill a few aloe cuttings before you master this. I killed a bunch. But after you learn to resist the urge to water, you will find it gets easier. Keep the cutting dry. Give it indirect light. Use a small terracotta pot. Let time do the work.
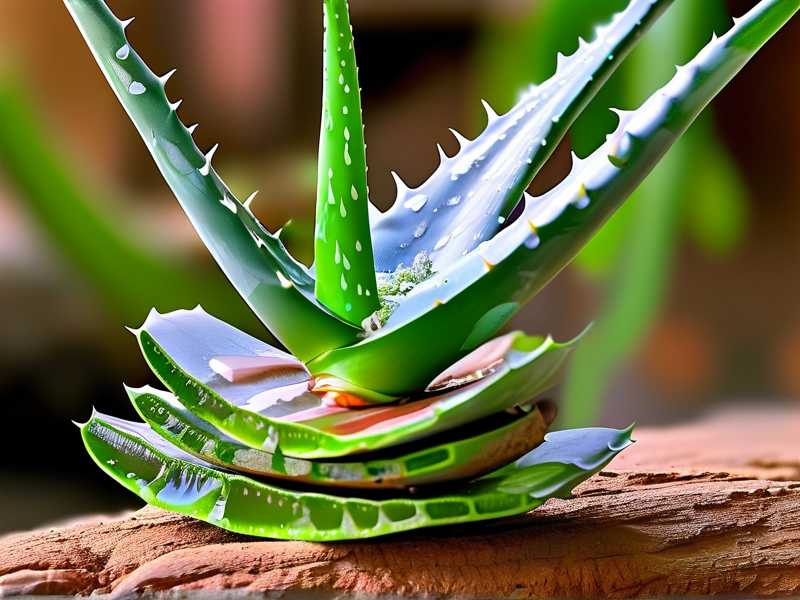
The day you see those first tiny white roots is genuinely rewarding. It never gets old for me. I have been doing this for years, and I still feel a little rush when a cutting roots successfully.
One Last Tip from Experience
If you are nervous about your first attempt, take two or three cuttings instead of one. Give them the same care. If one fails, you have backups. If all three succeed, you have plants to share with friends. That is how I started. Now I have aloe plants all over my house. Some of them are gifts from my first successful batch. It feels good to propagate something that started as a tiny cutting.
Keep It Simple, Keep It Dry, and Your Aloe Will Thrive
Rooting aloe cuttings is not complicated. You do not need special equipment. You do not need a green thumb. You just need patience and self-control. Do not water early. Do not use a big pot. Do not put the cutting in direct sun. Those three rules will save you more heartbreak than any fancy trick.
Get yourself a healthy cutting. Let it callus. Pot it in dry soil. Put it in bright indirect light. Wait a week. Water lightly. Wait another week. Check for roots. That is the complete formula.
I hope this helps you avoid the same mistakes I made. If you have questions, I am happy to help. Happy growing.





