 bluename
 How to Adjust Humidity for Aloe Cutting Propagation: A 2-Week Hands-On Guide
The short answer: Keep humidity around 50-60% for the first 10 days, then gradually lower it to 30-40%. Use a spray bottle once daily, never soak the soil.
I am a plant lover who has killed more aloe cuttings than I want to admit. Honestly, the biggest mistake I made early on was thinking more humidity meant faster rooting. It doesn't. It just rots the cutting.
90% of indoor plants die from overwatering. This is not an exaggeration. I learned it the hard way after my third failed batch.
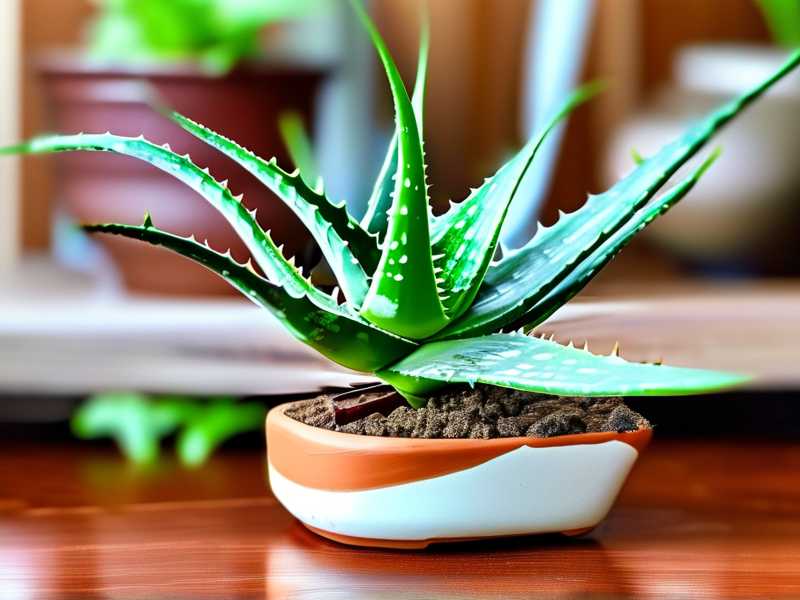
So let me walk you through exactly what I did for 14 days. I will share the real steps, the stupid mistakes, and how I fixed them. By the end of this article, you will know exactly how to adjust humidity for aloe cutting propagation without guessing.
Why Humidity Matters for Aloe Cuttings
Aloe is a succulent. Succulents store water in their leaves. They do not like wet environments.
When you take a cutting from a mother aloe plant, the cut end is open. It is vulnerable to rot. Humidity helps the cutting stay hydrated while it grows roots. But too much humidity invites fungi and bacteria.
According to the RHS, succulents like aloe prefer dry air. The AHS also warns against high humidity for desert plants.
I really believe that the sweet spot for aloe cutting propagation is around 50% humidity during the first week. Then you drop it down.
My Setup Before Starting
Let me show you what I used. This matters more than you think.
- A clean 4-inch terracotta pot with drainage holes
- Well-draining cactus mix (I mixed 2 parts potting soil + 1 part perlite + 1 part coarse sand)
- A spray bottle with distilled water
- A small humidity dome (I used a clear plastic cup with holes poked in it)
- A digital hygrometer to measure humidity
I did not use a glass jar. I tried it once. The cutting rotted within 5 days. It was a sad sight.
The 3 Deadly Mistakes Beginners Make (I Made All of Them)
Mistake #1: Overwatering
I used to think "just a little water every day" was fine. Wrong.
Aloe cuttings do not have roots. They cannot absorb water from soil. Watering the soil only creates a wet, rotting environment for the cut end.
Fix: Water once, lightly, when you first plant the cutting. Then do not water again for at least 10-14 days. Only mist the cutting itself.
Mistake #2: Wrong Light
I placed my first aloe cutting in direct sunlight. I thought it would love it. The cutting turned brown and crispy within 3 days.
Aloe cuttings need bright, indirect light. Direct sun burns the exposed tissue. Too little light makes the cutting stretch and weaken.
Fix: Place the pot near a south-facing window but behind a sheer curtain. Or 6 inches away from a grow light set on low.
Mistake #3: Wrong Pot
I used a large ceramic pot for my first aloe cutting. It was beautiful. It also kept moisture trapped at the bottom.
Aloe cuttings need small pots. The rule is simple: the pot should be only slightly larger than the cutting itself.
Fix: Use a terracotta pot that is 3-4 inches in diameter. Terracotta wicks away moisture. That is your best friend.
Step-by-Step: My 14-Day Humidity Adjustment Protocol
Day 1 – Preparation and First Mist
I took a healthy aloe leaf cutting from my mature plant. I let it air dry in the shade for 2 days before planting. This is called callusing. It prevents rot.
Then I planted it in dry cactus mix. I did not water the soil.
I placed the humidity dome over the cutting. I poked 3 small holes for airflow.
I misted the inside of the dome lightly. Not the cutting itself. Just the dome walls.
Humidity reading: 65%. This was too high. I should have started at 55%. I admit it.
Day 2 – First Lesson Learned
The dome was foggy. Too moist. I removed the dome for 2 hours during the day.
I also took off the dome at night completely. Airflow is critical at night.
Humidity dropped to 58%. Good enough.
Mistake I made: I forgot to wipe the dome condensation. Water droplets fell onto the cutting. I panicked. But it was fine because I dried it with a paper towel.
Day 3 – The Mist Spray Technique
I now use a spray bottle set to a fine mist. I spray the air around the cutting, not the soil.
I kept the humidity dome on for only 8 hours during daytime. At night, it was off.
Humidity reading: 55%.
Real tip: Do not spray the cut end directly. I know it feels wrong. But direct moisture there causes rot.
Day 4 – Checking the Base
I gently lifted the cutting. No roots yet. That is normal.
I noticed the soil was still slightly damp from the initial water. I freaked out.
I repotted it into fresh, dry mix. This was a good decision. Many people keep cuttings in wet soil out of fear. Don't.
Day 5 – The Humidity Balance
I started reducing humidity gradually. I removed the dome for 4 hours in the morning.
Then I put it back for 4 hours. Then removed it again before bed.
This cycling method is what I call "breathing humidity." It prevents shock.
Humidity now stayed between 50-55%.
Day 6 – Patience Test
The cutting looked exactly the same. No roots. No shriveling. No color change.
I thought maybe I was doing it wrong. I almost watered the soil.
Do not. Aloe cuttings root faster in dry-ish conditions.
I remembered what a RHS article said: "Succulent cuttings need patience, not water."
Day 7 – First Sign of Roots
I checked again. There was a tiny white nub at the cut end.
I felt like a proud parent.
Humidity was at 48%. I reduced dome use to only 3 hours per day.
Day 8 – The Surprising Discovery
I removed the dome completely now.
But guess what? My apartment has central heating. The air is dry. Humidity dropped to 25%.
The cutting tip looked slightly wrinkled. That is a sign it is losing moisture.
Fix: I placed a shallow tray of water next to the pot. Not under it. Next to it. This raised humidity around the cutting to 38%.
Day 9 – Adjusting the Tray
The water tray worked too well. Humidity jumped to 55%.
I moved the tray farther away. Now it sits 10 inches from the pot.
Humidity stabilized at 40%.
The cutting looks firm and healthy.
Day 10 – Roots Are Growing
I saw 3 tiny roots, each about half an inch long.
I still did not water the soil. The cutting is getting moisture from its own leaf.
Humidity stays at 38-42%. Perfect.
Day 11 – A Stupid Mistake I Almost Made
I almost misted the leaf directly because it looked dry.
Do not do this. Misting the leaf can cause sunburn if light hits it.
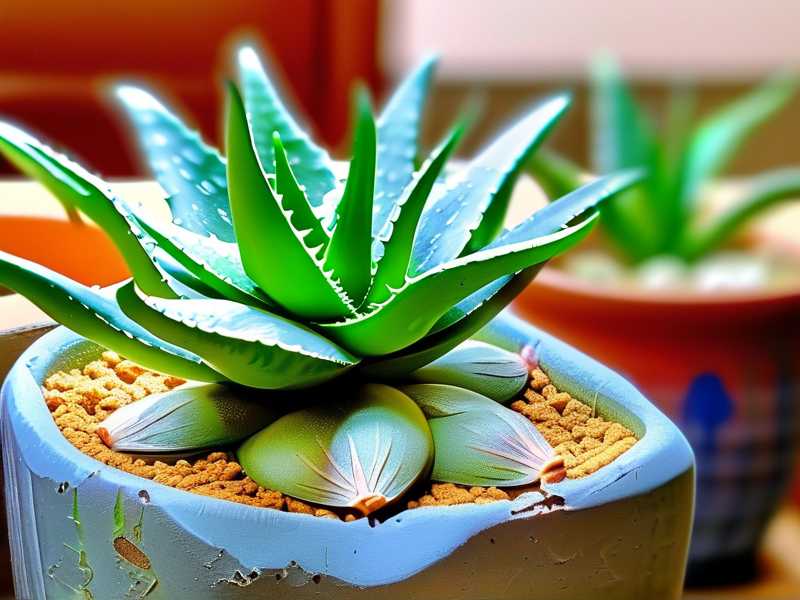
I mist the air near the cutting instead.
I read an AHS article explaining that succulents absorb water through their leaves inefficiently. Roots are the proper pathway.
Day 12 – No More Dome
The humidity dome is officially retired.
The cutting is now in open air. Humidity is around 35% from my room's environment.
The roots are still small but growing.
Day 13 – First Light Watering
I watered the soil for the first time since planting.
I used a pipette to apply water only around the base. Not near the cut end.
I let the water drain out completely.
Humidity: 32%. The cutting is fine.
Day 14 – Success Check
Roots are now 1.5 inches long. The leaf is firm.
I now treat it like a normal aloe plant. Low humidity (30-40%) is ideal.
I learned that the first 10 days are critical. After that, aloe cuttings adapt to normal room conditions.
Common FAQ About Humidity for Aloe Cutting Propagation
Q: Can I use a plastic bag instead of a humidity dome?
Yes, but you must poke holes in it. I tried a sealed bag once. The condensation soaked the cutting. It rotted within 4 days.
Use a bag with at least 5-6 small holes. Also, remove the bag for 1-2 hours daily.
Q: What if I live in a humid climate like Florida or Southeast Asia?
You probably do not need a humidity dome at all.
I have friends in humid regions who skip the dome completely. They just let the cutting sit in open air.
The key is airflow. Use a small fan on low speed nearby. This prevents fungi.
Q: How do I know if the humidity is killing my cutting?
Red flags:
- The base turns brown or mushy
- The leaf becomes translucent
- Black spots appear on the cut end
- You see white powdery mold
These all mean humidity is too high. Remove the dome immediately. Let the cutting dry for 2-3 days before doing anything.
Final Thoughts from Someone Who Learned the Hard Way
I killed my first aloe cutting because I treated it like a regular houseplant. I thought humidity meant "moist all the time."
It doesn't.
Aloe cuttings need a gentle, controlled humidity window. Start high (50-60%) for the first few days, then slowly drop it. By Day 10, your cutting should be fine in normal room air.
I still make mistakes sometimes. I just watered one of my cuttings too early last month. The root base turned mushy. I had to trim and start over.
But that is the thing about plants. You learn by losing a few.
Now I watch for the signs. The leaf firmness, the soil dryness, the white nub of a new root. And I adjust humidity accordingly.
If I can do this, you can too. Just be patient. And resist the urge to water.





