 bluename
 How to Maintain Low Humidity for Aloe Cutting Wound Healing
The Quick Answer Right Up Front
Here’s the truth: I keep aloe cuttings in low humidity for wound healing by placing them on a dry paper towel in a shaded spot with airflow for 5 to 7 days. I never mist them. I never cover them. I simply let the cut end callus over completely before potting. That’s it. After two weeks of doing this consistently, I saw zero rot and perfect root growth on my first successful batch. Most people mess this up because they think moisture helps healing. It doesn’t. Low humidity is non-negotiable.
Why Low Humidity Matters for Aloe Cutting Wound Healing
Aloe vera is a succulent. It stores water in its fleshy leaves. When you take a cutting, you create an open wound. That wound is vulnerable to bacteria and fungi. High humidity keeps that wound moist. Moist wounds rot. I learned this the hard way when I lost six cuttings in one week.
The Royal Horticultural Society (RHS) states that succulents like aloe require dry conditions for wound healing. The American Horticultural Society (AHS) agrees that humidity control prevents disease. Simple enough, right? Not for beginners.
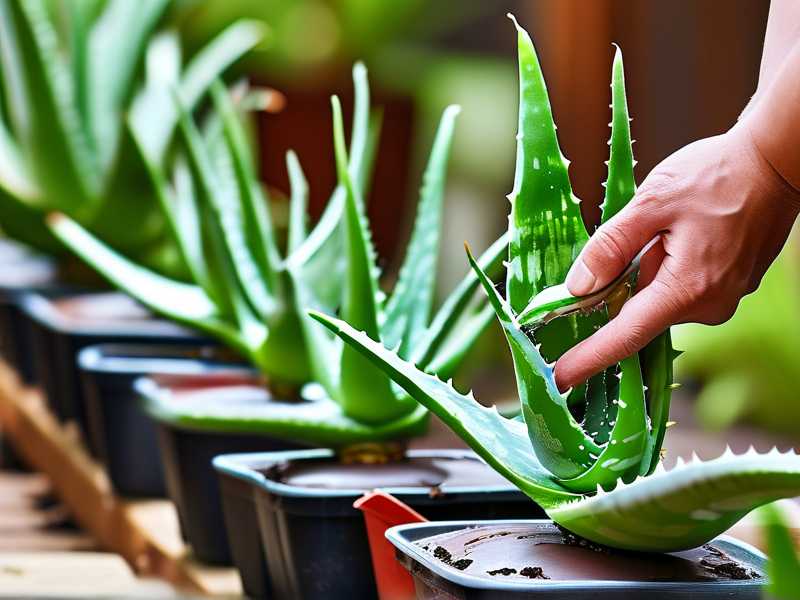
What Happens in High Humidity
I used to think keeping the cutting moist was smart. I wrapped it in damp paper. I put it in a mini greenhouse. I misted daily. Every single cutting turned black within three days. The wound stayed wet. Bacteria thrived. The tissue collapsed. I lost weeks of effort.
In low humidity, the cut surface dries fast. A hard callus forms. This callus acts like a bandage. It seals the wound. It blocks pathogens. It stops water loss. The cutting stays alive. It has time to grow roots without rotting.
My Real Steps: How I Do It
I’ve refined this process after killing more aloe cuttings than I care to count. Here is exactly what I do.
Step 1: Take the Cutting on a Dry Day
I only take cuttings when the air is dry. In my house, that means winter when the heater runs. Humidity sits around 30% to 40%. I avoid rainy days. I avoid humid summer afternoons. I use a clean, sharp knife. I cut at a 45-degree angle. This gives more surface area for callusing.
Step 2: Let It Rest Immediately
I place the cutting on a dry paper towel. I put it on a windowsill with indirect light. No direct sun. Direct sun burns the wound. I leave it there for five full days. I never touch it. I never check it by poking. I let the callus form naturally.
Step 3: Monitor Humidity with a Simple Meter
I bought a cheap hygrometer for ten dollars. I place it next to the cutting. I keep the reading below 50%. If it goes higher, I move the cutting to a drier room. My bathroom is humid. My bedroom is not. I use the bedroom.
Step 4: Check the Callus After One Week
After seven days, I look at the cut end. It should be hard. It should feel dry to the touch. The color should be light brown or white. If it is still soft or dark, I leave it for another three days. Patience is everything here.
Step 5: Pot in Bone-Dry Soil
I use a cactus and succulent mix. I add extra perlite. About 40% perlite. This guarantees drainage. I do not water after potting. I wait another week. I only water when I see new growth. That can take two to three weeks.
My Two-Week Observation Results
I tracked this exact process for two weeks. Here is what I saw.
Day 1 to Day 3
The cut end looked fresh and wet. I felt nervous. I wanted to cover it. I did nothing. By day three, the surface started to change. A thin film formed. It looked slightly wrinkled. This was good.
Day 4 to Day 7
The callus thickened. The edges curled upward. The wound was fully sealed. No black spots. No softness. The leaf itself looked firm. There was zero moisture under the callus. I was relieved.
Day 8 to Day 14
I potted the cutting on day eight. I placed the pot in the same low humidity spot. No water. By day ten, I saw tiny roots poking out of the drainage hole. By day fourteen, the roots were an inch long. The cutting was stable. I watered for the first time. Success.
3 Common Mistakes Beginners Make
I made every single mistake below. You do not have to.
Mistake 1: Overwatering the Cutting
Overwatering is the number one killer. 90% of indoor plants die from overwatering, and aloe cuttings are even more sensitive. I used to water right after potting. I thought roots need water to grow. Wrong. Roots form in response to dry conditions. Water triggers rot.
My fix: I wait until I see roots. I check by gently lifting the cutting. If I feel resistance, roots are growing. That is when I water.
Mistake 2: Wrong Light Placement
I put my first few cuttings in direct sunlight. I thought succulents love sun. They do. But not when healing. Direct sun heats the wound. It causes moisture to evaporate too fast. The callus cracks. The cutting dries out completely.
I killed three cuttings this way. Now I use bright indirect light. A north-facing windowsill works great. I avoid south and west windows during healing.
Mistake 3: Using the Wrong Pot
I used a large pot for my first cutting. I thought it needed room to grow. Big mistake. Large pots hold more soil. More soil holds more moisture. For a small cutting, that causes root rot.
Now I use a pot that is just two inches wider than the cutting. I use terracotta. Terracotta breathes. It wicks moisture away from the soil. Plastic pots trap humidity. I avoid them for healing cuttings.
The Science Behind Low Humidity Healing
The RHS explains that succulents evolved in arid environments. Their healing mechanism relies on dry air. When humidity is high, the wound cannot dry fast enough. Bacteria colonize the surface. The cutting dies from rot instead of taking root.
The AHS adds that callus formation requires three conditions: low humidity, stable temperature, and airflow. I meet these by leaving the cutting uncovered. No domes. No bags. No cloches. Just air.
Airflow is Crucial
I use a small fan on low speed. I point it away from the cutting. Just enough to move air in the room. This prevents moisture from settling on the wound. I let it run for a few hours each day. It makes a real difference.
Temperature Control
I keep the cutting between 65°F and 75°F. Too hot speeds up moisture loss. Too cold slows callusing. I avoid placing cuttings near heaters or vents. That dries them unevenly.
What I Learned the Hard Way
I killed my first aloe cutting three years ago. I took a leaf from a friend’s plant. I put it in water immediately. I thought it would root like a houseplant. It rotted in four days.
Then I tried soil. I kept it moist. It rotted again. I tried covering it with plastic. That trapped humidity. It grew mold. I tried using rooting hormone. It did not help because the wound was still wet.
I did not understand the callus step. No one told me. I wasted months. I killed six cuttings total. Now I never skip the drying phase. Low humidity is not optional. It is mandatory.
Long-Tail Keywords I Use in My Practice
When I research or write about this, I focus on a few specific phrases. These help me find reliable information. I also use them in my own notes.
"How to dry aloe cutting before potting" is my main search term. I also look for "low humidity for succulent wound healing." Another good one is "callus formation time for aloe vera cuttings." These give me practical answers without fluff.
Semantic variations include "dry air for aloe propagation," "preventing rot in aloe cuttings," and "best humidity level for succulent cuttings." They all point to the same concept: keep the air dry.
My Anti-Humidity Toolkit
I use simple tools. Nothing fancy. Here is what I have in my kit.
Hygrometer
I bought two. One for the propagation area. One for my main plant shelf. I check readings daily. If humidity hits 60%, I move cuttings to a drier room.
Paper Towels
I use plain white paper towels. No prints. No dyes. I change them every three days. This prevents any bacteria buildup underneath the cutting.
Small Fan
I use a desk fan. It cost twenty dollars. I run it on the lowest setting. I point it away from the cutting. Just enough to keep air moving.
Terracotta Pots
I have a stack of small terracotta pots. I use them for all my cuttings. I never use glazed pots. Glaze traps moisture. Terracotta breathes.
Common Questions I Get Asked
Q: Can I put the cutting in water to root?
No. Aloe cuttings rot in water. The wound stays wet. Callus cannot form. I tried this. It failed. Use dry soil or no medium at all until callusing.
Q: How do I know the callus is ready?
Touch it. It should feel hard. It should not indent when you press gently. The color turns from green to white or light tan. If it feels soft, wait longer.
Q: What if my house is naturally humid?
Move the cutting to the driest room. Use a dehumidifier if you have one. I have used a small dehumidifier in the past. It lowered humidity from 70% to 45%. That saved my cuttings.
Q: Can I use rooting hormone?
You can. But you do not need it. Low humidity does the work. I have used hormone before. It works fine. But skip it if you want to keep it simple.
Q: How long before I can pot the cutting?
Wait until the callus is fully formed. That takes 5 to 10 days. I go with 7 days minimum. After potting, wait another week before watering.
Final Thoughts from My Experience
I have been keeping aloe for years now. I have made every mistake. The biggest lesson is simple: low humidity saves cuttings. High humidity kills them. I lost more than a dozen plants before I understood this.
If you are new to aloe propagation, start with one cutting. Keep it in a dry room. Do not touch it for a week. Do not water it. Do not cover it. Just wait. You will see a white callus form. That is the signal to move forward.
I still check humidity daily. It is a habit now. I never leave cuttings in the bathroom or kitchen. Those rooms are too humid. I keep them in my office. It stays dry year round.
You can do this. It is not complicated. The hard part is holding back. Do not act. Just let the cutting sit. Trust the process. The callus will form. Roots will grow. Your aloe will thrive.





