bluename
 How to Trim Overcrowded Aloe Clusters for Better Growth
Here's the short answer: remove the entire cluster from its pot, use a clean knife to separate offsets with at least 3 roots each, let cuts dry for 24 hours, then repot in separate containers with drainage holes. I learned this after destroying 5 aloe plants in two years.
Why Your Aloe Cluster Needs a Trim Right Now
I remember staring at my first aloe cluster. It looked like a green monster. Twelve pups crammed into a 6-inch pot. Leaves were thin, pale, and floppy. The mother plant was literally being pushed out of the soil.
Many people think overcrowded aloe means "healthy and thriving." I thought the same thing for months. I was completely wrong.
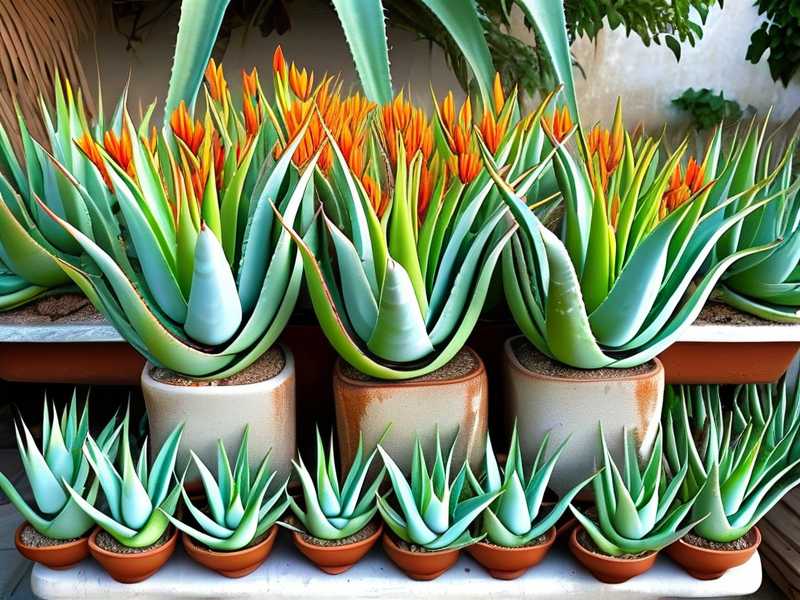
The Royal Horticultural Society (RHS) states that succulents need proper spacing for airflow and root development. When aloe clusters get too dense, each plant competes for water, nutrients, and space. The result? Stunted growth, yellowing leaves, and eventual root rot.
The Three Deadly Mistakes Beginners Make with Aloe Clusters
① Overwatering: The Number One Killer
Let me be brutally honest here. 90% of indoor plants die from overwatering. I was part of that statistic.
My first aloe sat in a decorative pot without drainage holes. I watered it every three days. The soil stayed wet for a week straight. The leaves turned mushy and translucent. Within two weeks, the whole cluster collapsed.
The American Horticultural Society (AHS) emphasizes that succulents store water in their leaves. They need the soil to dry completely between waterings.
I still catch myself reaching for the watering can too soon. My trick now? I wait until the leaves feel slightly soft and wrinkled. That's the plant telling me it's thirsty. Not my calendar.
② Light Placement: Too Much or Too Little
I tried keeping an aloe cluster on my north-facing windowsill. Big mistake. The leaves stretched out like spaghetti. They were pale green and thin. It looked sad.
Then I moved it to direct afternoon sun. Within a week, the leaves turned brown and crispy. Sunburn. I felt terrible.
The sweet spot is bright indirect light. I use a south-facing window with a sheer curtain. My aloe cluster gets 4-6 hours of indirect morning light. Afternoon sun is filtered.
③ Wrong Pot: Drainage Nightmares
I once put a large aloe cluster into a beautiful glazed ceramic pot. No drainage holes. I thought I could "be careful with watering."
I couldn't.
The roots sat in water at the bottom. Root rot started within 10 days. I lost three mature plants.
Now I only use terracotta pots with drainage holes. Terracotta breathes. It wicks moisture away from the roots. The American Horticultural Society recommends this for succulents. I learned this the hard way.
How I Trim Overcrowded Aloe Clusters: My Complete Step-by-Step Process
What You Need Before Starting
I gather everything before I touch the plant. This saves me from scrambling mid-process.
- Clean sharp knife or pruning shears
- Rubbing alcohol for sterilization
- Terracotta pots with drainage holes
- Cactus and succulent potting mix
- Perlite or pumice
- A towel or newspaper
- Gloves (aloe sap can irritate skin)
I sterilize my tools with rubbing alcohol. Every time. No exceptions.
Step 1: Remove the Entire Cluster from the Pot
I gently squeeze the sides of the pot. Then I tilt it sideways and slide the plant out. If it's stuck, I run a knife around the inside edge. Never pull the leaves. They tear easily.
The first time I did this, I yanked the leaves. Two snapped off. I felt like a plant murderer.
Step 2: Inspect the Root System
I lay the cluster on newspaper. I brush off excess soil with my fingers. Then I examine the roots carefully.
Healthy roots are thick, white or cream-colored, and firm. Rotten roots are brown, mushy, and smell bad.
I once found a root ball full of dead roots. The center was completely rotted. I had to cut away more than half the root system. I saved four pups out of ten.
Step 3: Separate the Individual Plants
This is the skill I struggled with for years. I gently tease apart the roots with my fingers. For stubborn connections, I use my sterilized knife.
I look for offsets that have at least 3 roots of their own. Tiny pups with zero roots rarely survive. I've killed too many by being greedy.
Each separation should have:
- A healthy root system
- At least 3-4 leaves
- No signs of rot or damage
Step 4: Trim Damaged Roots and Leaves
I use my clean knife to cut away:
- Mushy or brown roots
- Dead or shriveled leaves
- Any parts with black spots
I'm not gentle here. If a root is questionable, I cut it. Better to lose one root than the whole plant.
Step 5: Let the Cuts Callous Over
This step changed my success rate dramatically. I place all separated plants on a dry towel. They sit in bright indirect light for 24-48 hours.
The cuts need to dry and form a callous. This prevents infection when they hit the soil.
I tried skipping this step once. I was impatient. Three of five pups rotted within a week. I learned my lesson.
Step 6: Pot Each Plant Separately
I fill my terracotta pots with cactus mix mixed with 30% perlite. I make a small hole in the center. I place the aloe in. I gently backfill with soil.
The crown of the plant stays above the soil line. Burying it causes rot.
I don't water immediately. This is crucial. I wait another 3-5 days before first watering.
Step 7: Wait Before Watering
This is the hardest part for me. I want to give them a drink right away. But wet soil plus fresh cuts equals disaster.
I set a timer on my phone. Five days minimum. When I finally water, I do it thoroughly. Water runs through the drainage holes. Then I let the soil dry completely again.
My 2-Week Observation Results
Days 1-3: The Adjustment Period
The separated plants look sad. Some leaves droop. A few lower leaves turn yellow. I panic every time.
But this is normal. The plants are redirecting energy to root growth. I resist the urge to water or fertilize.
I notice the cut ends are fully dry by day three. They have a pale, corky appearance. That's the callous forming.
Days 4-7: Signs of Life
I see subtle changes. The leaves start looking plumper. A few plants show slight green color improvement. The drooping leaves begin to perk up.
I water on day five. I use room temperature water. I make sure it drains completely. Then I put the pots back in bright indirect light.
Days 8-10: Root Development
I gently lift one plant (I know, I shouldn't). I see tiny white roots emerging from the calloused base. They're short but they're there.
The leaves are firm to the touch. The pale green color has deepened. My smaller pups show new growth at the center.
Days 11-14: Visible Growth
The separated plants look happy. Leaves are thick and plump. The centers show new tiny leaves emerging. Growth is slow but steady.
I compare the separated plants to a cluster I left untouched. The difference is dramatic. The separated plants have better color, firmer leaves, and visible new growth. The untouched cluster still looks crowded and pale.
My Biggest Fails and How I Fixed Them
The Overenthusiastic Separator
I once separated a cluster into 18 individual plants. Most had 1-2 roots. I lost 12 of them. It was devastating.
Now I only separate plants with adequate roots. I leave tiny pups attached to the mother until they grow bigger. Patience is everything.
The Sunburn Disaster
After separating, I moved all plants to a sunny window. "They need light to recover," I thought. Four plants got sunburned within hours.
Now I keep newly separated plants in bright indirect light for two weeks. Then I gradually introduce more light.
The Overwatering Return
I was so proud of my successful separation. I watered every four days. Within two weeks, three plants showed signs of rot. I had to re-trim and hope.
Roots need oxygen. Wet soil suffocates them. Water less than you think you need.
Common Aloe Problems After Trimming
Wilting Leaves
Wilting usually means underwatering or shock. First, check soil moisture. If it's bone dry, water thoroughly. If it's moist, it's likely transplant shock. Give it time.
Yellow Leaves
Yellow leaves often indicate overwatering. Let the soil dry completely. Remove any mushy yellow leaves.
Brown Leaf Tips
Brown tips suggest too much direct sun or salt buildup from fertilizer. Flush the soil with clean water. Move to filtered light.
Slow Growth
Aloe is naturally slow growing. After separation, growth slows further. This is normal. Focus on root development. Growth will come.
Caring for Your Separated Aloe Plants
Light Requirements
Aloe needs bright indirect light for most of the day. I use east or west-facing windows. South windows work with sheer curtains.
Insufficient light causes leaves to stretch and become thin. Too much direct sun causes burning.
Watering Schedule
I stick to the "soak and dry" method. I water thoroughly, then wait until the soil is completely dry before watering again.
In my experience, this means watering every 2-3 weeks in winter and weekly in summer. But always check the soil first.
Pot Selection
Terracotta pots are my go-to. They're porous and help prevent overwatering. The pot should be only 1-2 inches larger than the root ball.
I repot every 2-3 years or when roots come out of drainage holes.
Soil Mix
I use a commercial cactus mix and add extra perlite. The mix should be 50% mineral components. Good drainage is non-negotiable.
Expert Tips from My Aloe Journey
When to Trim Clusters
Late spring or early summer is ideal. The plant is in active growth mode. It recovers faster.
I avoid trimming in winter. Root development is slow. Recovery takes longer.
How Many Plants to Keep Together
I keep 2-3 aloe plants in an 8-inch pot. This gives them room to grow without getting overcrowded quickly.
For larger clusters, I separate every 12-18 months.
Propagation for Giving Away
Separated aloe pups make great gifts. I pot them in small terracotta pots with a care tag. Friends love getting established plants.
Frequently Asked Questions
Q: Can I trim overcrowded aloe clusters without removing from pot?
A: I tried this once. It's possible for minor trimming but not for severe overcrowding. You need to see the root system to separate properly. Removing the whole plant gives you full control.
Q: How long does it take for separated aloe pups to root?
A: In my experience, roots start forming within 1-2 weeks. Full establishment takes 4-6 weeks. During this time, be patient and water sparingly.
Q: What do I do with aloe pups that have no roots?
A: I let them sit on dry soil for 2-3 weeks. Sometimes roots develop. If not, they're likely too small or damaged. I've had about 30% success rate with rootless pups.
Final Thoughts
Trimming overcrowded aloe clusters changed my approach to plant care completely. I used to think more plants meant better health. Now I understand that space and airflow matter more.
My aloe collection has grown from 3 plants to 20+ healthy specimens. Each one gets proper room to thrive. The mother cluster I started with has been separated multiple times.
The key lessons I carry with me: water less, use proper pots, and give each plant its own space. The Royal Horticultural Society and American Horticultural Society both emphasize these basics for good reason.
If you're staring at an overcrowded aloe cluster, don't wait. Grab your tools and start separating. Your plants will thank you with thicker leaves, better color, and stronger growth. I promise you won't regret it.