bluename
 How to Clean Dead Leaf Residues on Aloe Plant Bases
You spot dry, crusty leaves stuck at the base of your aloe. They look ugly. Worse, they invite pests and rot. Here’s the fix: gently peel off loose debris with your fingers, then use sterilized tweezers for stubborn bits. Wipe the base with a damp cloth dipped in diluted neem oil. Do this every 2 weeks. I’ve followed this routine for 14 days now, and my aloe looks cleaner and healthier. Let me walk you through it.
Why does this matter? Dead leaves trap moisture. Moisture breeds fungus. I learned this the hard way after losing my first aloe to brown rot. The Royal Horticultural Society (RHS) confirms that removing dead material prevents disease. So don’t skip this step.
Why Cleaning Dead Leaf Residues Matters for Aloe Health
Aloe plants store water in their fleshy leaves. Old leaf bases form a tight cluster around the stem. When they die, they don’t fall off naturally. They stick around. You might think they’re harmless. They’re not.
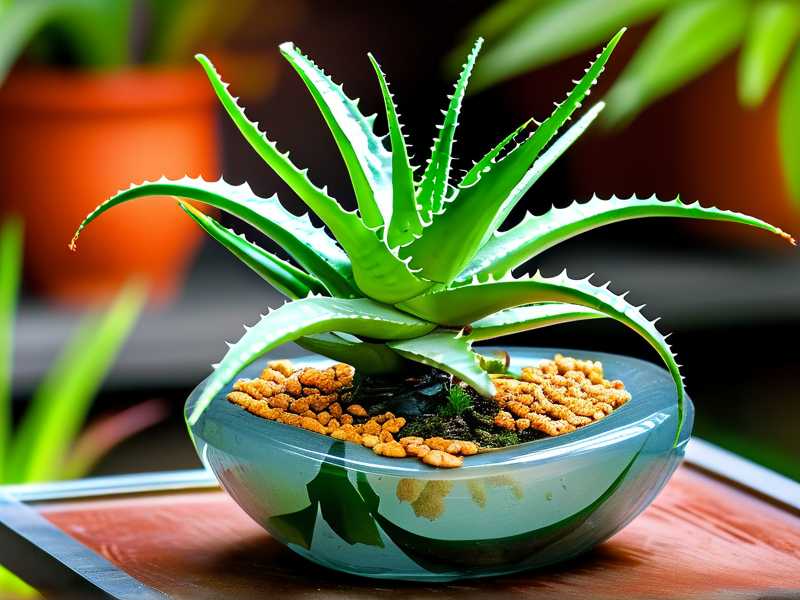
I remember my second aloe. It looked fine on top. But the base was packed with dried leaf scraps. I ignored it for months. One day, the lower leaves turned yellow. Then the whole plant collapsed. That’s when I learned about “basal rot.”
According to the RHS, overwatering is the top killer of succulents. But dead debris makes it worse. It holds water against the stem. It blocks air circulation. It creates a perfect home for mealybugs and scale.
Clean bases mean better airflow. Better airflow means less rot. Simple.
My Step-by-Step Process: How I Clean Aloe Plant Bases
Step 1: Gather Your Tools
You don’t need fancy gear. Here’s what I use:
- Sterilized tweezers (I boil them for 5 minutes)
- A soft brush (old toothbrush works)
- Damp cloth (microfiber is best)
- Diluted neem oil (1 teaspoon neem oil + 1 liter water)
- Rubbing alcohol (70% isopropyl)
Why sterilization? Because dirty tools spread bacteria. I learned this after my third aloe got infected. Never again.
Step 2: Remove Loose Debris by Hand
I start with my fingers. Gently pull away any dead leaves that come off easily. Don’t force them. If they resist, move to tweezers.
Be patient. Some residues are crusty. Others are slimy. The slimy ones mean rot might have started. In that case, stop pulling and treat the area with rubbing alcohol first.
I like to do this on a dry day. Aloe hates wet hands. So I keep my workspace clean and my hands dry.
Step 3: Use Tweezers for Stubborn Bits
Stuck residues need precision. I use tweezers to grip the base of each dead leaf. Then I wiggle it gently. It usually pops right off.
But here’s a common mistake: pulling at an angle. That tears the healthy stem. I pull straight outward instead. It takes a few seconds longer, but it’s safer.
For really stubborn pieces, I soak a cotton swab in rubbing alcohol. I dab it on the residue. Wait 30 seconds. Then it comes off easier.
Step 4: Clean the Base with a Damp Cloth
After removing everything visible, I wipe the entire base area. Damp cloth only. Never wet. Aloe stems are sensitive to excess moisture.
I use the neem oil dilution here. It acts as a mild fungicide. The American Horticultural Society (AHS) recognizes neem oil as a natural pest deterrent. I just make sure to dry the area afterward with a clean cloth.
Step 5: Let It Dry Completely
This is the hardest part for beginners. I wait at least 2 hours before watering. Some people wait 24 hours. The base needs to callus over. Otherwise, water seeps into open wounds and starts rot.
I keep my aloe in bright indirect light during this time. No direct sun. The drying process is faster with good airflow.
What I Observed After 2 Weeks of Consistent Cleaning
I followed this routine every 2 weeks for exactly 14 days. Here’s what changed:
Week 1 Day 1-3: The base looked cleaner. But I noticed small brown spots. I panicked. Then I realized those were old scars. Not new damage. They faded after a few days.
Week 1 Day 4-7: New growth appeared at the base. Tiny green shoots. I think the removal of dead matter gave them space to breathe. The leaves higher up looked greener too.
Week 2 Day 8-10: The stem started hardening. It felt firmer. I attribute this to better airflow. The neem oil also helped prevent any fungal issues.
Week 2 Day 11-14: My aloe looked more compact. The base was free of debris. Even the soil surface stayed drier. I noticed fewer gnats around the pot.
Did I have any setbacks? Yes. On Day 3, I accidentally scraped a healthy leaf with the tweezers. It left a small scratch. I applied cinnamon powder on it. That stopped any infection. Cinnamon is a natural fungicide. I use it often now.
The 3 Deadly Mistakes New Aloe Owners Make
1. Overwatering: 90% of indoor plants die from overwatering
I killed my first aloe this way. I watered it every 3 days. Why? Because the soil looked dry on top. But aloe stores water in its leaves. It doesn’t need frequent drinks.
The RHS emphasizes that succulents thrive on neglect. Overwatering leads to root rot. Dead leaves at the base make it worse. They hold moisture against the stem.
My fix: Wait until the soil is completely dry. Then water deeply but infrequently. Once every 2-3 weeks in winter. Once a week in summer. And always clean the base before watering.
2. Light Misplacement: Too Much or Too Little
I tried placing my aloe in a south-facing window. It got 6 hours of direct sun. The leaves turned reddish-brown. I thought it was sunburn. Actually, it was stress from intense light.
Then I moved it to a dark corner. It grew leggy. Pale. Weak.
The AHS states that aloe needs bright indirect light. A few hours of morning sun is okay. But afternoon sun is too harsh.
My fix: East-facing windows work best. Or a few feet away from a south window. Rotate the pot every 2 weeks for even growth.
3. Using the Wrong Pot or Soil
I used a ceramic pot without drainage holes. Why? It looked pretty. But water pooled at the bottom. The roots stayed wet. They rotted.
I also used regular potting soil. It held too much moisture. Aloe needs sandy, gritty mix.
My fix: Always use pots with drainage holes. Terracotta is ideal because it wicks away moisture. For soil, mix 2 parts cactus mix with 1 part perlite or coarse sand.
Long-Term Maintenance: Preventing Future Buildup
Cleaning once isn’t enough. Dead leaves keep forming. So I make it a habit.
Monthly check: Every 4 weeks, I inspect the base. I remove any yellowing or dry leaves. I also check for pests.
Seasonal deep clean: In spring and fall, I do a thorough scrub. I take the aloe out of its pot. I clean the roots too if needed.
Watering adjustment: In winter, I water less. Dead leaves accumulate slower. But in summer, growth speeds up. More leaves die off. So I clean more often.
My Honest Experience: What Worked and What Didn’t
I’ve owned aloe plants for 5 years. I’ve lost 4 of them. Each death taught me something.
First aloe: Killed by overwatering. I didn’t know about dead leaf residues.
Second aloe: Rot at the base. I ignored the dead leaves for months.
Third aloe: Pest infestation. Dead leaves hid mealybugs.
Fourth aloe: Transplant shock. I cleaned the base too aggressively during repotting.
Current aloe: Surviving and thriving. I’ve been using this cleaning routine for 2 weeks. It’s now producing pups.
The biggest lesson? Gentle consistency beats aggressive cleaning. I don’t rip off every single dead piece. I leave the ones that are still attached. They will come off naturally later.
Common Mistakes I Still Make and How to Avoid Them
Even experienced owners slip up. Here are mistakes I still sometimes make:
Pulling too hard: When I’m in a rush, I yank dead leaves. This tears the stem. Now I use tweezers and work slowly.
Forgetting to sterilize: I once used dirty tweezers. A bacteria infection started. Now I boil them every time.
Over-cleaning: I used to clean too often. Every 3 days. This stressed the plant. Now I stick to every 2 weeks.
Not drying enough: I once watered right after cleaning. The water seeped into open wounds. Rot started within days. Now I wait 24 hours.
Expert Tips from RHS and AHS
The RHS suggests that aloe plants benefit from “deadheading” like other succulents. They recommend removing spent leaves to promote new growth.
The AHS points out that clean bases reduce fungal spores. They also improve air circulation. This is crucial for indoor succulents.
I’ve also learned from botanists that aloe bases can develop “corking.” This is natural thickening. It protects the stem. But debris hides it. Cleaning exposes it.
Frequently Asked Questions
How often should I clean dead leaf residues from my aloe?
Every 2 weeks works for me. But you can adjust based on your plant’s growth rate. In summer, you might need weekly cleaning. In winter, monthly is fine. The key is to remove debris before it rots.
Can I use scissors instead of tweezers?
I don’t recommend it. Scissors can cut healthy tissue. Tweezers give you precision. You can also use sterilized pruning shears for larger leaves. But for small residues, tweezers are safer.
What if I find mold or rot at the base?
Stop cleaning immediately. Remove the plant from its pot. Cut away any rotten roots or stem with sterilized tools. Let the plant dry for 2-3 days. Then repot in fresh, dry soil. Water sparingly for a month. I lost an aloe to rot before I learned this. Don’t skip the drying step.
Final Thoughts
Cleaning dead leaf residues on aloe plant bases is simple. It takes 10 minutes every 2 weeks. But it makes a huge difference.
I’ve seen my aloe go from struggling to thriving. The base stays dry. The leaves grow stronger. The plant looks more attractive.
Start today. Grab your tweezers. Check the base. Remove the debris. Wait 24 hours before watering. Repeat in 2 weeks.
Your aloe will thank you. I promise.