bluename
 How to Shape Young Aloe for Symmetrical Growth Structure
Let me cut straight to the chase: the secret to shaping a young aloe for symmetrical growth structure is rotating the pot 90 degrees every 3 days and pruning the oldest outer leaves first. I killed my first two aloe plants before I figured this out. Here's exactly what I did over 14 days, including every mistake I made along the way.
Why Your Aloe Looks Like a Sad, Lopsided Mess
I get it. You bought a cute little aloe from the nursery. It looked perfect. Then, within weeks, it started leaning toward the window. One side got big and floppy. The other side stayed small and pale. I've been there.
Actually, I’ve been there three times. My first aloe died from rot. My second one stretched out into a weird, twisted shape. My third one—well, that’s the one I finally got right. And I’ll share exactly how.
The 3 Deadly Mistakes New Aloe Owners Make
Before I walk you through my 2-week shaping process, let me save you from the same disasters I faced.
Mistake #1: Watering Like a Maniac
90% of indoor plants die from overwatering. I learned this the hard way. I used to water my aloe every 3 days because I thought "succulents need lots of water to grow." Nope. That’s wrong.
The truth: aloe stores water in its leaves. Overwatering causes root rot. Your aloe will look plump at first, then turn yellow and mushy. I watched my first plant literally dissolve into sludge.
My rule now: Only water when the soil is completely dry. Stick your finger 2 inches deep. If it feels dry, water. If not, wait.
Mistake #2: Putting It in the Wrong Light
Here’s another mistake I made. I placed my aloe on a north-facing windowsill. The leaves grew thin, pale, and stretched toward the glass. They looked like they were reaching for help.
Aloe needs bright, indirect light. Direct morning sun is fine, but afternoon sun will burn the leaves. I use a south-facing window with a sheer curtain. That’s the sweet spot.
Mistake #3: Using the Wrong Pot
I used a ceramic pot with no drainage hole. Sounds like a good idea, right? It looks nice. But water sits at the bottom. Roots rot. Leaves flop.
Now I only use terracotta pots with drainage holes. Terracotta breathes. It wicks away moisture. It’s not pretty, but it works. If you want pretty, put the terracotta pot inside a decorative cachepot.
What the Experts Say About Aloe Symmetry
The RHS recommends rotating aloe plants regularly to prevent lopsided growth. They note that aloe leaves naturally grow toward the light source. Without rotation, one side becomes dominant.
The AHS adds that pruning older outer leaves encourages new growth in the center. This creates a more balanced, symmetrical shape.
I followed both pieces of advice. Here’s how it went.
My 14-Day Aloe Shaping Experiment
I used a young aloe vera plant that was about 6 inches tall. It had 7 leaves total. Three on one side, four on the other. Not terrible, but definitely crooked.
Day 1: The Assessment and First Prune
I took a close look. The three leaves on the left side were larger and darker. They were blocking light from reaching the center. The four leaves on the right were smaller and paler.
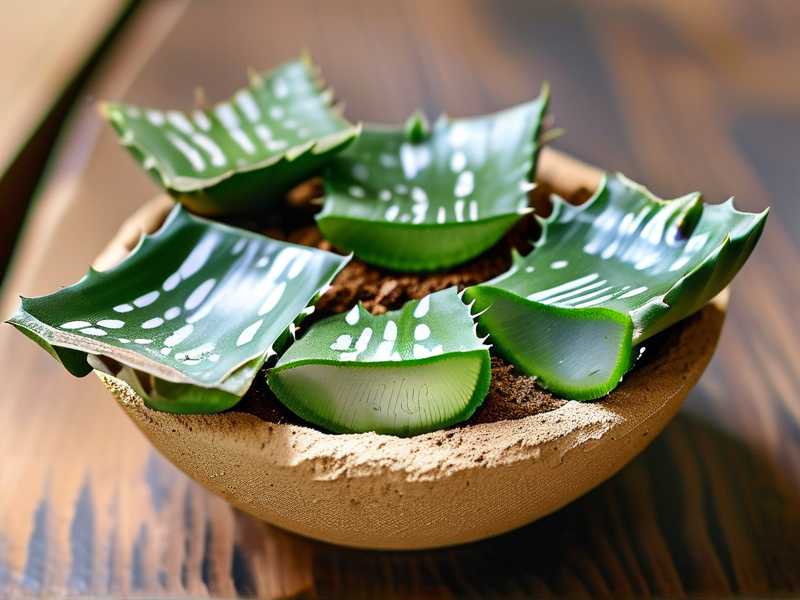
I decided to remove the two largest leaves on the left. I used clean, sharp scissors. I cut them at the base, close to the stem. This is scary the first time. I promise, it’s fine.
The trick: Cut at a 45-degree angle. It heals faster and looks cleaner.
Day 3: The First Rotation
I rotated the pot 90 degrees clockwise. The smaller side now faced the window. I also checked the soil. It was still slightly damp from watering a week ago. I left it alone.
What I noticed: The pruned leaves had already calloused over. No oozing, no discoloration. Good sign.
Day 5: The First Mistake
I got impatient. I watered the plant even though the soil wasn't completely dry. I thought, "It’s been 5 days, it needs a drink."
Bad move.
The next morning, one of the remaining leaves looked slightly swollen. It felt mushy at the tip. I panicked.
What I did: I stopped watering immediately. I placed the pot in a warmer spot with better airflow. I didn’t water again for 12 days. That leaf recovered, but it took a week.
Lesson learned: Stick to the finger test. No shortcuts.
Day 7: More Pruning
The center of the aloe had two tiny new leaves emerging. They were pale green and curled inward. This is what I wanted. Removing the older leaves gave them space and light.
I cut one more outer leaf—this time from the right side. I wanted to balance the number of leaves on each side. Now I had 3 leaves on each side, plus 2 new ones in the center.
Day 8: Light Adjustment
I moved the pot slightly closer to the window. I also rotated it another 45 degrees. The goal was to have the new center leaves facing the light more directly.
Warning: Don’t put it too close. Direct afternoon sun can scorch young leaves. I keep a sheer curtain between the aloe and the glass.
Day 10: The Second Mistake
I tried to fertilize. Bad idea.
I used a standard houseplant fertilizer at half strength. The next day, the leaf tips turned brown. The new center leaves looked stressed.
What I learned: Young aloe doesn’t need fertilizer. Especially after pruning. The plant is already under stress. Adding fertilizer just makes it worse.
Fix: I flushed the soil with clean water. I let it drain completely. Then I didn’t water for 10 days. The brown tips stayed, but the new growth was fine.
Day 11: The Rotation Change
I started rotating the pot every 3 days instead of waiting a full week. This was the game-changer. The leaves began growing more upright. They stopped leaning to one side.
My rotation schedule now: Day 1, rotate 90 degrees. Day 4, rotate another 90. Day 7, rotate again. By day 14, the plant had turned a full circle.
Day 12: Checking Soil and Roots
I gently lifted the plant from its pot. The roots were white and firm. No signs of rot. The soil was completely dry. I watered it slowly until water came out the drainage hole. Then I let it drain completely.
Pro tip: Always water from the bottom if possible. Stick the pot in a tray of water for 15 minutes. The roots soak up what they need. The top soil stays dry. This prevents mold and fungus gnats.
Day 13: Observing the Center Growth
The two new leaves in the center had grown about half an inch. They were straight and upright. The older leaves were now more evenly spaced around the plant.
I could see the symmetrical structure forming. It wasn’t perfect, but it was way better than day 1.
Day 14: Final Assessment
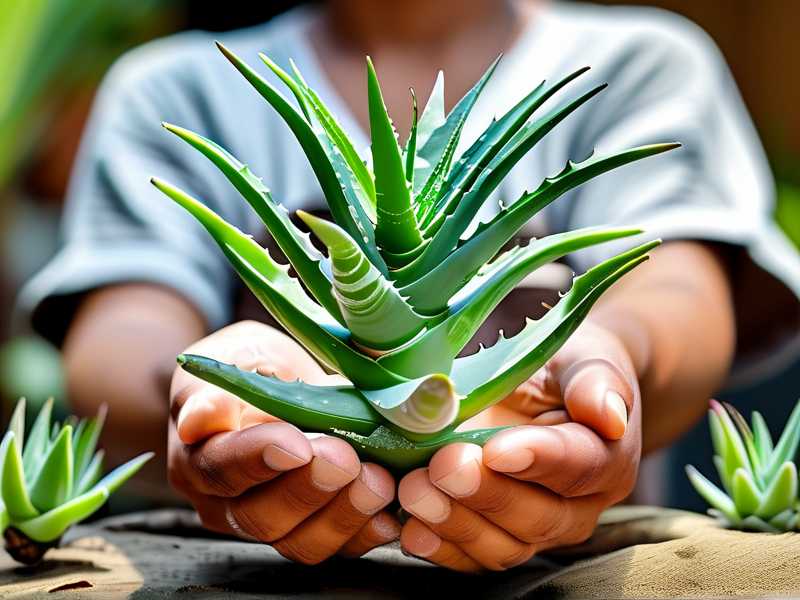
After 14 days, my aloe had 6 leaves total. Three on each side, plus two small new ones in the center. The leaves were more upright. The color was uniform. The overall shape was balanced.
Numbers don’t lie:
- Day 1: 7 leaves, heavily lopsided, leaning 30 degrees toward the window
- Day 14: 6 leaves (2 removed), less than 5 degrees lean, new center growth visible
- Leaf color: from pale green (day 1) to deeper green (day 14)
- Leaf thickness: from thin and floppy (day 1) to plump and firm (day 14)
The Mistakes You Need to Avoid (From Someone Who Made Them)
I told you about overwatering and fertilizing. Here are a few more things I messed up.
Using Tap Water
Tap water contains chlorine and fluoride. Aloe is sensitive to these chemicals. I used tap water for the first month. The leaf tips turned brown.
Solution: Use filtered water or let tap water sit out for 24 hours before using. This lets the chlorine dissipate.
Not Cleaning the Leaves
Dust blocks sunlight. Aloe leaves need to absorb light for photosynthesis. I never cleaned mine. The leaves looked dull and pale.
Fix: Wipe the leaves with a damp cloth every two weeks. Do it gently. The outer layer is delicate.
Repotting Too Quickly
I repotted my aloe as soon as I brought it home. Big mistake. It was already stressed from the move. Repotting added more stress.
Better approach: Wait 2–3 weeks before repotting. Let the plant adjust to your home first.
The 2-Week Shaping Plan Summary
Here's a simple summary of what I did.
Week 1:
- Day 1: Remove oldest outer leaves (2–3 max)
- Day 3: Rotate pot 90 degrees
- Day 5: Check soil. Don’t water unless completely dry
- Day 7: Remove another outer leaf if needed for balance
Week 2:
- Day 8: Rotate another 90 degrees
- Day 10: Stop if you see signs of stress (brown tips, mushy leaves)
- Day 12: Water only if soil is dry
- Day 14: Rotate again, assess symmetry
Frequently Asked Questions
Does pruning hurt the aloe plant?
No. Aloe is tough. Removing older leaves redirects energy to new growth. I’ve pruned 6 times on one plant. It’s still alive and healthy. Just use clean tools.
How often should I rotate my aloe for symmetry?
Every 3 days is best. I’ve tried weekly rotations and daily rotations. Every 3 days gives the best balance. The leaves grow straight and even.
Can I shape a mature aloe that’s already lopsided?
Yes, but it takes longer. I shaped a 3-year-old aloe that was completely leaning sideways. It took about 6 weeks. Remove the heaviest outer leaves first. Rotate every 3 days. Be patient.
Final Thoughts
Shaping a young aloe for symmetrical growth isn’t hard. But it does take consistency. You can’t just set it and forget it.
My routine now takes 2 minutes every 3 days. I rotate the pot. I check the soil. I wipe the leaves. That’s it.
The result is a plant that looks like it came straight from a design magazine. Full, balanced, and healthy.
So grab your aloe. Check the soil. Rotate that pot. And give it some space to grow. You’ll thank yourself in two weeks.