bluename
 How to Trim Aging Foliage to Refresh Aloe Plant Vitality
I killed my first three aloe plants before I figured it out. Here's the brutal truth: trimming off those sad, drooping, discolored bottom leaves is the fastest way to make your aloe look alive again. You simply cut the oldest leaves at the base, let the wounds dry for three days, then give it bright indirect light and zero water for two weeks.
Why Your Aloe Looks Like a Mess
I get it. You bought that adorable little aloe from the nursery. It looked perfect. Then six months later, the bottom leaves are brown, thin, curling inward. The top might still look okay, but the whole plant feels... sad. Like it's given up.
I've been there. My first aloe sat on my kitchen counter looking like a deflated balloon. I panicked. I watered it more. Big mistake.
The First Huge Mistake: Overwatering
90% of indoor plants die from overwatering. Aloe is a succulent. It stores water in its leaves. When the leaves start looking thin or wrinkled, most people grab the watering can. But here's the thing: those bottom leaves are often dying because they're old, not thirsty.
I once watered a sad aloe every three days for two weeks. The bottom leaves got mushy. Then they turned dark brown. Then the rot spread upward. That plant died a slow, soggy death. I felt terrible.
The Royal Horticultural Society (RHS) clearly states that aloe plants need their soil to dry out completely between waterings. Trust me on this one. Less is more.
The Second Mistake: Wrong Light Conditions
People think aloe loves scorching sun all day. Not true. My second aloe got fried on a south-facing windowsill. The leaves turned reddish-brown and crispy.
What aloe actually wants is bright but indirect light. Think morning sun or filtered afternoon light. Too much direct sun burns the leaves. Too little light makes them stretch out thin and pale.
The American Horticultural Society (AHS) recommends 4-6 hours of bright indirect light daily for indoor aloe. I learned this the hard way.
The Third Mistake: Wrong Pot
That cute ceramic pot with no drainage hole? It's a death trap. My third aloe sat in one. The roots sat in stagnant water. Within a month, the leaves were yellow and floppy.
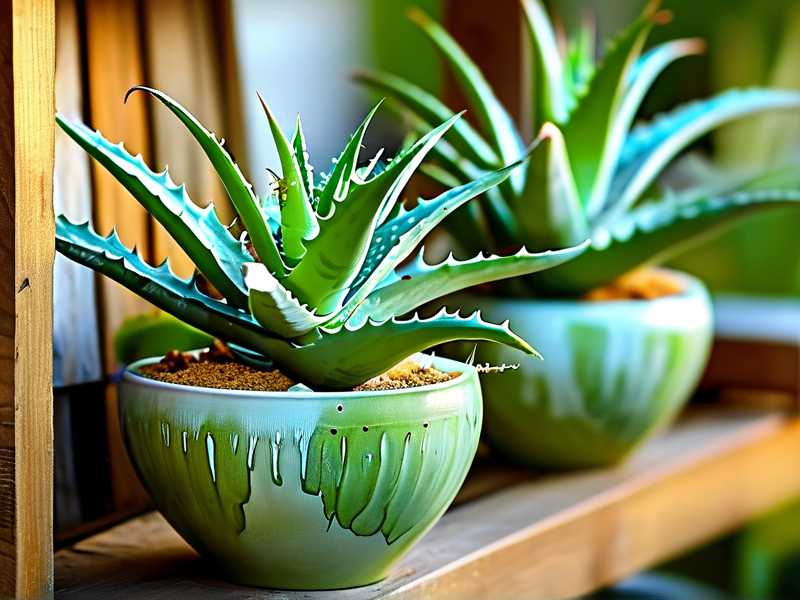
Aloe needs a pot with drainage holes. Terracotta is ideal because it breathes and helps soil dry faster. Plastic pots hold too much moisture. I learned this after losing plant number three.
What You Actually Need to Trim
Before you start cutting, gather your tools. You need clean, sharp scissors or pruning shears. I use kitchen shears that I sterilize with rubbing alcohol. Don't skip this step. Dirty cuts invite disease.
You also need a clean workspace. I use newspaper or paper towels. Aloe leaves release sticky sap when cut. It's messy but harmless.
Step-by-Step Trimming Process
Step 1: Identify the old leaves
Look at your aloe. The oldest leaves are at the bottom of the rosette. They'll be the largest, lowest-hanging leaves. They often have brown tips or edges. They might be thin or curling.
I once tried to trim only the damaged tips. That doesn't work. You need to remove the whole leaf from the base. Otherwise, the damaged part just keeps decaying.
Step 2: Make the cut
Follow the leaf down to where it meets the main stem. Cut as close to the stem as possible. Use one clean, angled cut. Don't saw back and forth. That shreds the tissue.
I made this mistake on my fourth aloe. I cut too far from the stem, leaving a stub. That stub rotted. Then I had to cut more off later. Wasted effort.
Step 3: Let it dry
After cutting, the wounds need to callus over. This takes 2-3 days. Don't water during this time. Don't touch the cut area. Just leave it alone.
Put the plant in a spot with good air circulation. I put mine near a slightly open window. The airflow helps the wound seal faster.
Step 4: Hold off on watering
This is the hardest part for most people. After trimming, your aloe needs to focus on healing, not absorbing water. Wait at least one full week before watering. I usually wait two.
Here's a personal trick: I mark my calendar with the date I trimmed. Then I set a reminder for 14 days later. That's when I check if the plant needs water.
What to Expect in the First Week
Day one: Your aloe will look bare. The bottom will have visible cut spots. The remaining leaves might look stressed. Don't panic. This is normal.
Day three: The cuts should look dry and slightly sunken. If they're still wet or oozing, the plant needs more drying time. Increase airflow.
Day five: The remaining leaves might look plumper. This is because the plant no longer has to support old, dying leaves. It can focus energy on the healthy ones.
I remember checking mine on day five and thinking, "Did it grow overnight?" It didn't, but the leaves looked more upright and firm. It was already happening.
Week 2 Observation
Day eight: You might see tiny new growth in the center of the rosette. This is a good sign. It means the plant is shifting energy to new leaves.
Day ten: The old cut areas should be fully callused. They'll look like small, dry scars. The remaining leaves should be a uniform green with no browning.
Day fourteen: This is where you assess. If the soil is completely dry and the leaves look firm, you can water. I use the "finger test" — stick your finger two inches into the soil. If it's dry, water deeply.
I watered my aloe on day fourteen after my last trim. Within three days, I saw tiny baby leaves popping up from the soil. That's how I knew it worked.
What I Learned from Killing Four Aloes
I killed my first aloe from overwatering. The second from too much sun. The third from a pot with no drainage. The fourth from not trimming at all and letting old leaves rot.
You only need to avoid these things. Trim the bottom leaves. Let the wounds heal. Give it the right light. Use the right pot. That's it.
How to Extend Aloe Life After Trimming
Once you've trimmed and your aloe looks healthy again, don't stop caring. Aloe plants need maintenance just like anything else.
Rotate the pot every week. Light comes from windows. If you don't rotate, the side facing the light grows faster. The plant gets lopsided. I rotate mine 90 degrees every Sunday. Keeps it balanced.
Check for offsets. Aloe produces baby plants called offsets. They grow from the base. If you see tiny aloe plants near the main one, you can separate them. But wait until they have at least three leaves each. I've separated too early and lost the baby.
Use succulent-specific soil. Regular potting soil holds too much water. I buy a cactus and succulent mix. It drains fast. My aloe roots stay happy.
Seasonal Trimming Schedule
I trim my aloe twice a year. Once in early spring, once in early fall. This matches the plant's natural growth cycles.
Spring trimming is the big one. The plant has survived winter. It's ready to grow. Cutting old leaves makes room for new ones.
Fall trimming is lighter. I only remove leaves that are damaged or stressed from summer heat.
I tried trimming in winter once. Bad idea. The plant was dormant. It couldn't heal fast. The cuts stayed open for weeks. I lost two leaves to rot.
Signs Your Aloe Needs Trimming Soon
Not sure when to trim? Watch for these signs:
- Three or more bottom leaves are brown or yellow
- Leaves are thin and curling inward
- Leaves feel mushy at the base
- The plant is leaning to one side
- You see dead leaf tips on multiple leaves
If you see any two of these, it's time to trim. Don't wait. The longer old leaves sit, the more they drain energy from the plant.
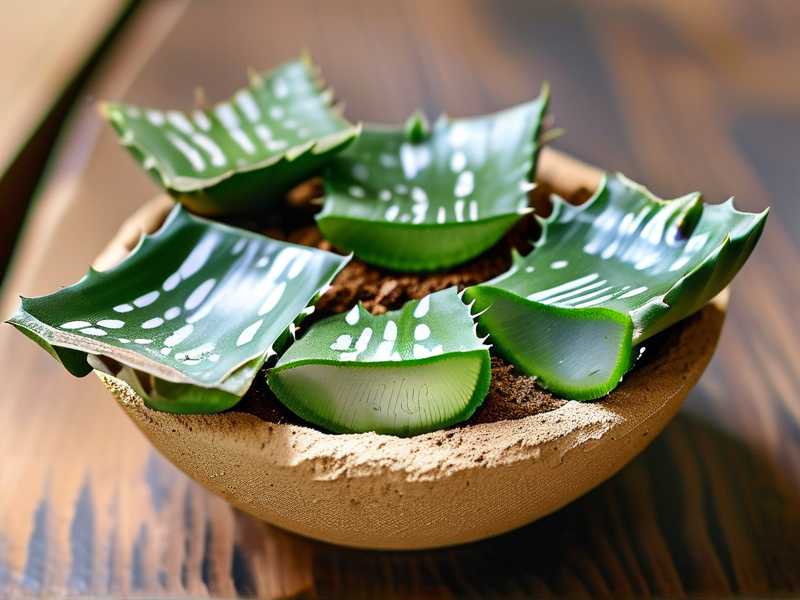
What to Do with the Trimmed Leaves
Don't throw them away. Aloe leaves are useful. The gel inside soothes burns and skin irritation.
I keep a bag of trimmed leaves in the fridge. When I get a minor kitchen burn, I cut open a piece and apply the gel. It works better than any burn cream I've tried.
You can also use aloe gel in smoothies. But research it first. Not everyone can eat aloe safely.
Common Questions People Ask Me
Q: Can I trim aloe leaves that are still green?
A: Technically yes, but I don't recommend it. Green leaves are still photosynthesizing. They're feeding the plant. Only remove leaves that are obviously dying. If a leaf is green and firm, leave it.
Q: How many leaves can I remove at once?
A: Never remove more than one-third of the leaves. I usually take off 2-3 bottom leaves max. If I take more, the plant goes into shock. I made this mistake once. removed five leaves. The plant looked bald and stopped growing for two months.
Q: Should I cut off brown leaf tips?
A: Cutting just the tips looks messy and doesn't help. The brown tip is usually a sign of the whole leaf aging. Cut from the base. Remove the entire leaf. The plant will look cleaner.
Q: My aloe has a thick trunk-like stem. Is that normal?
A: Yes. As aloe ages, the stem elongates. The bottom leaves naturally fall off. You're just helping the process by trimming. Some aloe plants look like small trees. That's fine.
Q: Can I plant the trimmed leaves to grow new aloe?
A: Aloe leaf cuttings rarely root. I've tried multiple times. They just rot. Aloe propagates better through offsets. Focus on the main plant.
Final Thoughts from a Former Plant Killer
I've killed more houseplants than I care to admit. But aloe is forgiving. Even when I messed up badly, the plant came back. You just have to stop doing what's killing it.
Trim the old leaves. Let the wounds dry. Water less. Give it the right light. That's the whole secret.
When I look at my current aloe, full and green with baby offsets at the bottom, I remember how it looked a year ago. Droopy. Brown. Almost dead. I almost threw it away. Now it's the healthiest plant in my collection.
You can do this too. Just start with one trim. Wait two weeks. See what happens. That's how I finally got it right.