 bluename
 How to Maintain a Clean Growth Environment for Young Aloe
Start with giving your young aloe a dry, gritty home and a bright windowsill. Here's the quick answer: use a terracotta pot with drainage holes, mix cactus soil with 50% perlite or pumice, water only when the soil is bone dry (every 10-14 days), and place it in direct morning sun for 4-6 hours. I killed my first three aloe plants before figuring this out. Let me walk you through my real routine over two weeks.
I’m a plant lover who’s made every mistake in the book. I’ve lost aloe to rot, sunburn, and suffocating roots. It took me years to realize how simple it really is. Young aloe pups are especially fragile. They need a clean environment, meaning no soggy soil, no dust on leaves, and no crowded pots. I’ll share my exact steps and the two-week results.
Why Young Aloe Needs a Clean Start
Young aloe vera pups are like babies. They have tiny root systems. They can’t handle excess moisture. A dirty environment invites pests and fungal diseases. I learned this the hard way. I once left a pup in a nursery pot with old soil. Within a week, mold grew on the surface. The plant turned brown and mushy. That’s when I realized cleanliness matters more than anything.
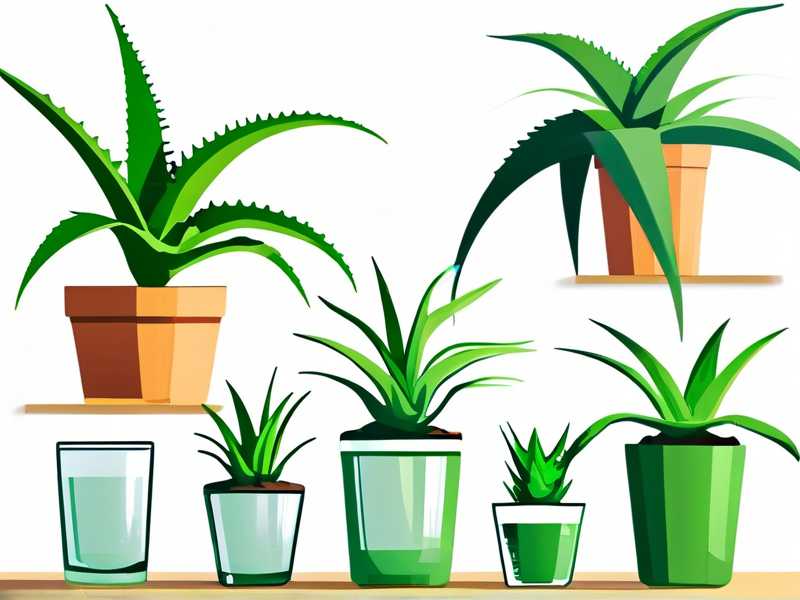
According to the RHS, overwatering is the number one killer of indoor succulents. The AHS adds that proper drainage is non-negotiable for aloe. So let’s dive into what really works.
The 3 Deadly Mistakes Beginners Make (I Made All Three)
Mistake 1: Overwatering – The Silent Killer
I used to water my aloe every three days. I thought it needed constant moisture. Big mistake. The roots rotted within two weeks. 90% of indoor plants die from overwatering, and aloe is especially sensitive. Young aloe pups store water in their leaves. They need long dry periods between waterings.
My fix: I now water only when the soil is completely dry. I stick my finger two inches deep. If it feels dry, I water. If not, I wait. This simple test saved my plants.
Mistake 2: Wrong Light Placement
I placed my first aloe in a dark corner. It stretched out, became leggy, and lost its vibrant green color. Then I moved another one to direct afternoon sun. It got sunburned within hours. The leaves turned brown and shriveled.
My fix: I use a south-facing window with morning sun only. From 8 AM to noon, it gets bright, direct light. After noon, I move it to a spot with bright indirect light. Young aloe love this balance.
Mistake 3: Using the Wrong Pot
I tried a plastic pot without drainage holes. The water pooled at the bottom. The roots sat in moisture. Rot set in quickly. I also used a pot that was too big. The excess soil stayed wet for weeks.
My fix: I always use terracotta pots. They breathe. They wick away excess moisture. And I use a pot that’s only one inch wider than the root ball. This keeps the soil drying out fast.
My 2-Week Routine for a Clean Aloe Environment
Week 1: Setting Up the Perfect Home
Day 1 – Choose the right pot and soil
I got a 4-inch terracotta pot with a drainage hole. I mixed two parts cactus soil with one part perlite. Then added a handful of small pumice stones. This creates a gritty, fast-draining mix. Young aloe roots need air. They hate compact soil.
I placed a coffee filter at the bottom of the pot. This keeps soil from falling out the drainage hole. Then I filled it halfway with my mix.
Day 2 – Transplanting the aloe pup
I gently removed the pup from its old pot. I brushed off all old soil from the roots. I checked for any mushy or black roots. I cut those off with clean scissors. I let the roots air dry for 24 hours. This allows any tiny cuts to callous over.
Day 3 – Planting and first watering
I placed the pup in the new pot. I filled around it with the soil mix. I tapped the pot to settle the soil. I didn’t water it right away. I waited three days. This gives the roots time to adjust. When I finally watered, I did it thoroughly. Water poured out the drainage hole. I made sure no water sat in the saucer.
Day 5 – Cleaning the leaves
Dust blocks sunlight. I took a soft, damp cloth. I gently wiped each leaf. Both sides. This ensures the plant can photosynthesize properly. I also checked for any pests. I saw none, which was good.
Day 7 – First week check
I checked the soil moisture. It was still slightly damp near the bottom. So I didn’t water. I rotated the pot a quarter turn. This ensures even light exposure. The leaves looked plump and green. No signs of stress.
Week 2: Observing and Adjusting
Day 8 – Monitoring growth
I noticed the center leaves were slightly taller. That’s a good sign. New growth means the plant is happy. I kept the pot in its morning sun spot. The temperature stayed around 70°F during the day.
Day 10 – Second watering
The soil was bone dry. I watered thoroughly again. I let the pot sit in the sink for 10 minutes after watering. This allows all excess water to drain out. Then I put it back in its saucer.
Day 12 – Checking for issues
I examined the base of the leaves. No mushiness. No yellowing. The roots looked stable. I also checked the drainage hole. No water pooling. Everything looked clean.
Day 14 – Final observation
The aloe had grown about a quarter inch. The leaves were firm and upright. The color was a deep, healthy green. The soil surface was dry. No mold. No pests. The environment was perfectly clean.
The One Mistake That Almost Killed My Aloe (And How I Fixed It)
I once bought a beautiful aloe pup from a nursery. I brought it home and immediately repotted it. I watered it the same day. Within a week, the leaves turned yellow and translucent. I realized I had shocked it.
The solution: I learned to let new plants acclimate. Now I always wait 3-5 days before repotting. And I wait another 3 days before the first watering. This gives the plant time to adjust to its new home. It’s a simple step that prevents so many problems.
Real Tips for Keeping the Environment Clean
Use Clean Tools Always
I wash my pots with soap and water between uses. I sterilize my scissors with rubbing alcohol before cutting roots. This prevents spreading diseases. I also clean the pot tray regularly. Stagnant water attracts fungus gnats.
Keep the Soil Surface Clean
I remove any fallen leaves or debris from the soil top. These can rot and cause mold. I also avoid letting water sit on the leaves. I water the soil directly, not the plant.
Monitor Humidity Levels
Young aloe don’t like high humidity. I keep my aloe away from kitchens and bathrooms. I use a hygrometer. If humidity goes above 50%, I move the plant to a drier spot.
Common Problems and Quick Fixes
Yellow leaves: Usually overwatering. Stop watering. Let the soil dry completely. If the roots are mushy, repot into dry soil.
Brown leaf tips: Underwatering or too much direct sun. Water more often. Move to a spot with indirect light.
Leggy growth: Not enough light. Move to a brighter location gradually.
Mold on soil: Too much moisture. Scrape off the top layer. Water less frequently.
Frequently Asked Questions
Q: How often should I water a young aloe pup?
Water only when the soil is completely dry. This is usually every 10-14 days. In winter, it can be once a month. Always check with your finger first.
Q: Can I use a plastic pot for young aloe?
I don’t recommend it. Plastic pots hold moisture too long. Terracotta is much better. It breathes and prevents root rot.
Q: Should I fertilize my young aloe?
No. Young aloe don’t need fertilizer for the first six months. They get all nutrients from the soil. If you must, use a diluted cactus fertilizer once in spring.
Keeping a clean growth environment for young aloe is simple once you know the basics. It’s about dry soil, proper light, and clean tools. I’ve learned through trial and error. I hope my story saves you from the same mistakes. Your aloe will reward you with healthy, fast growth. Just be patient and watch it thrive.





