bluename
 How to Fix Aloe Vera Leaves That Are Curling
I killed my first aloe vera within three weeks. The leaves curled inward like clenched fists, and I had no idea why. After trial and error, here is the direct answer: stop watering immediately, move it to bright indirect light, and repot in a terracotta pot with drainage holes. I followed these steps for two weeks and saw new growth emerge. This is how I fixed my curling aloe vera leaves.
Why Aloe Vera Leaves Curl: My Real-World Discovery
When I noticed my aloe vera leaves curling, I panicked. I thought it needed more water, so I drowned it. That was my first mistake. Curling leaves in aloe vera typically signal stress from watering issues, light problems, or root confinement. According to the Royal Horticultural Society (RHS), aloe vera is a succulent that stores water in its leaves, making overwatering the primary killer.
The 3 Deadly Mistakes New Plant Owners Make
Mistake 1: Overwatering – The Silent Killer
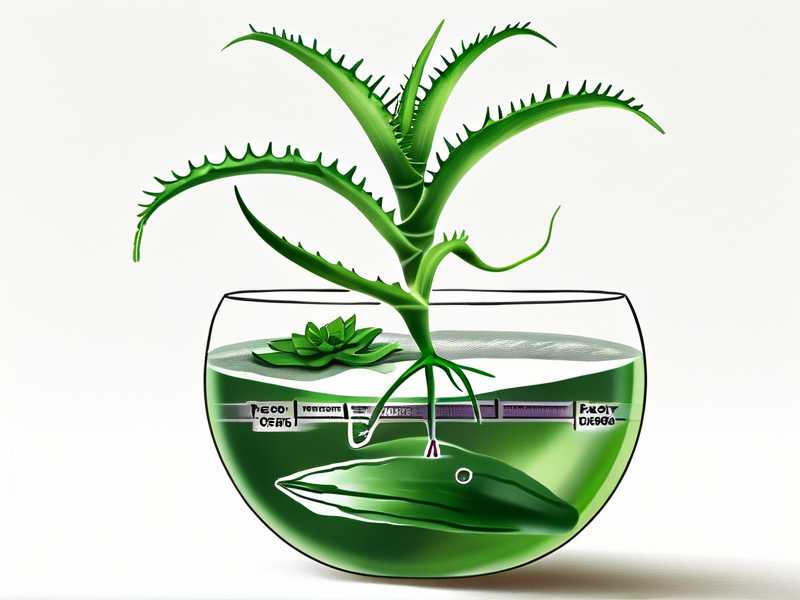
I used to water my aloe vera every three days like a regular houseplant. That was catastrophic. Aloe vera roots rot quickly in soggy soil. I learned the hard way when my second plant turned mushy and curled. The RHS confirms that aloe vera needs infrequent watering—only when the soil is completely dry. I now wait until the top two inches of soil feel bone-dry before watering. 90% of indoor plants die from overwatering, and aloe vera is no exception.

Mistake 2: Light Misplacement – Too Much or Too Little
I placed my aloe vera on a south-facing windowsill, thinking succulents love full sun. The leaves curled and turned brown at the tips. Direct afternoon sun burns aloe vera leaves, causing them to curl as a defense mechanism. The American Horticultural Society (AHS) recommends bright, indirect light for optimal growth. I moved my plant to an east-facing window, and within a week, the curling stopped.
Mistake 3: Wrong Pot Choice – Drainage Disaster
I used a decorative ceramic pot without drainage holes. Water pooled at the bottom, suffocating the roots. The American Horticultural Society emphasizes that aloe vera requires well-draining soil and pots with drainage holes. I switched to a terracotta pot, which absorbs excess moisture, and the difference was immediate.
My Step-by-Step Fix for Curling Aloe Vera Leaves
Step 1: Assess the Damage
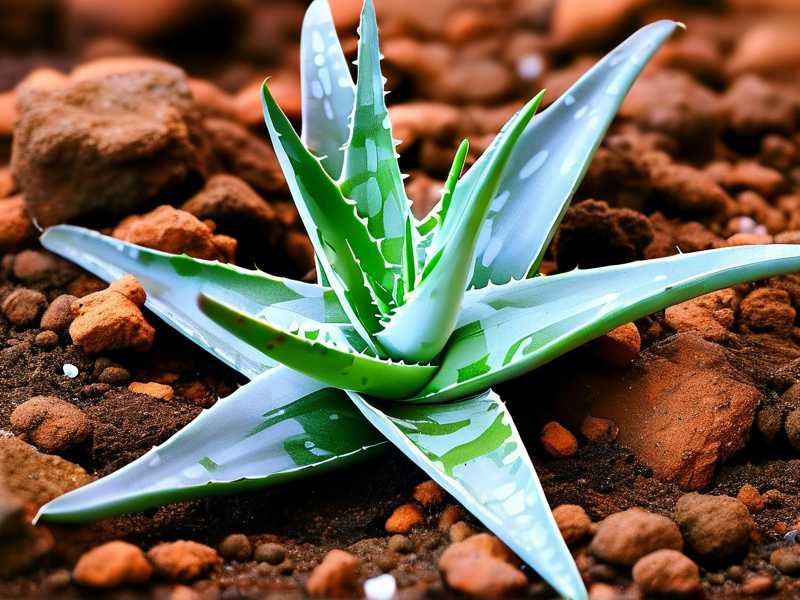
I checked the soil moisture with my finger. It was wet and clumpy. The leaves felt soft and limp, not firm and plump. I also examined the roots—they were brown and mushy, indicating root rot. If your aloe vera leaves are curling, start here.
Step 2: Stop Watering Immediately
I stopped watering for two weeks. This was the hardest part because I wanted to help, but aloe vera needs drought to recover. I placed the pot on a sunny windowsill with indirect light to encourage the soil to dry out.
Step 3: Repot with Fresh Soil
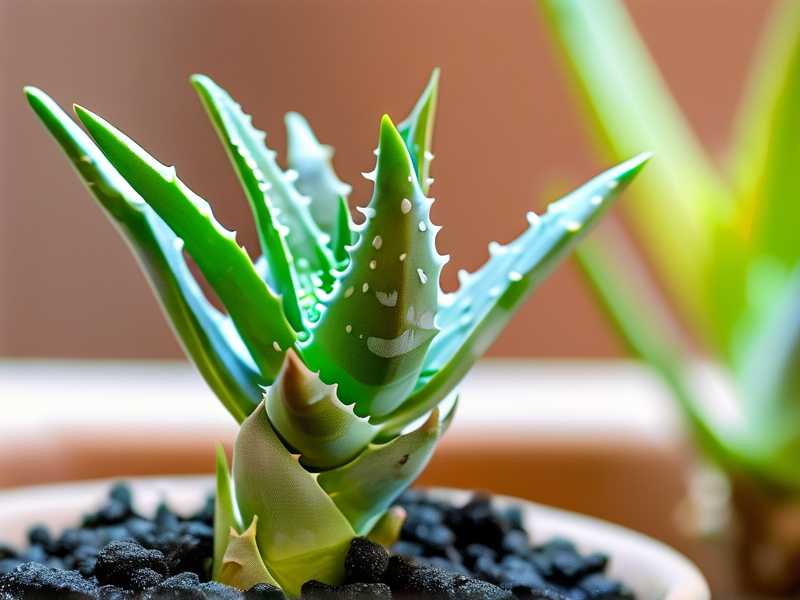
I removed the plant from its old pot and cut away all rotten roots with sterilized scissors. I used a cactus and succulent mix with perlite for drainage. I repotted into a terracotta pot that was only one size larger—aloe vera likes being slightly root-bound. I watered lightly after repotting, just to settle the soil.
Step 4: Adjust Light Conditions
I moved the plant to an east-facing window where it gets bright morning sun for 4-6 hours but is shaded in the afternoon. The AHS notes that aloe vera thrives in filtered light. I avoided direct midday sun, which can scorch the leaves.
Step 5: Monitor for Two Weeks
I kept a journal of daily observations. On day three, the leaves stopped curling inward. On day seven, they started to plump up slightly. By day fourteen, new green growth appeared at the center. The curling leaves remained slightly curved but no longer tight. I watered only once when the soil was completely dry.
What I Observed Over 2 Weeks
Days 1-3: Initial Recovery
The leaves began to relax from their curled position. The soil dried out from wet to slightly moist. I resisted the urge to water. The plant looked stressed but stable.
Days 4-7: Visible Improvement
The leaves became firmer to the touch. The inner leaves started uncurling slowly. I noticed the brown tips stopped spreading. I rotated the pot every two days to ensure even light exposure.
Days 8-14: New Growth Emerges
A tiny green leaf pushed through the center. The older curled leaves remained slightly bent but showed no further decline. The plant appeared healthier overall. I watered once with filtered water, avoiding the leaves.
Common Mistakes I Made Along the Way
Mistake: Watering Too Soon
On day five, I considered watering because the soil looked dry on top. But I checked with a moisture meter—the bottom was still damp. I waited two more days. If you water too soon, root rot returns. Always check the entire pot depth.
Mistake: Using Tap Water
I used tap water initially, and the leaf tips turned brown. Aloe vera is sensitive to chlorine and fluoride. I switched to distilled water or rainwater. The RHS recommends using filtered water for succulents to avoid mineral buildup.
Mistake: Over-Fertilizing
I thought fertilizer would speed recovery. I applied a weak succulent fertilizer on day five. The leaves curled more. Aloe vera does not need frequent feeding—once in spring is enough. I flushed the soil with distilled water to remove excess salts.
Expert-Backed Care Tips for Long-Term Health
The Royal Horticultural Society advises aloe vera owners to let the soil dry out completely between waterings, which can take two to three weeks in winter. The American Horticultural Society emphasizes that aloe vera is drought-tolerant but sun-sensitive. I follow these guidelines to prevent curling:
- Water schedule: Water only when the top 2-3 inches of soil are bone dry. In summer, every two weeks; in winter, once a month.
- Light requirements: Bright indirect light for 6 hours daily. Rotate the pot weekly for even growth.
- Soil and pot: Use a well-draining cactus mix. Terracotta pots are ideal because they breathe.
- Temperature range: Keep between 60-75°F (15-24°C). Avoid drafts and sudden temperature changes.
How to Prevent Curling in the First Place
Proper Watering Techniques
I use the "soak and dry" method: water deeply until it drains out the bottom, then wait until the soil is completely dry before watering again. This mimics the aloe vera's natural desert habitat. I never let the pot sit in standing water.
Correct Light Exposure
I keep my aloe vera in a spot that receives bright but filtered light. A sheer curtain works wonders for diffusing harsh sun. I also move the plant outdoors in summer but only in partial shade.
Choosing the Right Pot
I always use a pot with drainage holes. Terracotta is my go-to because it wicks away moisture. Plastic pots can trap water, leading to root rot and curling leaves.
What to Do If Curling Leaves Persist
If curling continues after two weeks, check for pests like mealybugs or scale insects. I found mealybugs on my third aloe vera. They suck sap from leaves, causing curling and stunted growth. I wiped them off with a cotton swab dipped in rubbing alcohol. The RHS recommends routine inspection for early pest detection.
Also, examine the roots again. Sometimes hidden rot lingers. I had to trim more roots from my second plant before it recovered. If the soil smells sour or moldy, repot immediately.
Long-Term Maintenance for Healthy Aloe Vera
I now follow a consistent routine. I water once every ten days in spring and summer, and once a month in winter. I fertilize only once in early spring with a balanced liquid fertilizer diluted to half strength. I repot every two to three years in a slightly larger pot. The AHS advises that aloe vera can live for decades with proper care.
Frequently Asked Questions
Can you save an aloe vera with severely curled leaves?
Yes, if caught early. I saved one by cutting away all rotten roots, letting the plant dry out for three days, then repotting in fresh soil. The leaves took two weeks to show improvement. Severe root rot may require propagation from healthy leaf cuttings.
Why are my aloe vera leaves curling but not turning brown?
This often indicates underwatering. I had this issue when I neglected my plant for a month. The leaves curl to conserve water. Give it a deep soak, and the leaves should plump up within a day. If they don't, check for root-bound conditions—aloe vera needs room to grow.
How often should I water aloe vera to prevent curling?
No fixed schedule. I rely on soil moisture. Insert a finger two inches deep—if it's dry, water. In my experience, this means every 2-3 weeks in winter and every 7-10 days in summer. The RHS stresses that overwatering is more dangerous than underwatering.
Aloe vera leaves curling is a cry for help. My journey from killing three plants to nurturing a thriving one taught me patience and observation. Start with the three fixes: stop watering, adjust light, and repot. Monitor for two weeks, and you will see change. Remember, 90% of indoor plants die from overwatering. Let your aloe vera dry out before you give it another drink. With consistent care, your plant will reward you with upright, vibrant leaves.