 bluename
 How to Treat Aloe Vera Red Spider Mite Infestations: A 2-Week Battle Plan
I remember the sinking feeling when I first noticed the telltale signs on my prized aloe vera collection. The vibrant green leaves were now dotted with pale, stippled yellow spots. A closer look under the leaves revealed a faint, silvery webbing and tiny, almost imperceptible specks moving about. My heart sank. I was facing a full-blown aloe vera red spider mite infestation. These tiny arachnids, barely visible to the naked eye, can wreak absolute havoc on succulent plants, draining their vitality and leaving behind a scarred, weakened plant. If you're seeing similar symptoms, don't panic. I've been through this battle, and here is my detailed, step-by-step account of exactly how I eradicated these pests and nursed my aloes back to health over a focused two-week period.
Understanding Your Enemy: The Red Spider Mite
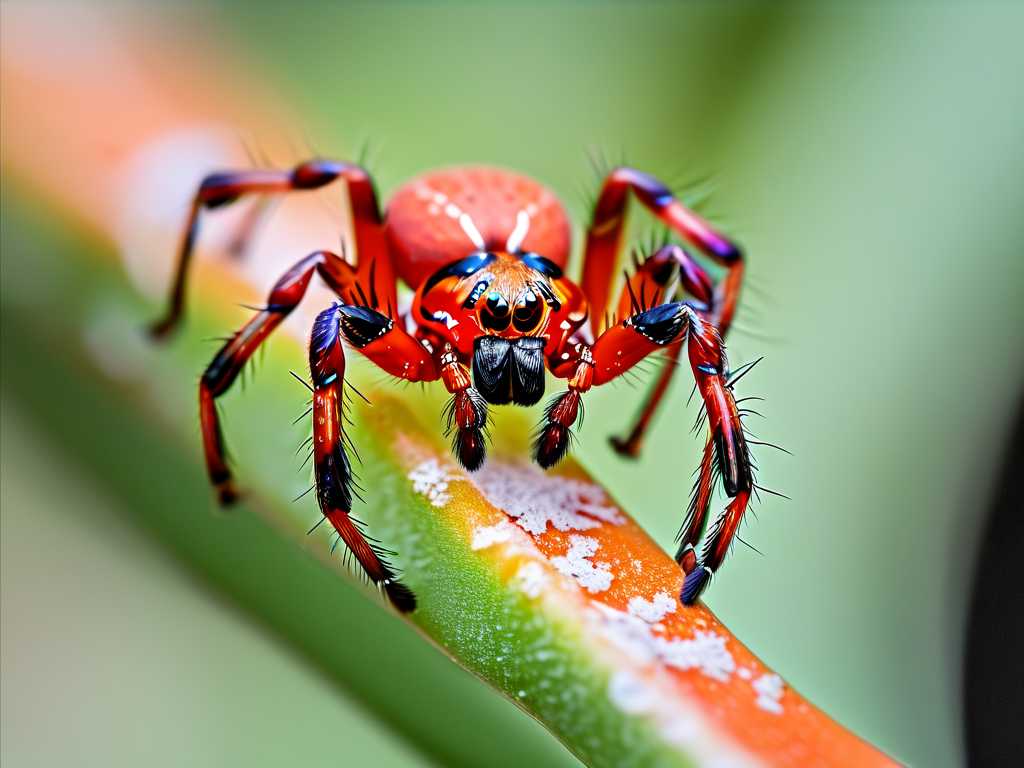
Before diving into treatment, it's crucial to confirm the enemy. Red spider mites, or two-spotted spider mites (Tetranychus urticae), thrive in hot, dry conditions—ironically, the very environment we often create for our succulents indoors. They are not insects but arachnids, which means many common insecticides are ineffective. They pierce plant cells to feed, causing that characteristic stippling. According to research cited by the Royal Horticultural Society (RHS), a single mite can lay hundreds of eggs, and a population can explode in days under the right conditions. My infestation was likely brought in by a new plant or through an open window.
My Step-by-Step, Two-Week Treatment Protocol
I decided on a multi-pronged, persistent approach. Consistency is key, as mite eggs are resilient.
Week 1: The Initial Assault
Day 1: Isolation and Assessment My first step was immediate isolation. Every aloe plant showing symptoms was moved to a separate room, a quarantine zone. This is non-negotiable to prevent controlling spider mites on aloe vera from becoming a whole-household problem. I then gave each plant a thorough physical inspection, marking the most affected leaves with gentle ties. I prepared my toolkit: a spray bottle, mild liquid soap, neem oil, rubbing alcohol, cotton swabs, and a magnifying glass.
Day 2: The First Physical Eradication I started with the least invasive method. Using a strong jet of water from my kitchen sink sprayer, I carefully blasted the undersides of every leaf. This dislodges a significant number of mites and their webs. I let the plants dry completely in their isolated, well-ventilated area. In the evening, I spot-treated the worst colonies. I dipped a cotton swab in 70% isopropyl alcohol and dabbed it directly onto any visible webbing and clusters. The alcohol evaporates quickly, killing mites on contact with minimal risk to the plant if used sparingly.
Day 3: Introducing the Soap and Oil Spray After 24 hours, I applied my first homemade miticide. I mixed 1.5 teaspoons of mild, pure castile soap and 1 teaspoon of cold-pressed neem oil into 1 liter of lukewarm water, shaking vigorously. I thoroughly sprayed every inch of the plant, ensuring the solution dripped from the undersides of the leaves. The soap breaks down the mites' protective coating, while neem oil acts as a repellent and growth disruptor. I placed the plants in a shaded spot to avoid leaf burn.
Day 5: Reassessment and Repeat I inspected under the magnifying glass. While adult mite activity seemed reduced, I could still see tiny eggs. I repeated the soap and neem oil spray exactly as on Day 3. Consistency is critical to break their life cycle.
Week 2: Persistence and Recovery
Day 8: The Second Major Treatment A week in, the yellow stippling had stopped spreading, a good sign. I performed another strong water blast in the morning. In the evening, I applied a third soap and neem oil spray. By this point, the visible webbing was entirely gone.
Day 10: Introducing a Predator (My Biological Control Experiment) For a more natural, long-term solution, I introduced a biological control agent: Phytoseiulus persimilis, a predatory mite that feeds exclusively on spider mites. I ordered them online from a reputable biological supplier. Following instructions, I gently released the sachet contents onto the soil of my most infected plant. This was my strategy for natural remedies for aloe vera mites. Watching these tiny predators go to work was fascinating and highly effective for ongoing protection.
Day 12 & 14: Final Monitoring and Adjustment I ceased all spraying to allow the predatory mites to establish and to let the plants rest. Daily inspection showed no new damage. The existing scars remained but didn't worsen. The plants' overall demeanor improved—they felt firmer and looked less stressed.
The Results: A 14-Day Transformation
After two weeks of relentless, structured care, the infestation was declared over. The transformation wasn't about making the old scars disappear (those are permanent, but the leaves will eventually grow out), but about halting all new damage. My aloes were putting out new, clean, healthy growth from their centers. The predatory mites had done their job and, with no food left, their population dwindled. The plants were moved back to their original sunny location, now stronger and monitored weekly.
The Pitfalls I Encountered and How I Solved Them
My journey wasn't without mistakes. Here’s what went wrong and how I fixed it.
Pitfall 1: Incomplete Coverage During my first soap spray, I missed the deep crevices where the leaves meet the stem. A few days later, I saw a resurgence there. Solution: I started using a small, soft-bristled paintbrush to gently apply the spray mixture into every nook and cranny, ensuring complete coverage.
Pitfall 2: Sunburn After Treatment After one neem oil application, I returned a plant to direct sun too quickly, causing brown, scorched patches. Solution: I learned to always treat plants in the late afternoon or evening and keep them in bright, indirect light for at least 24-48 hours post-application.
Pitfall 3: Overwatering in Panic In my zeal to "flush out" the pests, I over-watered one aloe during the initial hosing-down phase, leading to soft, mushy lower leaves—a sign of rot. Solution: I immediately removed the plant from its pot, cut away the rotten parts, let it callous for a day, and repotted it in fresh, dry succulent mix. I became much more careful to let the soil dry out completely between any wet treatments.
Pitfall 4: Giving Up Too Early After the first week, things looked better, and I almost stopped treatment. I’m glad I didn't. Solution: I set calendar reminders for my treatment days. Breaking the egg cycle requires at least 3-4 applications over 10-14 days, as eggs hatch every few days.
Preventing Future Aloe Vera Spider Mite Problems
An ounce of prevention is worth a pound of cure. Now, I regularly hose down my aloes during routine watering to discourage mites. I inspect new plants under a magnifying glass before introducing them to my collection. I also maintain higher ambient humidity around my plant shelf with a small pebble tray, as mites despise humid conditions. The American Horticultural Society (AHS) emphasizes that healthy, unstressed plants are the best defense, so I ensure my aloes get appropriate light, water, and nutrients to boost their innate resilience.
Common Questions About Managing Mites on Aloe Plants
Can I use rubbing alcohol directly on my aloe vera? Yes, but with caution. Spot-treating with a cotton swab dipped in 70% isopropyl alcohol is very effective for localized infestations. Avoid drenching the plant or using it in direct, hot sunlight, as it can cause dehydration and burn.
Will neem oil hurt my aloe plant? Neem oil is generally safe when diluted properly and applied during cooler parts of the day. Always do a patch test on one leaf first. The key is the emulsifier—use a mild soap to properly mix the oil with water, or it will clog the plant's pores.
How do I know if the spider mites are completely gone? Continue inspecting with a magnifying glass weekly for at least a month after the last sign of activity. Look for any moving specks or new stippling on the youngest leaves. The presence of predatory mites or the complete absence of new damage are strong indicators of success.
Winning the war against red spider mites on aloe vera requires patience, consistency, and a multi-method approach. There is no single magic bullet. By combining immediate physical removal, persistent organic sprays, and introducing natural predators, I restored my plants to health. The process taught me to be a more observant and proactive plant caretaker. Remember, those pale speckles on your aloe's leaves are a battle cry. With this detailed plan, you have everything you need to answer it and win.





