 bluename
 Aloe Vera Leaf Venation Changes: What to Do
I was watering my beloved aloe vera collection when I noticed something unsettling. One of my oldest plants, a plump Aloe barbadensis miller, had leaves that just looked… off. The normally smooth, uniform green surface was now marked with unusually prominent, darker veins. This wasn't the vibrant, healthy venation I sometimes see; it looked strained, almost like the leaf's blueprint was showing through. I knew immediately I was dealing with aloe vera leaf venation changes, and I needed to figure out why and how to fix it.
As a hands-on plant enthusiast, my first reaction is never panic, but systematic observation. Changes in leaf texture and color, especially in the vascular system (the veins), are your plant's primary way of sending an SOS. Ignoring these signs can lead to a downward spiral. Over the next two weeks, I embarked on a rescue mission, documenting every step, every success, and every mistake. Here’s exactly what I did, what I learned, and how you can address these worrying changes in your own aloe.
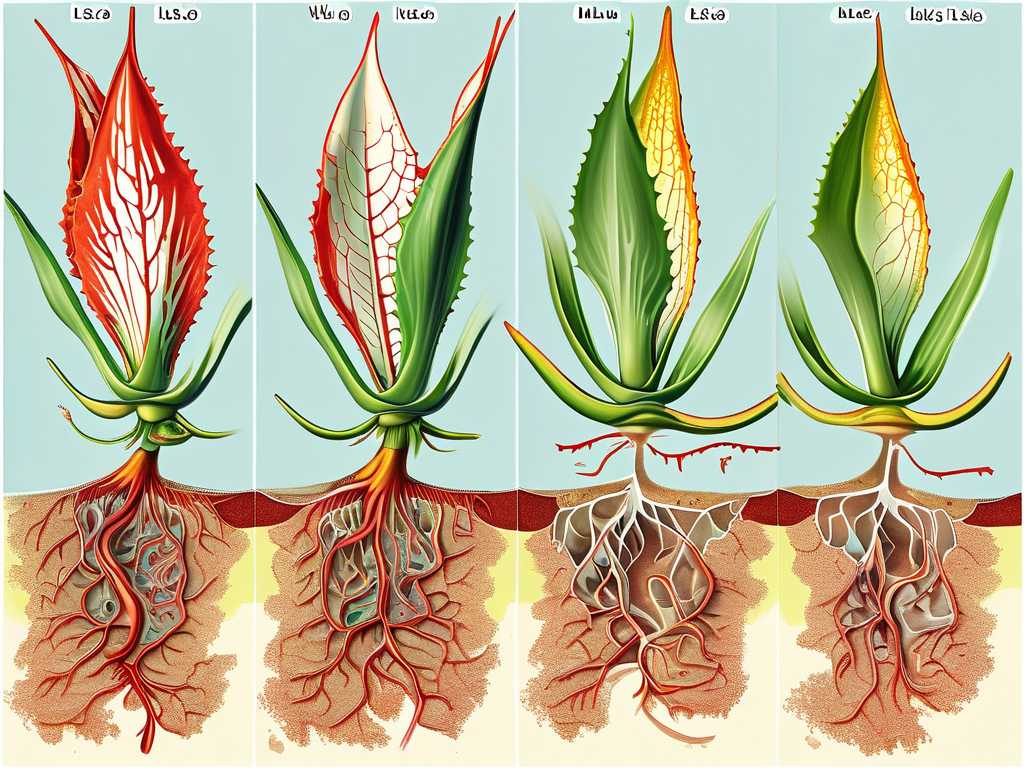
Understanding the Veins: More Than Just Lines
First, let's talk about what those veins do. According to the Royal Horticultural Society (RHS), the venation in succulent leaves like aloe vera is crucial for transporting water, nutrients, and sugars. When they become abnormally prominent or discolored, it’s a direct signal of stress within that transport system. It’s not a disease itself, but a vivid symptom of an underlying issue.
My initial diagnosis checklist for prominent leaf veins in aloe vera pointed to a few common culprits: water stress (too much or too little), nutrient deficiency, or improper lighting. My plant lived on a bright south-east windowsill, so light seemed adequate. I had to dig deeper.
My Two-Week Diagnostic and Recovery Protocol
I decided to treat this as a controlled experiment, adjusting one variable at a time to pinpoint the exact cause.
Week 1: The Investigation Phase
Day 1-2: The Root of the Problem My first step was the most invasive but most critical: a root check. Gently, I tipped the plant out of its pot. The soil felt damp deeper down than it should have been, even though the top was dry. Upon inspection, the roots were pale and healthy-looking, but there was no active new growth and the soil mix seemed too moisture-retentive. This hinted at early-stage overwatering, where the roots are okay but suffocating in wet soil, struggling to uptake nutrients efficiently—a classic precursor to venation discoloration in aloe plants.
- The Mistake I Made: I used a generic cactus mix straight from the bag. Over time, it had compacted.
- The Fix: I created a new, gritty mix. I combined 50% of that cactus mix with 30% perlite and 20% coarse sand for extreme drainage. I repotted into a terracotta pot, which breathes, and ensured it had a large drainage hole.
Day 3-5: Watering Reset and Observation After repotting, I did not water. I let the plant and its potentially stressed roots settle in dry medium for a few days to callus any tiny abrasions and signal a dry period. I placed it back in its bright spot but shielded it from the hottest midday sun with a sheer curtain to reduce transpiration stress while it recovered.
Day 6-7: The First Strategic Watering On day 6, the leaves felt slightly less firm—a sign they were using internal water stores. I performed a thorough bottom-watering. I placed the pot in a shallow tray of water for about 15 minutes, allowing the soil to wick moisture up evenly. This encourages deep root growth. I then let it drain completely. No water touched the leaves or the center rosette.
Week 2: Monitoring and Adjustment
Day 8-10: Subtle Signs of Change The prominent, dark veins were still visible, but the leaf color around them seemed slightly less stressed—a tiny shift from a dull to a more vibrant green. However, I noticed the newest, central leaves were still growing with faint but noticeable veining. This told me the historical overwatering issue was being addressed, but a nutrient deficiency might also be at play. The American Horticultural Society (AHS) notes that mobile nutrient deficiencies, like Nitrogen, often show symptoms in older leaves first, while immobile ones, like Iron or Manganese, appear in new growth.
Day 11-14: Introducing Targeted Nutrition Given the new growth showed signs, I considered an immobile micronutrient issue. On day 11, I applied a half-strength dose of a balanced, water-soluble fertilizer formulated for succulents, with added micronutrients. Crucially, I applied it to damp soil to prevent root burn.
The Two-Week Verdict: By the end of the second week, the transformation wasn't dramatic, but it was definitive. The older leaves with the changed venation pattern did not revert to perfectly smooth—damage that has manifested is often permanent. However, the discoloration had stopped progressing. The real victory was in the new growth. The emerging leaves from the center were plump, uniformly colored, and showed only the faint, healthy vascular pattern typical of a robust aloe. The plant had stopped sending distress signals.
Common Pitfalls and How to Avoid Them
My journey wasn't perfectly smooth. Here’s where I stumbled, so you don't have to:
- The "Quick-Fix" Flood: Initially, when I saw the veining, I thought it was thirst and gave it a big drink. This was wrong and exacerbated the potential overwatering issue. Always check the soil moisture at root level first.
- Ignoring the Soil Recipe: Assuming any "cactus mix" is perfect is a trap. They often need extra aeration. My custom gritty mix was the single biggest factor in recovery.
- Over-fertilizing in Panic: I was tempted to hit it with fertilizer immediately. This can chemically burn stressed roots. Nutrition comes after you've corrected the watering and root environment.
Your Action Plan for Aloe Vera Vein Issues
If you see those veins darkening or protruding, follow this sequence:
- Pause Watering: Immediately stop your watering routine.
- Check Roots & Soil: Gently inspect the root ball. Are they firm and white/tan, or mushy and brown? Feel the soil deep down.
- Fix the Foundation: If soil is poor or wet, repot into a fast-draining mix in a breathable pot.
- Optimize Light: Ensure bright, indirect light. Too little light weakens the plant, making all other problems worse.
- Water with Purpose: Only water when the soil is completely dry, and water deeply, allowing full drainage.
- Feed Judiciously: Only consider a mild, balanced fertilizer after the plant shows stable, new growth.
Why are the veins on my aloe vera suddenly so dark and visible? This is almost always a sign of stress, commonly related to water. The plant's vascular system is working overtime to either find water (underwatering) or is compromised due to suffocation (overwatering). It can also indicate a nutrient uptake problem, often stemming from poor root health due to… you guessed it, incorrect watering.
Can leaves with changed venation go back to normal? Honestly, no. Leaves that have already developed prominent or discolored veins will likely retain that appearance. The goal of treatment is not to fix the old leaves but to ensure all new growth emerges healthy and normal. Think of the old leaves as a record of past stress.
How do I know if it's overwatering or underwatering causing the vein changes? Check the leaf texture. Underwatered aloe leaves often become thin, curled, and crispy alongside the prominent veins. Overwatered leaves may feel mushy, soft, or waterlogged at the base, and the color can become pale or yellowish while the veins darken. The definitive check is always in the soil and roots.





