How to GrowAloe Verain a Hanging Macramé Planter: My Step-by-Step Guide
I love the clean, sculptural look ofAloe Vera, but my apartment’s limited counter space was a constant battle. That’s when I discovered the magic of combining this hardy succulent with a hanging macramé planter. Not only does it free up precious surface area, but it creates a stunning, living piece of bohemian decor. If you’re wonderinghow to growAloe Verain a hanging macramé planter, you’ve come to the right place. I’m a hands-on plant enthusiast, and after a few trials (and errors), I’ve perfected the process. This guide will walk you through my exact steps, what I observed over two crucial weeks, and the honest pitfalls I navigated so you can avoid them.
Why This Combination Works So Well

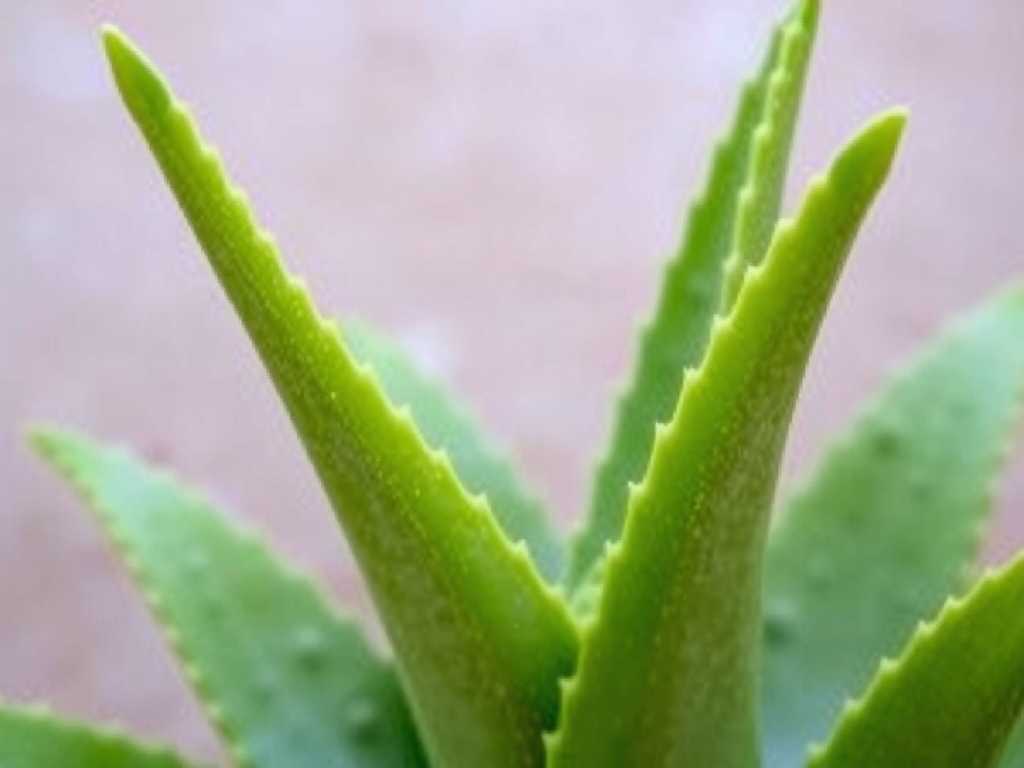
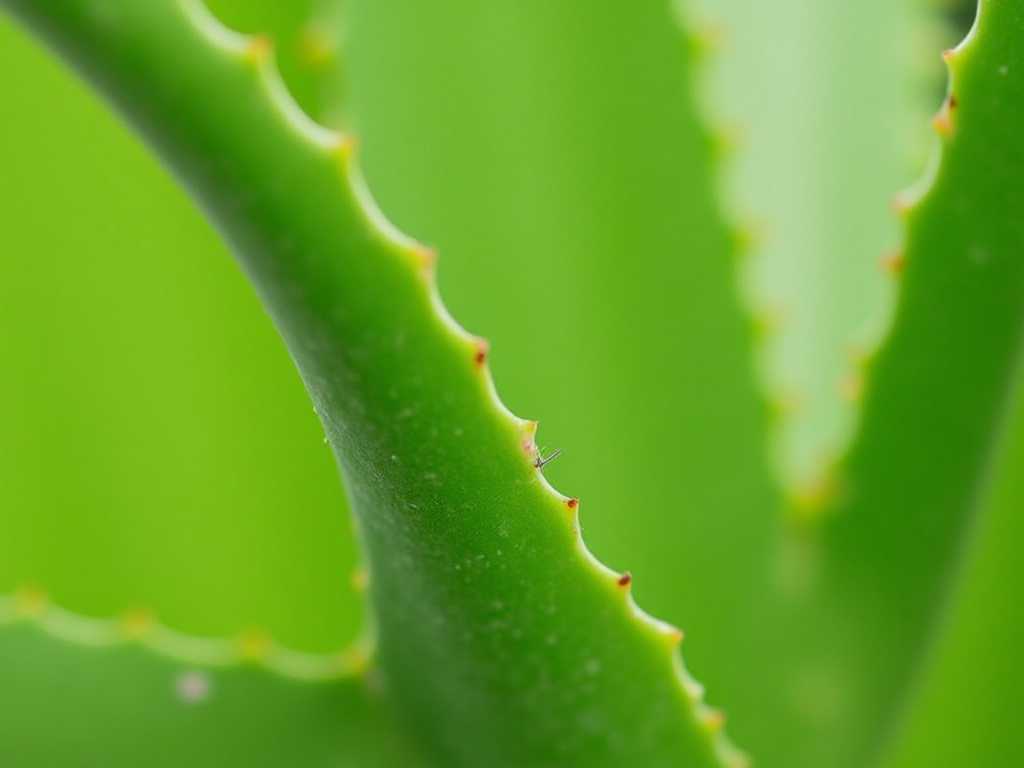
Aloe vera is a succulent that thrives on neglect and perfect drainage. Its shallow root system makes it an ideal candidate for life in a container. A macramé hanger elevates the plant, improving air circulation around it—a key factor in preventing root rot. From an aesthetic standpoint, the soft, textured fibers of the macramé beautifully contrast with the aloe’s sharp, geometric leaves. It’s a match made in plant heaven.
My Essential Toolkit: What You’ll Need
Before we begin, gathering the right materials is half the battle. Here’s what I used:
- A healthy aloe vera pup or small plant.
- A macramé plant hanger with a sturdy, knotted design.
- A pot with drainage holes. I cannot stress this enough. I initially used a ceramic pot without holes, and it was a disaster. Terracotta is my top choice because it’s porous and helps wick away excess moisture.
- A well-draining succulent & cactus potting mix. Don’t use regular potting soil.
- Optional: Perlite or coarse sand to mix into the soil for extra drainage.
- A small trowel and gloves.
Step 1: Choosing and Preparing the Perfect Pot
First, select a pot that fits securely within your macramé hanger. It should sit snugly about 1-2 inches below the rim of the hanger to prevent tipping. My pot was about 6 inches in diameter. I filled the bottom with a layer of small pebbles or broken pottery shards to further facilitate drainage. According to the Royal Horticultural Society (RHS), this practice, while debated, can be beneficial for containers without built-in drainage stands, which is often the case with hanging planters.
Step 2: Potting the Aloe Vera Correctly
I gently removed my aloe pup from its nursery pot, carefully teasing apart any tightly bound roots. I then prepared my soil mix using a 2:1 ratio of commercial cactus mix to perlite. This creates the gritty, fast-draining environment aloe roots crave. I placed the aloe in the new pot, ensuring the base of the plant was level with the soil surface. Burying the stem too deep is a common mistake that invites rot. I backfilled with soil, tamped it down lightly, and left about a half-inch of space at the top for watering.
Step 3: The Critical First Watering and Hanging
I did not water the plant immediately after repotting. This is a crucial step many overlook. Repotting causes minor root damage, and watering right away can lead to infection. I waited a full 48 hours before giving it a thorough, deep soak. I placed the pot in the sink, watered until it ran freely out the drainage holes, and let it drain completely for 30 minutes. Only then did I place the pot into the macramé hanger and hang it in its final spot.
Finding the Ideal Location: Light is Key
Aloe vera needs bright, indirect light. A spot near an east or south-facing window (with a sheer curtain for harsh afternoon sun) is perfect. I hung my planter about two feet from a large south-facing window. The American Horticultural Society (AHS) notes that while aloe is tolerant, insufficient light will cause it to become leggy and pale, losing its compact form. Direct, scorching sun through glass can also burn the leaves, so observation is key.
My Two-Week Observation Journal: The Good, The Bad, The Ugly
This period was vital for understanding the plant’s adjustment.
- Days 1-3:The plant looked stable. No dramatic changes. The soil was still slightly damp from the initial watering.
- Days 4-7:I noticed the outermost leaf felt slightly softer than the others. Panic set in—was it overwatered already? I checked the soil with my finger; it was bone dry two inches down. This was my first “pitfall.” The hanging location had more air flow and warmth than I anticipated, drying the soil faster. I gave it a moderate drink, ensuring no water pooled in the macramé knots beneath the pot.
- Days 8-10:The softened leaf firmed back up significantly. A vibrant green color returned. I saw the very beginnings of new growth from the center—a small, bright green nub emerging. Success!
- Days 11-14:The new growth was more pronounced. The plant seemed firmly established. The original “pitfall” leaf had a small, dry tip where it had been stressed, but the rest of the plant was thriving. This taught me thathanging aloe vera carerequires more frequent soil checks than a shelf-bound plant.
The Pitfalls I Encountered and How I Solved Them
- The Drainage Disaster:My first attempt used a cache pot (a decorative pot without holes) inside the macramé. After watering, I didn’t realize excess water was sitting at the bottom. Within a week, the lower leaves turned mushy and brown.Solution:I immediately repotted into a terracotta pot with drainage holes. I cut away the rotten parts with a sterile knife and let the roots air dry for a day before replanting in fresh, dry mix. I didn’t water for another 10 days. The plant recovered.
- The Macramé Moisture Trap:After a watering, I noticed the macramé cords where the pot rested stayed damp for days, which could mildew or rot the fibers and keep the pot base wet.Solution:I now always ensure the pot drains completely in the sink before hanging. I also occasionally take the entire setup down to air out the hanger.
- The Light Balancing Act:The leaves started developing a slight reddish-brown tint. This is called “stress coloring,” which can be from too much direct sun. While not always harmful, I wanted deep green leaves.Solution:I moved the hanger slightly to the side, where it received bright light but was shielded from the most intense 2-3 hours of direct afternoon sun. The color gradually returned to a rich green.
Ongoing Care for Your Hanging Aloe
The golden rule forcaring for aloe in macraméis to water deeply but infrequently. I only water when the soil is completely dry, which in my environment is about every 2-3 weeks. I feed it with a diluted, balanced fertilizer only once in the spring and once in the summer. Regularly dust the leaves with a soft brush to keep them efficient at photosynthesis.
Frequently Asked Questions
How often should I water my hanging aloe vera?There’s no universal schedule. The only reliable method is the “finger test.” Insert your finger into the soil up to the second knuckle. If it’s dry, it’s time for a thorough watering. In my hanging setup, it dries out faster than my potted aloes on shelves.
What type of macramé hanger is best?Choose one with a tight, supportive knot pattern that cradles the pot securely. Avoid overly loose or stretchy designs. A hanger with a cross-weave or basket-style bottom offers the best support for heavier terracotta pots.
My aloe is becoming top-heavy and leaning. What should I do?This is common as it grows. First, ensure it’s getting enough light to grow compactly. You can rotate the planter a quarter turn every time you water to encourage even growth. Eventually, you may need to repot it into a slightly wider, heavier pot to counterbalance the weight, or propagate the pups to create a new, more manageable plant.
Growing aloe vera in a macramé planter is a rewarding project that blends function with beautiful, space-saving design. It requires attention to drainage, light, and a slight adjustment to your watering habits, but the resilience of the aloe plant makes it forgiving. By learning from my mistakes—the overwatering, the light issues, the importance of pot choice—you can confidently create a thriving, aerial display of this wonderful succulent. Start with a healthy plant, be patient during the first few weeks of adjustment, and you’ll enjoy the benefits of your hanging aloe for years to come.
发表评论