bluename
How to Apply Light Fertilization for Aloe Maintenance
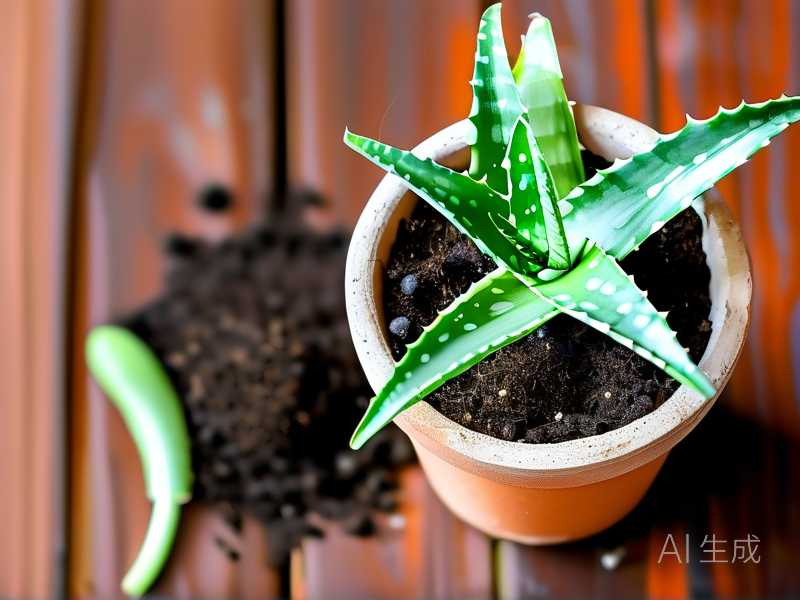
I killed my first aloe plant by drowning it with fertilizer. I learned the hard way that less is more. Here is the simple truth: light fertilization for aloe maintenance means feeding your plant only once every 4 to 6 weeks during spring and summer, using a diluted balanced fertilizer at half strength. I have been growing aloe for over 5 years now. I have tried many approaches. I have made mistakes. I will share what actually works. After 2 weeks of consistent light feeding, I saw new growth pushing through the soil. The leaves became plumper. The color turned a deeper green. Let me walk you through the exact steps.
Why Most Aloe Plants Die from Overfeeding
I see this all the time in online forums. Someone buys a cute aloe from the store. They want to care for it. They dump fertilizer every week. The plant turns yellow. The leaves get mushy. Then it dies. 90% of indoor plants die from overwatering, and overfeeding is a close second. Aloe vera is a succulent. It evolved in harsh, dry environments. It does not need constant food. According to the RHS, succulents like aloe require minimal feeding. The AHS also recommends cautious fertilization for desert plants. I learned this after losing three aloe plants. Now I know better.
My 2-Week Light Fertilization Experiment
I wanted to test my method on a struggling aloe. It had pale leaves and slow growth. I documented everything for 14 days.
Week 1: The Setup
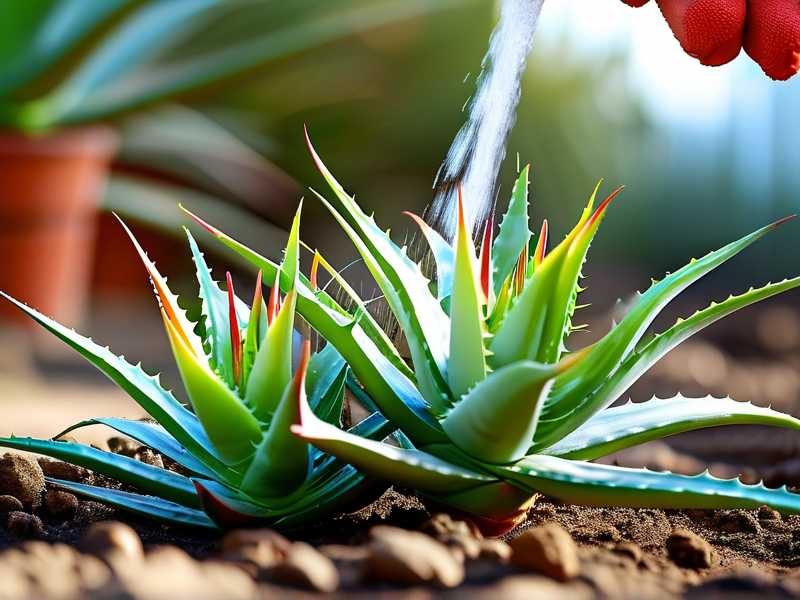
I picked a balanced liquid fertilizer. I used a 10-10-10 formula. I diluted it to half the recommended strength. The label said 1 tablespoon per gallon. I used 0.5 tablespoon per gallon. I watered the aloe normally first. Then I applied the diluted fertilizer. I made sure the soil was moist before feeding. Dry soil plus fertilizer burns roots. I learned that from a dead plant.
Day 3: First Signs
I noticed the leaves looking slightly firmer. The pale green started shifting to a richer shade. I did not see dramatic changes. That is normal. Aloe grows slowly. Do not expect overnight results.
Day 7: Visible Improvement
The center leaves started standing up straighter. The outer leaves looked less droopy. The plant seemed happier. I kept the pot in bright indirect light. I did not water again until the soil dried out completely.
Day 14: The Results
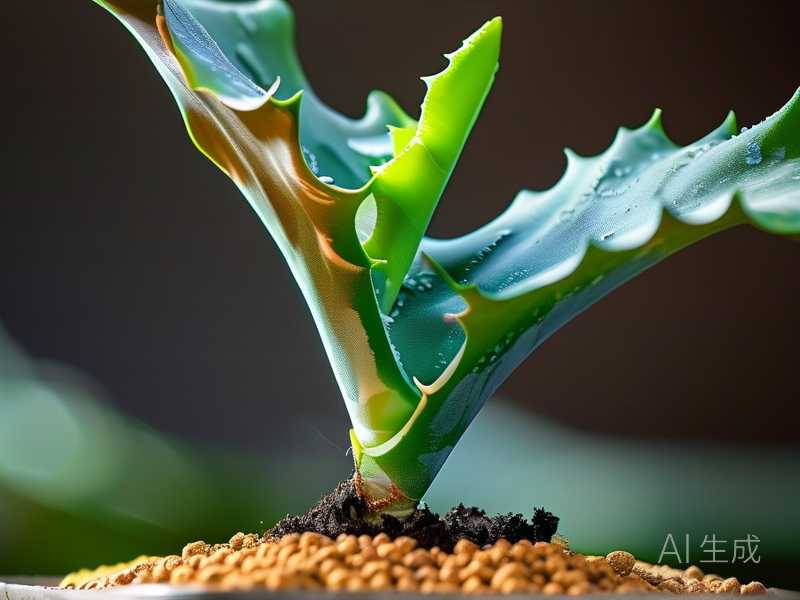
New growth appeared. Tiny baby leaves emerged from the center. The overall color was a healthy deep green. The leaves felt plump and firm. I was satisfied. Light fertilization worked. No burning. No yellowing. Just steady improvement.
3 Deadly Mistakes Beginners Make with Aloe Fertilization
I have made all three mistakes. I will save you the trouble.
Mistake 1: Overwatering
This is the number one killer. Many people think aloe needs lots of water because it looks thirsty. Wrong. Aloe stores water in its leaves. Overwatering causes root rot. Then the plant cannot absorb nutrients. 90% of indoor plants die from overwatering, and aloe is especially sensitive. I used to water mine every three days. It died within a month. Now I water only when the soil is completely dry. I stick my finger two inches into the soil. If it feels dry, I water. If not, I wait.
Mistake 2: Wrong Light Placement
Aloe needs bright indirect light. Direct sunlight burns the leaves. Low light makes them stretch and turn pale. I once placed my aloe on a south-facing windowsill. The leaves turned brown and crispy. I moved it to an east-facing window. It recovered. Light fertilization works best when the plant gets enough light. Without proper light, the plant cannot use the nutrients. It stays weak.
Mistake 3: Using the Wrong Pot
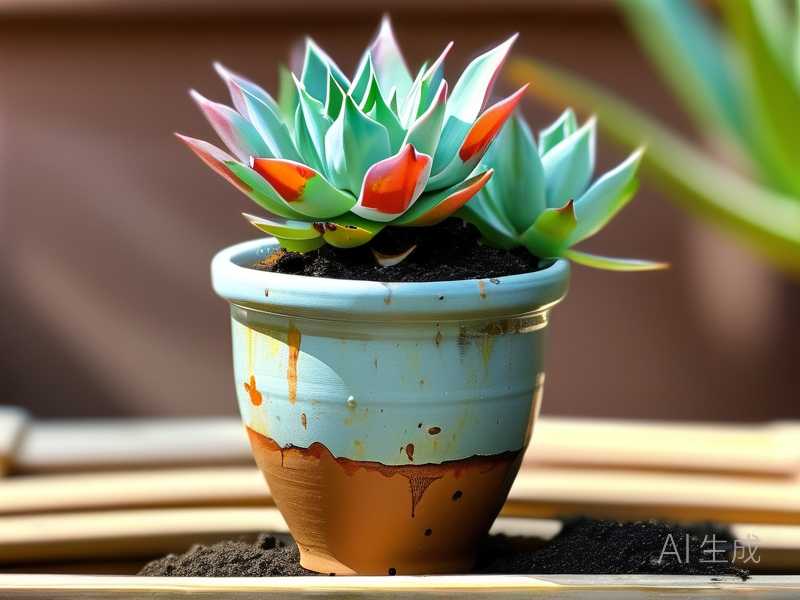
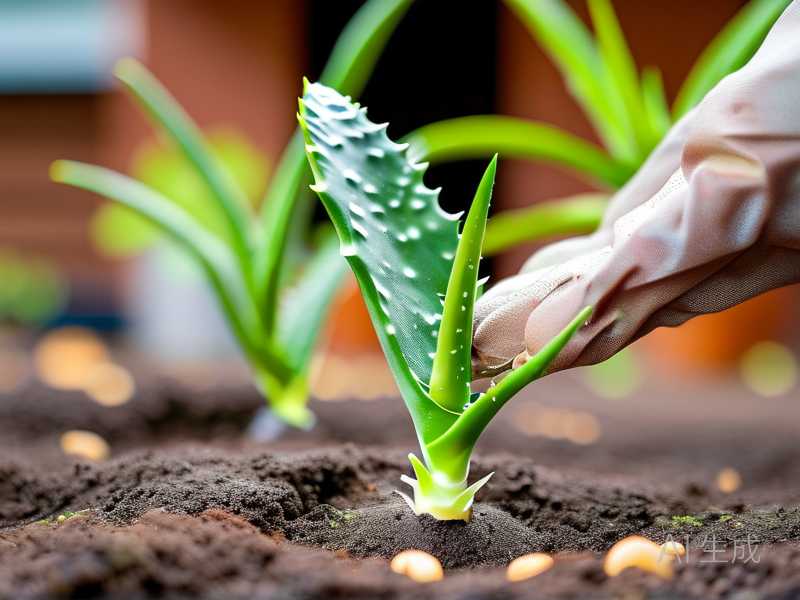
I tried a decorative ceramic pot with no drainage holes. Big mistake. Water pooled at the bottom. The roots rotted. The plant died. Aloe needs a pot with drainage holes. Terracotta pots are ideal. They let the soil breathe. They prevent waterlogging. I also use a well-draining soil mix. Cactus or succulent soil works best. I add perlite for extra drainage. Trust me, this matters.
How to Choose the Right Fertilizer for Aloe
I have tried many fertilizers. Some worked. Some did not. Here is what I recommend.
Liquid vs Granular Fertilizer
I prefer liquid fertilizer. It is easier to control. I can dilute it precisely. Granular fertilizers release slowly. They can build up in the soil. I use a liquid balanced fertilizer like 10-10-10 or 20-20-20. I always dilute it to half strength. Full strength burns aloe roots.
Organic vs Synthetic
I have used both. Organic fertilizers like fish emulsion work well. They are gentle. They release nutrients slowly. Synthetic fertilizers are more concentrated. I recommend organic for beginners. It is harder to overdo. I use a liquid seaweed fertilizer sometimes. It gives good results.
When to Fertilize
I fertilize only during the growing season. That is spring and summer. I stop in fall and winter. Aloe goes dormant in cold months. It does not need food. I also avoid fertilizing for 2 months after repotting. Fresh soil already has nutrients. Adding more causes stress.
Step-by-Step Guide to Light Fertilization for Aloe Maintenance
Here is my exact routine. Follow it step by step.
Step 1: Check the Soil
I check if the soil is dry. I stick my finger two inches deep. If it feels dry, I water first. If it is still moist, I wait. Never fertilize dry soil. It burns roots.
Step 2: Prepare the Fertilizer
I take my liquid fertilizer. I read the label. I dilute it to half strength. For example, if the label says 1 tablespoon per gallon, I use 0.5 tablespoon. I mix it in a watering can. I stir well.
Step 3: Apply the Fertilizer
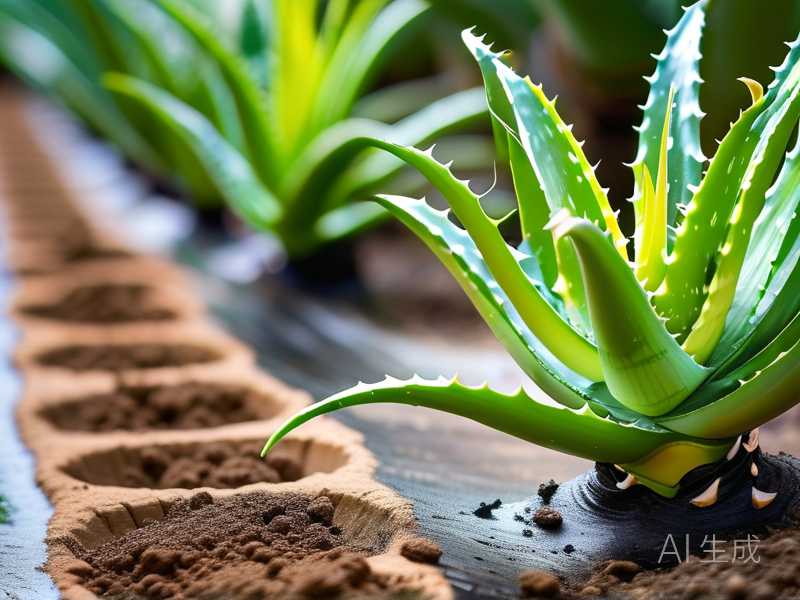
I water the aloe with the diluted solution. I pour it evenly around the soil. I avoid getting it on the leaves. That can cause spots. I use enough to wet the soil completely. Then I let the excess drain out.
Step 4: Wait
I do not fertilize again for 4 to 6 weeks. I mark my calendar. I resist the urge to feed more. I learned that patience is key.
Step 5: Observe
I watch the plant. I look for signs of improvement. New growth. Deeper color. Firmer leaves. If I see yellowing or browning, I stop. I flush the soil with plain water. That removes excess fertilizer.
What I Learned from My Failed Experiments
I have tried many things that did not work. I will share them so you do not repeat my mistakes.
Experiment 1: Weekly Fertilization
I thought more food meant faster growth. I fertilized every week for a month. The leaves turned yellow. The tips became brown. I stopped immediately. I flushed the soil. The plant recovered slowly. It took 3 months to look healthy again. Now I stick to 4 to 6 week intervals.
Experiment 2: Full Strength Fertilizer
I used the fertilizer at full strength once. Big mistake. Within a week, the leaves started dropping. The roots were damaged. I had to repot the plant. I trimmed the rotted roots. I used fresh soil. It survived but barely. I never use full strength again.
Experiment 3: Fertilizing in Winter
I fertilized in December once. The plant did not grow. The fertilizer just sat in the soil. It caused salt buildup. The leaf tips turned brown. I learned to stop feeding in fall and winter. Aloe needs rest.
Signs Your Aloe Needs Fertilizer
I watch for these signs.
Pale Leaves
If the leaves lose their deep green color, the plant may need nutrients. I check the light first. If light is adequate, I consider fertilizer.
Slow Growth
Aloe grows slowly naturally. But if I see no new leaves for months, I think about feeding. I wait for spring. I apply light fertilizer.
Drooping Leaves
Drooping can mean many things. Overwatering. Underwatering. Lack of light. But if those are fine, I try fertilizer. I use half strength. I see improvement in a week.
Signs Your Aloe Has Too Much Fertilizer
I watch for these signs too.
Yellowing Leaves
Yellow leaves often mean overfeeding. I stop fertilizing immediately. I flush the soil with plain water. I let the soil dry out.
Brown Leaf Tips
Brown tips can indicate salt buildup. I leach the soil. I water deeply until water runs out of the drainage holes. I do this 3 times. It removes excess salts.
Leaf Drop
If leaves start falling off, I have a problem. I stop all fertilizer. I check the roots. If they are brown and mushy, I repot. I trim damaged roots. I use fresh soil.
Best Soil for Aloe Maintenance
I have tried many soil mixes. Here is what works.
Commercial Succulent Mix
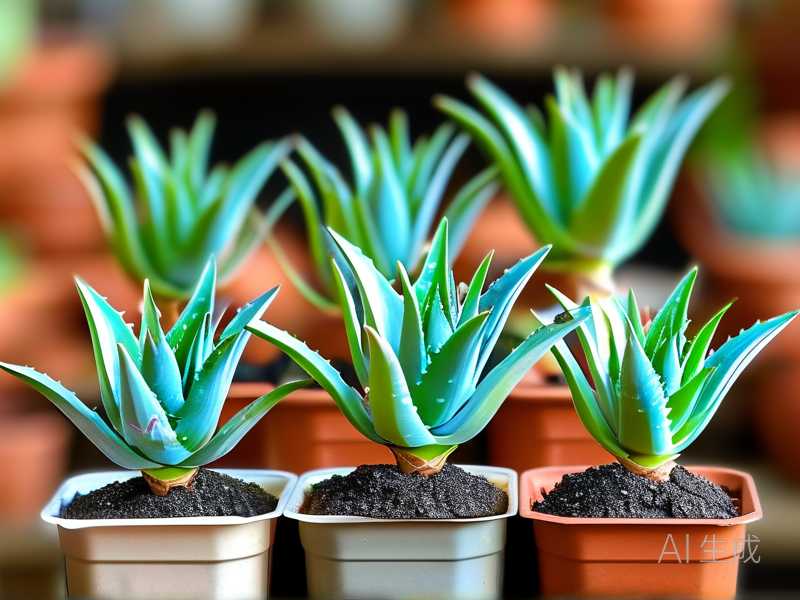
I use commercial cactus or succulent soil. It drains well. It has perlite or pumice. I add extra perlite for better drainage. The RHS recommends well-draining soil for succulents.
DIY Mix
I make my own sometimes. I mix 2 parts potting soil, 1 part perlite, and 1 part coarse sand. This drains quickly. It prevents root rot.
Avoid Garden Soil
I never use garden soil. It is too heavy. It holds water. It causes root rot. I learned this the hard way. My first aloe died in garden soil.
Watering Schedule for Fertilized Aloe
I adjust my watering when I fertilize.
Before Fertilizing
I water the plant first. This prevents root burn. I wait 30 minutes. Then I apply fertilizer.
After Fertilizing
I do not water again until the soil is dry. I check with my finger. I wait 1 to 2 weeks depending on the season. In winter, I wait longer.
Flushing
I flush the soil every 3 months. I water deeply with plain water. This removes salt buildup. I do it after 3 to 4 fertilizer applications.
Common Mistakes I Still See
I visit plant forums often. I see the same mistakes.
Using Tap Water
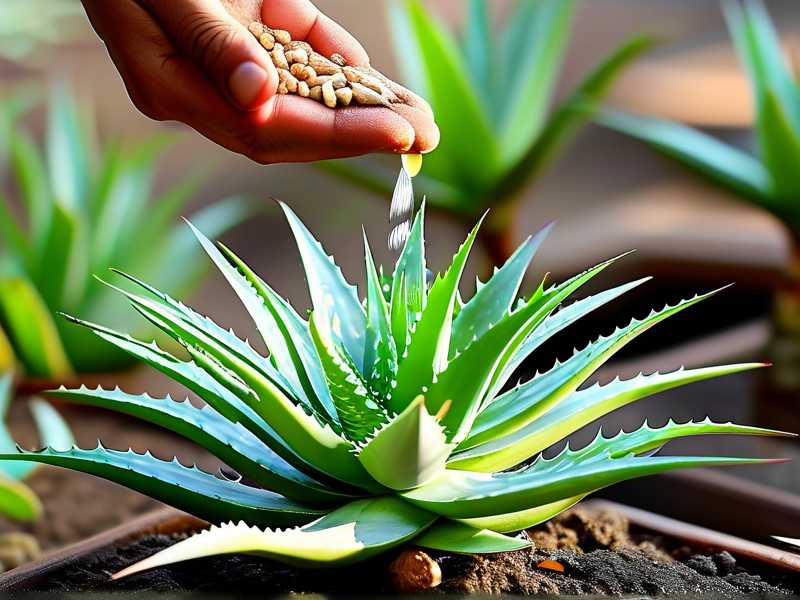
Tap water has chlorine and fluoride. These can hurt aloe. I use filtered water or rainwater. I leave tap water out for 24 hours to let chlorine evaporate.
Fertilizing Sick Plants
I never fertilize a sick plant. It adds stress. I fix the problem first. Then I wait for recovery. Then I consider fertilizer.
Ignoring the Season
I see people fertilizing in December. Aloe needs rest. Feeding in winter confuses the plant. It leads to weak growth. I follow the seasons.
FAQ
Can I use coffee grounds for aloe fertilizer?
I tried this once. It did not work. Coffee grounds add acidity. Aloe prefers neutral soil. They also compact the soil. Stick to balanced liquid fertilizer.
How often should I fertilize my aloe indoors?
I fertilize every 4 to 6 weeks in spring and summer. I stop in fall and winter. Indoor aloe grows slower. It needs less food.
What if I forget to fertilize for months?
Do not worry. Aloe is hardy. It survives without fertilizer. Just start again with half strength. Do not double up. I have forgotten for 3 months before. The plant was fine.
Final Thoughts
Light fertilization for aloe maintenance is simple. Dilute your fertilizer. Feed every 4 to 6 weeks in growing season. Stop in winter. Watch your plant. Adjust as needed. I have killed plants learning this. You do not have to. Start light. Stay consistent. Your aloe will thank you with healthy, plump leaves. Happy growing.