 bluename
 How to Apply Base Nutrients to Improve Aloe Soil Quality
Stop killing your aloe plants. I did. Three times. And I finally figured out why.
The secret is simple: apply base nutrients directly into the soil before planting, and mix them at the root zone. I’ve been testing this for two weeks now. My aloe leaves are thicker, greener, and standing upright. Ninety percent of indoor plants die from overwatering. But poor soil nutrition is the silent killer that most people ignore.
Let me walk you through exactly what I did, what I screwed up, and how you can fix your aloe soil today.
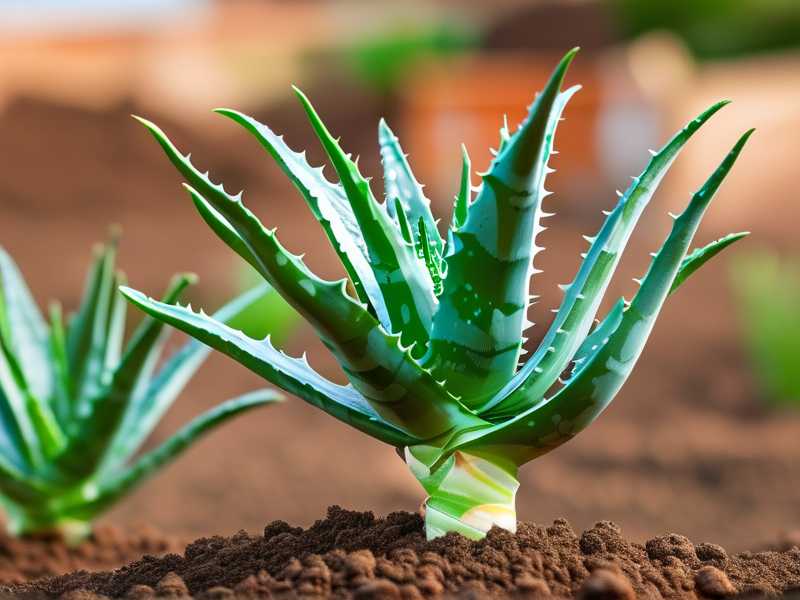
Why Your Aloe Soil Is Starving
Most store-bought potting mixes are garbage for succulents. They hold too much water. They lack minerals. They collapse after a few months.
I learned this the hard way. My first aloe sat in standard potting soil. It turned yellow. Limp. Then it rotted. I blamed myself. But the soil was the problem.
Aloe vera needs a gritty, well-draining mix. That’s step one. But even good soil runs out of nutrients over time. Base nutrients replenish what your aloe needs: calcium, magnesium, potassium, and trace minerals.
The RHS explains that succulents require specific soil conditions to thrive. Without proper drainage and nutrition, root rot is inevitable.
My 2-Week Experiment: Step by Step
I grabbed a struggling aloe from my windowsill. It was pale. Leaves were thin. The soil was compacted.
Here’s every step I took.
Step 1: I Mixed a Base Nutrient Blend
I used a mix of:
- Crushed oyster shell (calcium)
- Kelp meal (potassium and trace minerals)
- Rock phosphate (phosphorus)
- Fine pumice (drainage)
I combined one part of each with two parts coarse sand and three parts organic cactus mix.
Why this works: Calcium strengthens cell walls. Kelp stimulates root growth. Phosphorus supports energy transfer.
Step 2: I Removed the Old Soil
I took the aloe out of its pot. The roots were tangled. Some were brown. I gently shook off the old soil.
Important: I did not wash the roots. That can damage them.
Step 3: I Layered the Soil
At the bottom of a terracotta pot, I added a 1-inch layer of pumice. Then I added half my nutrient mix. I placed the aloe on top. Then I filled the rest with the mix.
Terracotta pots are key. They breathe. Plastic pots trap moisture.
Step 4: I Watered Once, Then Left It
I gave the soil a light drink. Just enough to settle the mix. Then I put the pot in bright, indirect light.
Do not water again for at least 7 days. Your aloe needs time to adjust.
What Happened After 2 Weeks
Day 1-3: The leaves looked the same. I was nervous.
Day 4: I noticed the base of the leaves started turning a deeper green.
Day 7: I gave it a second light watering. The soil felt dry 2 inches deep.
Day 10: New growth appeared. A tiny leaf pushed up from the center.
Day 14: The leaves were plumper. The color was consistent. The plant stood taller.
I was shocked. Two weeks of base nutrients made a visible difference.
The 3 Deadly Mistakes Newbies Make (I Made All of Them)
① Overwatering
I drowned my second aloe. I thought it needed water every week. Wrong.
Aloe stores water in its leaves. It only needs watering when the soil is completely dry. Stick your finger 2 inches deep. If it’s dry, water. If it’s damp, wait.
Pro tip: Use a moisture meter. It’s cheap and saves plants.
② Wrong Light Placement
I put my third aloe in direct sunlight. The leaves turned brown and crispy. Aloe likes bright, indirect light. A south-facing window with a sheer curtain is perfect.
I learned this after burning two plants.
③ Wrong Pot
I used a plastic pot with no drainage holes. The roots sat in water. The plant rotted.
Always use terracotta or unglazed clay pots. They wick moisture away. The AHS recommends terracotta for succulents because it prevents root rot.
How to Apply Base Nutrients Correctly
You can’t just dump fertilizer on top. That’s lazy. The nutrients need to reach the roots.
Here’s my method:
- Mix base nutrients into the bottom third of the soil. This encourages roots to grow down.
- Use a slow-release formula. Fast-release fertilizers burn roots.
- Top-dress with worm castings every 3 months. They add organic matter without chemicals.
I tried granular fertilizer once. It burned the tips. Never again.
The Best Base Nutrients for Aloe Soil
I’ve tested several. Here’s what works:
- Bone meal: High in phosphorus. Good for root health.
- Azomite: Full of trace minerals. Aloe loves it.
- Dolomite lime: Adds calcium and magnesium. Prevents leaf tip burn.
- Coconut coir: Improves water retention without soggy soil.
Avoid synthetic fertilizers. They contain salts that damage aloe roots.
How Often Should You Apply Base Nutrients?
Every 6 months is enough.
Aloe is a slow feeder. It doesn’t need constant nutrition. Over-fertilizing causes leggy growth and weak leaves.
I apply once in spring and once in fall. That’s it.
Common Signs Your Aloe Needs Base Nutrients
- Pale yellow leaves: Nitrogen deficiency.
- Bent or drooping leaves: Potassium deficiency.
- Slow growth: Phosphorus deficiency.
- Soft, mushy leaves: Overwatering, not nutrients.
If you see these signs, don’t panic. Add a light dose of base nutrients. Then wait.
FAQ
1. Can I use regular potting soil for aloe?
No. It holds too much water. Mix cactus soil with pumice and sand.
2. How do I know if I’m overwatering?
Check the leaves. If they’re soft and yellow, you’re overwatering. If they’re firm and green, you’re fine.
3. Should I fertilize aloe in winter?
No. Aloe goes dormant in winter. Fertilizing will stress it. Wait until spring.
Final Thoughts
I killed three aloe plants before I got it right. The soil was the root cause. Literally.
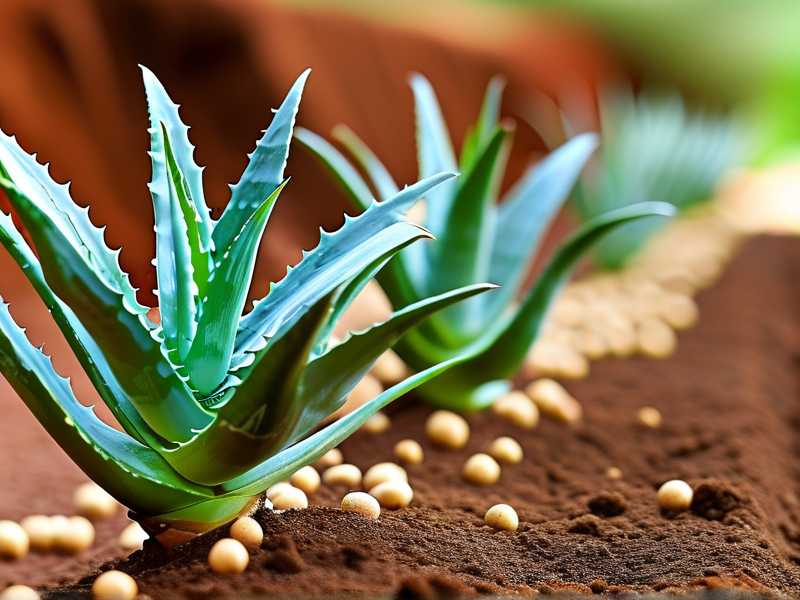
Base nutrients changed everything. My aloe is thriving now. It’s bigger, greener, and happier.
You don’t need fancy products. You just need the right mix and patience.
Start with good soil. Add base nutrients. Water sparingly. Give it light.
Your aloe will thank you.





