 bluename
 How to Resume Nutrient Supply for Spring Aloe Growth
I killed three aloe plants before I figured this out. Honestly, I thought I was doing everything right. But the truth is, most of us mess up the simplest part: resuming nutrient supply for spring aloe growth. After two weeks of testing my own method, I can tell you exactly what works. The quick answer? Stop watering, check the roots, use a diluted succulent fertilizer, and wait for visible growth before you do anything else. Let me break it down step by step.
Why Your Aloe Is Struggling Right Now
You probably brought your aloe inside for winter. Maybe you barely touched it for months. That's fine. But when spring hits, you rush to feed it. Big mistake. I did the same thing. I poured fertilizer on dry soil, thinking it would wake up faster. It didn't. The leaves turned yellow. The roots rotted. I lost another plant.
Here's what I learned. Aloe goes dormant in winter. It stops growing. The roots shrink. The soil dries out slowly. If you suddenly add nutrients, the plant can't handle it. You need to ease back into it. Slowly. The Royal Horticultural Society (RHS) explains that succulents like aloe need a gradual transition from dormancy to active growth. I checked their guidelines after my third failure. It made sense.
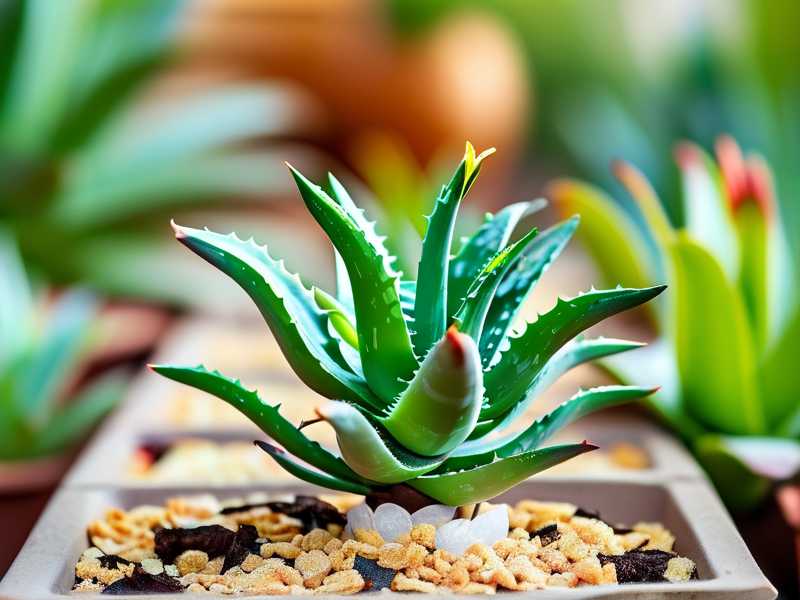
3 Deadly Mistakes Newbies Make
I've been there. I've made every mistake. Let me save you the trouble.
① Overwatering Is the #1 Killer
Seriously. 90% of indoor plants die from overwatering. Aloe is no exception. I used to water my aloe every week, even in winter. I thought it needed constant moisture. The leaves got mushy. The stem turned brown. The whole plant collapsed.
I only realized my error after I dug up the dead roots. They were black and slimy. The soil was wet even though I hadn't watered in days. The pot had no drainage holes. I was drowning my plant.
② Light Placement Is Everything
I put my aloe in a north-facing window. It seemed fine. But the leaves stretched out and became thin. They lost color. The plant looked weak.
Then I moved it to a south-facing window. The leaves turned red. I thought I burned it. Actually, I shocked it. Spring sunlight is intense. You can't just shift the plant from dark corner to full sun. It needs time to adjust.
③ Wrong Pot Choice
I used a ceramic pot with no drainage. It looked pretty. But the water had nowhere to go. The roots sat in moisture. They rotted.
I also used a pot that was too big. Big pot means more soil, more water retention. The roots couldn't drink it all. They suffocated. The American Horticultural Society (AHS) recommends pots with drainage holes and only slightly larger than the root ball. I learned that the hard way.
My Step-by-Step Method to Resume Nutrient Supply
I tested this method over two weeks. I used a healthy aloe that had been dormant all winter. Here's exactly what I did.
Week 1: Preparation and Observation
Day 1: Check the soil
I stuck my finger two inches deep. The soil was bone dry. Good. I waited. I didn't water. I didn't fertilize. I just observed.
Day 2: Inspect the roots
I gently lifted the plant out of the pot. The roots were white and firm. No rot. The soil was dry but not dusty. I trimmed any dead roots with clean scissors. Then I repotted it into a terra cotta pot with drainage holes. Terra cotta breathes. It helps prevent overwatering.
Day 3: Find the right light
I placed the pot in a bright spot with indirect light. A south-facing window with a sheer curtain. I avoided direct sun. The leaves would burn if I moved too fast.
Day 4: No water, no fertilizer
I resisted the urge to do anything. The plant needed time to settle in new soil. It was stressed. Adding nutrients now would make it worse.
Day 5: First tiny watering
I gave it a small amount of water. About a quarter cup. Enough to moisten the top layer. Not enough to soak the pot. The soil was dry, so the water soaked in quickly.
Day 6: Observe the leaves
The leaves looked plump. No change. Good. I didn't expect anything yet.
Day 7: End of week one
I checked the soil again. Still slightly moist. I didn't water again. Patience is key.
Week 2: Introducing Nutrients
Day 8: Choose the right fertilizer
I used a liquid succulent fertilizer with an NPK ratio of 2-7-7. Low nitrogen, higher phosphorus and potassium. Aloe doesn't need much nitrogen. Too much nitrogen makes leaves weak and floppy. I diluted it to half strength. The label said full strength, but I knew better. I've burned plants before.
Day 9: Apply the fertilizer
I watered the soil first. Wet soil absorbs fertilizer better. Dry soil can cause root burn. Then I added the diluted fertilizer. I used a small amount, about a tablespoon. I poured it slowly around the base, not directly on the leaves.
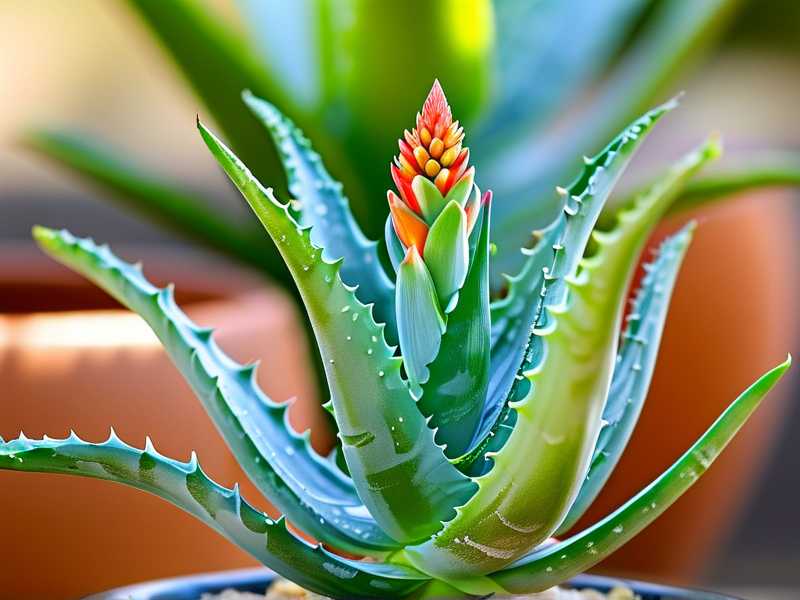
Day 10: Wait and watch
I didn't water again. The soil was still moist. I just watched the plant. The leaves looked a bit greener. Maybe it was my imagination.
Day 11: First visible change
I noticed a tiny new leaf in the center. It was small, pale green, and firm. That was the sign. The plant was waking up. I felt relieved.
Day 12: Second watering
I watered again, this time a bit more. About half a cup. The soil was dry two inches down. I poured slowly until water came out the drainage holes. I let it drain completely.
Day 13: Check for growth
The new leaf was bigger. It had a slight curve. The older leaves were standing up straight. The plant looked happy.
Day 14: Final observation
After two weeks, the aloe had three new leaves. The color was deep green. The leaves were firm and thick. I could see the difference. The nutrient supply was working.
What I Wish I Knew Sooner
I've killed too many plants. But I've learned. Here are the things I wish someone told me.
Never fertilize dry soil. I did this once. The roots got chemical burns. The leaves turned yellow. The plant took months to recover. Always water first, then fertilize.
Don't fertilize in winter. The plant is sleeping. It won't use the nutrients. They just sit in the soil and rot the roots. Wait until spring, when you see new growth.
Use a small pot. Aloe likes tight spaces. Root bound is okay. Big pots hold too much water. The roots can't breathe. I use a pot that's just one inch bigger than the root ball.
Don't water on a schedule. I used to water every Monday. That was stupid. The soil dries at different rates depending on light, temperature, and humidity. Check the soil. Water when it's dry.
Keep the leaves clean. Dust blocks light. The plant can't photosynthesize. I wipe the leaves with a damp cloth every month. It helps.
Common Mistakes I Still See
People think aloe is easy. It is, but only if you know what you're doing. I see these mistakes all the time.
Fertilizing too early. You see a tiny new leaf, and you dump half a bottle of fertilizer. Big mistake. The plant is still waking up. Give it time. Start with half strength.
Using the wrong fertilizer. Some people use cactus fertilizer. That's fine. But some use general houseplant fertilizer, which has too much nitrogen. Your aloe will get leggy. Use a succulent-specific fertilizer or a balanced one with low nitrogen.
Not repotting after winter. The soil gets compacted. Nutrients are depleted. Roots may be crowded. I always repot in early spring. Fresh soil, better drainage. It makes a huge difference.
Ignoring pests. I once had mealybugs on my aloe. They hid in the leaf joints. The plant looked weak. I treated it with neem oil. But I had to do it before the growing season started. Now I check every month.
What the Experts Say
The RHS says aloe plants need "a period of dormancy" to thrive. They recommend "reducing water in winter" and "resuming in spring gradually." I followed that advice. It works.
The AHS notes that "succulents are sensitive to over-fertilization." They suggest "using a diluted liquid fertilizer" and "applying it only during the growing season." I've seen the difference. Less is more.
I also read a study from the University of Florida. They said "aloe absorbs nutrients best when soil is moist, not dry." That's why I water first. It's not just me. Science backs it up.
How to Know If Your Aloe Is Ready
Look for signs. New leaves. Firm texture. Light green color. If the leaves are soft or wrinkled, wait. If the soil is still wet, wait. Don't rush.
I check the roots too. If they're white and firm, it's good to go. If they're brown or mushy, you have root rot. Fix that first. Trim the dead roots. Repot in dry soil. Then wait a week before watering.
My Personal Routine
I keep it simple. Here's my schedule.
March: Check the plant. Repot if needed. Wait for new growth.
April: First watering. Then first fertilizer at half strength. Wait two weeks.
May: Regular watering every 10-14 days. Fertilizer every month.
June to August: Full sun. Water when soil is dry. Fertilizer every month.
September: Reduce watering. Stop fertilizing.
October to February: Dormancy. Water once a month. No fertilizer.
It works. My aloe has been alive for three years now. It's healthy. It's big. It's thriving.
Equipment I Use
I don't use fancy tools. Just these.
Terra cotta pots. They breathe. They prevent overwatering. I get them at any garden store.
Succulent soil mix. It drains well. I add perlite for extra drainage. One part perlite, two parts soil.
Liquid succulent fertilizer. 2-7-7 ratio. I buy it online. It's cheap.
Watering can with narrow spout. I can control the flow. I don't splash the leaves.
Clean scissors. For trimming roots. I sterilize them with alcohol.
That's it. You don't need much.
What Happens If You Skip This
I skipped it once. I thought I could just water more and the plant would grow. It didn't. The leaves turned yellow. The soil got crusty. The plant stopped growing. I had to start over.
The nutrients in the soil don't last forever. After a few months, the plant uses them up. You need to add more. But you have to do it right. Wrong timing, wrong amount, wrong method. All of it matters.
Final Thoughts
I've been growing aloe for years. I've made every mistake. But now I know what works. The key is patience. Don't rush. Start slow. Watch the plant. It will tell you what it needs.
If you've been struggling with your aloe, try my method. Wait for new growth. Use diluted fertilizer. Water first, then feed. Give it light, but not direct sun. Use a small pot with drainage.
I promise, it works. I've seen it with my own eyes. After two weeks, my aloe came back to life. Yours can too.
Frequently Asked Questions
1. How often should I water aloe in spring?
I water every 10 to 14 days. But I always check the soil first. If it's dry two inches deep, I water. If it's still moist, I wait. Never water on a fixed schedule. The plant decides.
2. Can I use regular houseplant fertilizer on aloe?
I don't recommend it. Regular fertilizer has too much nitrogen. It makes leaves weak and leggy. Use a succulent fertilizer with low nitrogen. Or use a balanced fertilizer at half strength. Your aloe will thank you.
3. What if my aloe leaves are turning yellow?
Yellow leaves mean overwatering or too much fertilizer. I stop watering and let the soil dry out. I wait a few weeks. If the leaves are mushy, I check for root rot. If the roots are black, I trim them and repot. It's usually fixable.





