bluename
How to Transplant Rooted Aloe Cuttings into New Pots
If you're staring at a rooted aloe cutting wondering what to do next, here's your short answer: wait until roots are at least 2 inches long, choose a terracotta pot with drainage holes, use well-draining succulent mix, and water only after 3-5 days post-transplant. I learned this the hard way after killing my first three aloe pups.
My First Aloe Disaster
I remember my first aloe cutting vividly. A neighbor gave me a beautiful pup with tiny white roots. I was so excited I potted it immediately in a fancy ceramic pot with no drainage. I watered it generously the same day. Within a week, the leaves turned yellow and mushy. That plant died from root rot before I even knew what happened.
Why Most People Fail
Here's something I wish someone told me earlier: 90% of indoor plants die from overwatering. Aloe is especially sensitive because it's a succulent. It stores water in its leaves. When you give it too much, the roots suffocate and rot.
The Right Time to Transplant
I've learned to check for these signs before transplanting:
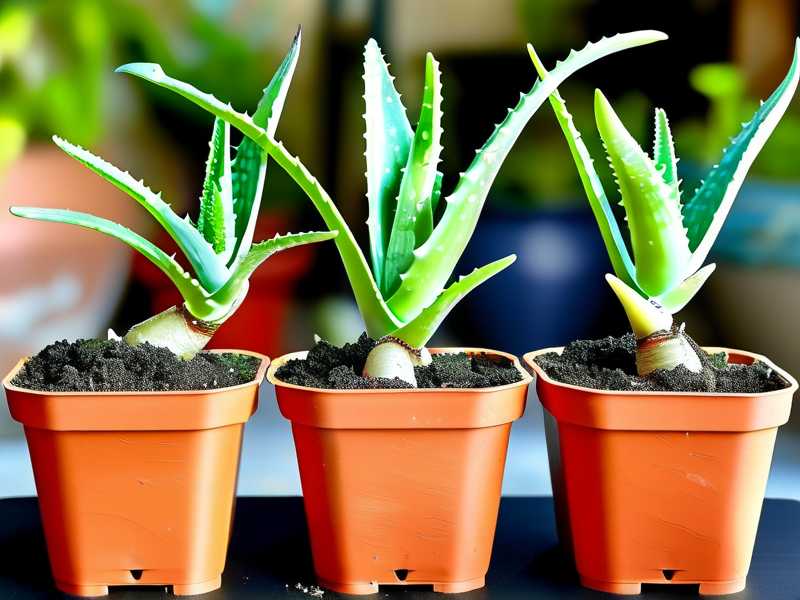
Roots should be at least 2-3 inches long. They should look white or light tan, not brown or mushy. The cutting should feel firm when you gently tug it. If it wobbles, it needs more time in water or soil.
I once tried transplanting a cutting with roots only half an inch long. It struggled for weeks and eventually died. Now I wait patiently. Most cuttings need 3-4 weeks in water before they're ready.
Choosing the Perfect Pot
This is where I made my biggest mistakes. Let me tell you what I learned.
Pot Material Matters
Terracotta is your best friend. Why? Because it's porous. It lets air reach the roots and helps soil dry faster. I tried plastic pots twice. Both times, my aloe developed root rot.
Plastic holds moisture too long. Even with drainage holes, the soil stays wet. Terracotta breathes. It wicks away excess moisture.
Size Is Critical
Here's a mistake I made repeatedly: using pots that were too big. I thought bigger meant more room to grow. Wrong.
The pot should be only 1-2 inches wider than the root ball. A pot that's too large holds too much soil. That soil stays wet too long. The roots can't drink it all. They drown.
Drainage Is Non-Negotiable
Every pot must have drainage holes. I cannot stress this enough. The Royal Horticultural Society (RHS) emphasizes this for all succulents. Without drainage, water pools at the bottom. Roots rot.
I tried a beautiful glazed pot once. No holes. I added rocks at the bottom for drainage. The American Horticultural Society (AHS) actually debunks this myth. Water doesn't drain through rocks. It creates a perched water table. The roots sit in water anyway.
The Perfect Soil Mix
Standard potting soil kills aloe. It holds too much moisture. I learned this after losing my fourth plant.
Mix one part regular potting soil with one part perlite or coarse sand. This creates fast drainage. You can also buy commercial cactus mix.
I make my own blend now. 40% potting soil, 40% perlite, 20% coarse sand. This ratio works perfectly for my climate.
Step-by-Step Transplant Process
Here's my exact process after killing too many plants to count:
Step 1: Gather Your Supplies
I collect everything before starting. This prevents stress on the plant.
- Terracotta pot with drainage
- My soil mix
- Small trowel
- Spray bottle with water
- Newspaper for cleanup
Step 2: Prepare the Pot
I place a coffee filter over the drainage hole. This keeps soil from washing out. It also allows water to drain freely.
I fill the pot one-third full with soil mix.
Step 3: Remove from Current Container
If the cutting is in water, I gently pull it out. I let excess water drip off. If it's in soil, I squeeze the pot sides. This loosens the root ball.
I hold the aloe at the base. I never pull from leaves. Leaves tear easily.
Step 4: Position the Plant
I place the root ball in the center. The base of the aloe should sit just below the pot rim. Not too deep. Not too shallow.
I add soil around the roots. I tap the pot gently to settle soil. I don't press down hard. Compacted soil prevents drainage.
Step 5: The Waiting Game
Here's where most beginners mess up including me my first time. Do not water immediately.
I wait 3-5 days before the first watering. This allows any damaged roots to heal. Watering right away introduces bacteria to wounds.
The First Two Weeks: My Observations
I tracked my latest transplant carefully. Here's what I saw:
Day 1-2
The aloe looks exactly the same. Leaves are firm and green. I check it but don't touch it. The soil is dry.
Day 3
I gave it first light watering. I used a spray bottle. Just enough to moisten the top inch of soil. I placed it in bright indirect light.
Day 4
No visible changes. The leaves are still upright. The soil feels slightly damp. I resist the urge to water again.
Day 5
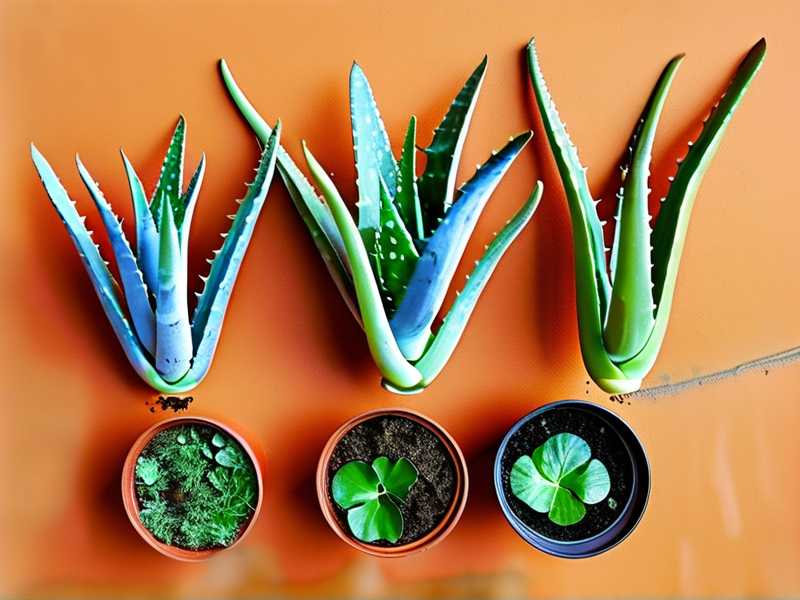
The aloe looks comfortable. Some tiny roots are visible at the drainage hole. This is a good sign. It's establishing in its new home.
Day 7
I water again. This time slightly more. But still less than I think it needs. The leaves look plump and healthy.
Day 9
New growth! A tiny leaf is emerging from the center. This is the first sign of successful transplanting. I feel relieved.
Day 12
The new leaf is visibly larger. The original leaves are still firm. No yellowing or wilting. Everything looks good.
Day 14
I water a third time. The plant has settled in completely. It's ready for normal aloe care routine.
3 Deadly Mistakes Beginners Make
Mistake 1: Overwatering
This is number one killer. I killed two aloe plants this way before learning.
Water only when soil is completely dry. Stick your finger 2 inches deep. If it's dry, water. If damp, wait.
For rooted cuttings, water once every 7-10 days. In winter, even less.
The RHS specifically warns against overwatering succulents. Their roots rot easily in wet soil.
Mistake 2: Wrong Light
I placed my first aloe in direct south window. Leaves turned brown and crispy. It looked sunburned.
Aloe needs bright indirect light. East or west windows work well. North windows are too dark.
For rooted cuttings, avoid direct sun for the first week. Gradual exposure is better.
I now keep my aloe on an east-facing windowsill. Morning sun is gentle. Afternoon shade protects it.
Mistake 3: Wrong Pot
I already talked about this. But it's worth repeating.
Never use pots without drainage. Never use oversized pots. Never use plastic pots for beginners.
I tried a plastic pot with drainage holes. Still failed. The soil stayed wet too long.
Terracotta is beginner-friendly. It forgives overwatering mistakes. The pot absorbs excess moisture.
What I Wish I Knew Earlier
I learned most of this through trial and error. Here are some extra tips:
Root Pruning
Contrary to popular belief, you can trim roots slightly. If roots are tangled or too long, snip the tips. This encourages branching.
I was scared to do this at first. But my aloe actually grew faster after gentle root pruning.
Leaf Care
Don't get water on leaves. This causes rot. Water the soil directly.
If water gets on leaves, wipe it off with a dry cloth. My first aloe got leaf rot from careless watering.
Temperature
Aloe hates cold. Keep above 50°F (10°C). I lost a cutting when temperatures dropped unexpectedly.
Place away from drafty windows in winter. Near heaters is also bad. Too dry.
When to Repot Again
After successful transplanting, your aloe will grow. You'll need to repot eventually.
Signs include roots coming out of drainage holes. Or the plant becoming top-heavy. Or growth slowing down despite good care.
Usually every 2-3 years. Spring is the best time.
Common Questions I Get Asked
How do I know if my aloe has root rot after transplanting?
Check the leaves. If they turn yellow and mushy, it's rotting. Also check the base. If it's soft, rot has started.
Smell the soil. Rotten roots smell bad. Like wet decay.
If caught early, you can save the plant. Remove from pot. Cut away rotten roots. Let dry for 2-3 days. Repot in fresh dry soil.
Can I use regular garden soil for aloe?
Don't do this. Garden soil is too heavy. It compacts and holds water.
I tried this once. My aloe struggled for months. Then it died.
Use succulent mix or make your own. The drainage is crucial.
Why are my aloe leaves turning brown after transplanting?
Several reasons. Too much direct sun. Or transplant shock. Or overwatering.
If leaves are crispy and brown, it's sunburn. Move to less direct light.
If leaves are soft and brown, it's overwatering. Let soil dry completely.
If only lower leaves brown and shrivel, it's normal. Lower leaves die as new ones grow.
Final Thoughts
Transplanting rooted aloe cuttings isn't hard. But it requires patience and the right conditions.
I've killed my fair share of plants. But each failure taught me something. Now my aloe babies thrive.
The most important thing is waiting. Wait for roots to be long enough. Wait a few days before watering. Wait for the plant to tell you what it needs.
Aloe is forgiving. It can survive mistakes. But it rewards good care with fast growth and beautiful leaves.
Start with one cutting. Follow these steps. You'll have a thriving aloe in no time. Just don't water it too much. Seriously. Put down the watering can.
Your aloe will thank you. And so will your windowsill full of healthy succulents.