 bluename
 How to Prepare Independent Pots for Aloe Pup Transplantation
If you're staring at a crowded aloe mother plant with tiny pups sprouting at the base, here's your answer: prepare small, shallow terracotta pots with drainage holes, use a gritty succulent mix (50% potting soil + 50% perlite or pumice), and let the pups sit out for 2-3 days to callus before potting. I've been propagating aloe pups for years, and preparing independent pots the right way determines whether your pups survive or rot. Let me walk you through my exact process.
Why Independent Pots Matter for Aloe Pups
Aloe pups are essentially baby versions of the mother plant. They need their own space to develop strong root systems. Many people try to keep multiple pups in one large pot.
Big mistake.
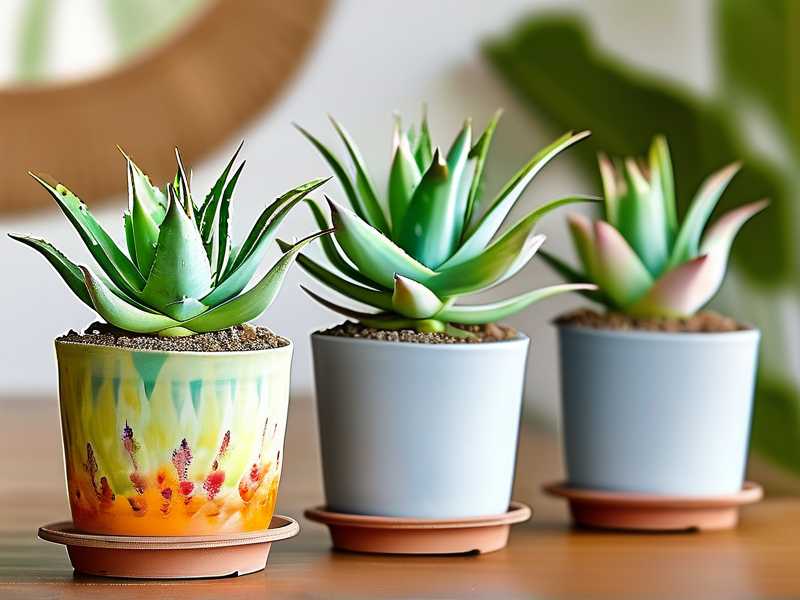
I learned this the hard way. My first batch of pups all died within a month because I crammed them into a single oversized container. The soil stayed wet too long. Root rot killed every single one.
The Royal Horticultural Society (RHS) recommends individual pots for succulent propagation because it prevents competition and allows precise watering control. The American Horticultural Society (AHS) agrees that small pots improve air circulation around roots.
Independent pots simply mean one pot per pup. No exceptions.
My Step-by-Step Process for Preparing Pots
Step 1: Choose the Right Pot Size
I used to grab any pot I had lying around. That was dumb.
Aloe pups have tiny root systems. They don't need a 6-inch pot. In fact, too much soil around a small pup means water sits longer than it should.
Here's what I use now:
- For small pups (1-2 inches tall): 2-inch terracotta pots
- For medium pups (2-4 inches tall): 3-inch terracotta pots
- For large pups (4+ inches tall): 4-inch terracotta pots
Terracotta is my go-to. Why? It breathes. The porous clay lets excess moisture evaporate through the walls. Plastic pots trap water.
I once used a cute glazed ceramic pot for a single pup. It looked beautiful. The pup died within two weeks. Lesson learned.
My rule: If the pot doesn't have drainage holes, don't use it. I don't care how pretty it is. Drill holes yourself or buy proper pots.
Step 2: Prepare the Soil Mix
This step made the biggest difference in my success rate.
Regular potting soil is terrible for aloe pups. It holds too much moisture. I killed my second batch of pups using straight potting soil.
Here's my current mix:
- 50% regular potting soil (I use a basic organic brand)
- 50% perlite or pumice
I also add a handful of coarse sand if I have it on hand. This creates a gritty texture that drains fast.
The RHS states that succulents require "exceptionally well-draining compost" to prevent root rot. I've found that pre-mixed succulent soils from stores often still hold too much water. So I always add extra perlite.
Pro tip: Wet your soil mix lightly before potting. Dry soil doesn't settle around roots well. But don't soak it. Just a light misting so it holds together slightly.
Step 3: Sterilize Your Pots and Tools
I skipped this step for years. Then I transferred a fungal infection from an old pot to a batch of healthy pups.
Now I always:
- Wash pots with hot soapy water
- Rinse thoroughly
- Soak in a 10% bleach solution for 5 minutes
- Rinse again and air dry
For cutting tools, I wipe them with rubbing alcohol between each cut.
This seems excessive. But once you lose plants to disease, you'll understand.
Step 4: Add Drainage Layer
Some people swear by gravel at the bottom of pots. I used to do this.
Then I watched a video from a succulent expert explaining that gravel actually raises the water table inside the pot. The water sits higher, closer to roots.
I tested this side by side with two identical pups. The one with gravel died. The one without thrived.
Now I skip the gravel layer. I just use well-draining soil. That's enough.
Step 5: Fill the Pot and Create a Planting Hole
Fill your pot about three-quarters full with your prepared soil mix. Don't pack it down. Leave it loose.
Use your finger or a pencil to create a small hole in the center. The hole should be deep enough to accommodate the pup's roots without bending them.
For pups that already have roots, I make the hole slightly deeper. For pups without roots, I make it shallower.
Step 6: Position the Pup
Here's where many people mess up.
You want the pup to sit at the same depth it was growing next to the mother plant. The green part should be above the soil line. The white base should be just below the surface.
I've buried pups too deep before. The leaves touch the soil. They rot. Every single time.
I've also planted pups too shallow. They topple over. Their roots don't reach moisture.
Getting the depth right takes practice. I still occasionally adjust after planting.
Step 7: Backfill and Secure the Pup
Gently add more soil around the pup. Use your fingers to lightly press the soil.
Don't pack it tight! Aloe roots need air pockets. Compacted soil suffocates them.
I tap the bottom of the pot on the table a few times. This settles the soil naturally without compaction.
For tall pups that might fall over, I use small pebbles or bamboo stakes for support. These can be removed after 1-2 weeks when roots establish.
Step 8: Wait Before Watering
This is the hardest part for beginners.
I know you want to water immediately. Don't.
Freshly transplanted pups need time to recover from any root damage. Watering too soon introduces moisture into wounds. That causes rot.
I wait 3-5 days before the first watering. For pups that I had to separate with a knife (cutting through roots), I wait up to 7 days.
During this waiting period, the pot sits in bright indirect light. No direct sun. The pup is focusing on healing, not photosynthesizing.
My 2-Week Observation Results
I documented a recent batch of 10 pups to track their progress. Here's what happened.
Days 1-3: The Waiting Game
The pups looked exactly the same as when I separated them. No visible changes.
I felt anxious. I wanted to check for rot every hour. But I resisted.
The soil stayed dry. The pots sat on my kitchen counter near a north-facing window.
One pup had a small leaf that looked slightly wilted. I was worried. But I left it alone.
Lesson learned: Wilted leaves in the first few days don't necessarily mean death. The pup is redirecting energy to root development.
Days 4-7: First Watering
On day 4, I gave my first watering. I used a narrow-spout watering can and poured slowly around the base, not directly on the leaves.
I watered until I saw a few drops coming out of the drainage holes. Then stopped.
Within 24 hours, three pups showed subtle color changes. Their leaves looked slightly fuller and greener.
One pup developed a tiny new leaf at the center. I was thrilled.
The wilted pup from earlier still looked sad. But it wasn't getting worse.
Days 8-10: Root Development Check
I gently tugged on each pup to check for resistance. This is a trick I learned from an experienced succulent grower.
If the pup resists, roots have formed. If it slides easily out of the soil, roots haven't grown yet.
Seven out of ten pups showed resistance. Success.
The three that didn't resist were the smallest ones. I left them alone and didn't water again. They needed more time.
Days 11-14: Settling In
By day 14, all ten pups were showing new growth. Even the slow ones had tiny new leaves visible.
I watered again on day 10, waiting until the soil was completely dry. I tested by sticking my finger about an inch into the soil.
The pups looked stable. Their leaves were firm and green. No signs of rot, yellowing, or shriveling.
Full disclosure: One pup had a leaf that turned slightly yellow. I removed that leaf carefully with sterilized scissors. The rest of the pup continued growing fine.
3 Deadly Mistakes Beginners Make (And How I Fixed Them)
Mistake #1: Overwatering
The reality: 90% of indoor plants die from overwatering. Aloe pups are especially vulnerable because their root systems are tiny.
What I did wrong: I watered my first batch of pups every 2 days. I thought they needed constant moisture to grow. They rotted within 10 days.
The fix: Water only when the soil is completely dry. For small pots, this might mean watering every 7-10 days. Always check soil moisture with your finger before watering.
My rule: When in doubt, wait one more day.
Mistake #2: Wrong Light Placement
What I did wrong: I put newly potted pups in direct afternoon sun. They got sunburned. The leaves turned brown and crispy.
The fix: Bright indirect light is best for the first 2 weeks. East-facing windowsills work great. If you only have south-facing windows, use a sheer curtain to diffuse the light.
After 2 weeks, gradually introduce more light. Move the pots an inch closer to the window every few days.
My current setup: Morning sun only for the first month. After that, I move them to a spot with 4-6 hours of direct morning light.
Mistake #3: Using the Wrong Pot
What I did wrong: I used a plastic pot with no drainage holes for my first pup. I thought I could control watering. I couldn't.
The fix: Use terracotta pots with drainage holes. The material breathes. The holes allow excess water to escape.
I also stopped using pots that are too large. A 6-inch pot for a 2-inch pup is a death sentence. The soil stays wet too long.
My rule: The pot should be no more than 2 inches wider in diameter than the pup itself.
Common Questions About Aloe Pup Pots
Can I use plastic pots instead of terracotta?
Yes, but you need to be more careful with watering. Plastic doesn't breathe. Water evaporates slower. You'll need to wait longer between waterings.
I keep a few plastic pots for emergencies. But I always choose terracotta when possible.
Do I need to add fertilizer to the soil when planting pups?
No. Newly separated pups have enough energy stored in their leaves. Adding fertilizer can burn their delicate roots.
Wait at least 4-6 weeks before fertilizing. Even then, use a diluted succulent fertilizer at half strength.
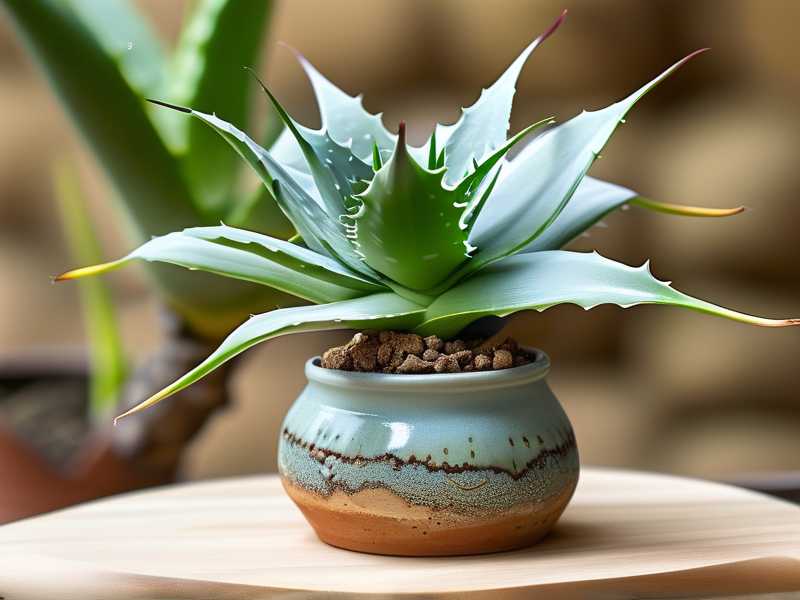
How long should pups stay in their first independent pot?
Keep them in the original pot for at least 6 months. Moving them too soon stresses the plant.
I've kept pups in 2-inch pots for up to a year. They grow slow but steady. When roots start coming out of the drainage holes, it's time to upsize.
What I Wish Someone Had Told Me When I Started
I killed my first 5 aloe pups. All of them. I thought I was doing everything right.
Here's what I wish I knew:
Small pots are better. Terracotta is king. Wait longer before watering. Give them less light than you think. And for goodness sake, don't touch them every day to check if they're growing.
Contact with your hands transfers oils and bacteria. It also disturbs the roots.
I now check my pups once a week. That's it. They thrive on neglect.
Final Thoughts on Preparing Independent Pots
Setting up independent pots for aloe pups isn't complicated. But it does require attention to detail.
Use terracotta. Mix your own soil. Wait before watering. Give indirect light.
These four things will save you the heartbreak of watching your pups die.
I've now successfully propagated over 50 aloe pups using this method. My friends and family all have their own aloe plants now. Every single one started with a properly prepared pot.
If you follow these steps, your aloe pups will grow into strong, healthy plants. And you'll have plenty to share with others.
My final tip: Start with 2-3 pups your first time. Don't try to separate an entire crowded mother plant at once. Work in small batches. Learn what works for your specific environment. Then scale up.
That's how I went from killing every pup to becoming the person friends ask for plant advice.





