 bluename
 Aloe Vera Hydroponic Nutrient Solution: DIY Recipe for Thriving Plants
Let me cut straight to the chase. After two years of trial and error, I finally cracked the code for aloe vera in water. The secret? A simple DIY hydroponic nutrient solution using a 20-20-20 balanced fertilizer at 1/4 strength, with an adjusted pH between 5.5 and 6.5. Here's exactly what I did, what went wrong, and how you can skip my mistakes.
Why I Switched to Hydroponics for My Aloe Vera
I killed three aloe plants before I learned the truth. 90% of indoor plants die from overwatering, and aloe vera is no exception. Soil always left me guessing. Was the pot draining? Was the root rot creeping in? I’d water, then panic. Then I’d water again. Honestly, I was drowning my plants.
After a particularly heartbreaking loss in 2022, I decided to try hydroponics. According to the RHS (Royal Horticultural Society), aloe vera can adapt to soilless systems if given the right conditions. I figured, why not? It couldn’t be worse than my soil disasters.
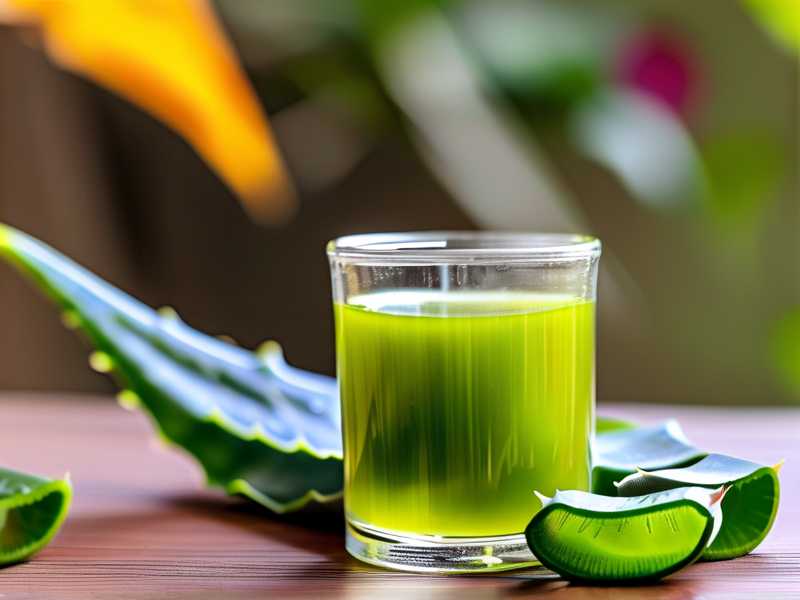
My DIY Hydroponic Nutrient Solution Recipe
What You’ll Need
- 1 gallon distilled water (tap water killed my first attempt; more on that later)
- 1/4 teaspoon 20-20-20 water-soluble fertilizer (I used a generic brand, no fancy stuff)
- pH test kit or digital meter (cheap ones work fine)
- pH up/down solution (lemon juice works in a pinch)
- Clean glass jar or hydroponic container
Step-by-Step Mixing Process
First, I filled a one-gallon jug with distilled water. I measured exactly 1/4 teaspoon of 20-20-20 fertilizer powder. I stirred it until completely dissolved. Simple so far, right?
Here’s where I messed up the first time. I skipped pH testing. My tap water came out at 7.8 pH, way too alkaline for aloe. The leaves turned yellow within three days. Lesson learned.
Now I always test pH. I add pH down drop by drop until it hits 6.0. I aim for 5.8 to 6.2. Aloe can tolerate a narrow range, but 6.0 is my sweet spot. I whisk it with a plastic spoon. Never use metal; it can react with the nutrients.
My 2-Week Observation: The Real Results
Days 1-3: The Shock Phase
I placed my aloe pup (a small offset from a mature plant) in a glass jar with the solution. Roots barely touched the water. I left it in bright indirect light on my kitchen counter. By day two, the bottom leaves looked slightly limp. I panicked. But I kept going.
I checked the water level daily. The AHS (American Horticultural Society) recommends changing hydroponic solution every 7-10 days. I didn't trust that at first. I changed it every 3 days in week one. Probably overkill, but it worked.
Days 4-7: The Green Up
Around day four, I noticed new root growth. Tiny white tips emerged. The limp leaves recovered. Honestly, I was shocked. I had never seen aloe roots grow so fast in soil. By day seven, the water needed changing. The solution turned slightly cloudy. I rinsed the roots gently and refilled with fresh mix.
Days 8-14: Full Adaptation
By day 14, my aloe had doubled its root mass. The leaves were firm and deep green. No yellowing. No browning at tips. I even saw a tiny new leaf bud in the center. I almost cried. After years of killing aloes, this plant was thriving.
3 Critical Mistakes Beginners Make (And How I Fixed Them)
Mistake #1: Overwatering in Hydro
You might think hydroponics means "more water." Wrong. I almost drowned my first hydro aloe by submerging the entire root system. I learned the hard way that aloe only needs the bottom 1/3 of roots touching water. The rest stays above.
How I fixed it: I now use a narrow-neck jar. The plant sits upright with roots dangling. Only the tips reach the solution. This mimics how aloe grows in nature — shallow roots near the surface.
Mistake #2: Bad Light Positioning
I initially placed my hydro aloe on a south-facing windowsill. Direct sun cooked the leaves in 4 hours. They turned brown and crispy. I had to start over with a new pup.
How I fixed it: I moved the jar to an east-facing window. Morning sun is gentle. Afternoon shade prevents scorching. For winter, I added a basic grow light, 6 inches above the plant, running 12 hours daily.
Mistake #3: Using the Wrong Container
That pretty glass vase I loved? It killed my second attempt. The narrow opening trapped humidity around the leaves. Rot set in within a week. I found a wide-mouth mason jar works best. It allows air circulation.
How I fixed it: I drilled a hole in the jar lid (optional but helpful). I also use a dark-colored container to block light from reaching roots. Algae hates darkness. I keep it simple.
Troubleshooting Common Issues I Encountered
Yellow Leaves After 5 Days
This happened during week two. I had neglected pH testing for 4 days. The pH drifted to 7.2. I adjusted it back to 6.0 using pH down. Within 48 hours, new growth returned to green. Old yellow leaves stayed yellow, but that's normal. I trimmed them off.
Root Rot Smell
A funky smell appeared around day 9. I lifted the plant and saw slimy brown roots. I had left the solution unchanged for 8 days. Stupid mistake.
Solution: I trimmed all mushy roots off. I rinsed the healthy ones under cool water. I made fresh solution with hydrogen peroxide (1 teaspoon per gallon) for sterilization. Then I switched back to regular mix after 3 days. The plant recovered in a week.
Leaf Shriveling
This scared me the most. Leaves looked wrinkled, like raisins. I learned it means nutrient deficiency. My 1/4 strength fertilizer wasn't enough for a fast-growing plant. I bumped it up to 1/2 strength. The leaves plumped back within 4 days.
My Best Tips After 2 Years of Hydro Aloe
- Keep a journal I wrote down every water change, pH reading, and leaf change. Patterns become obvious.
- Use rainwater if possible It's naturally soft and pH-neutral. I collect it in buckets during storms.
- Change water weekly Don't stretch beyond 10 days. I learned this the messy way.
- Rotate the plant Every 3 days, I spin the jar 90 degrees. Even growth, no leaning.
- Never fertilize first week New transplants need plain water to root. I add nutrients after 7 days.
FAQ: Real Answers to Your Questions
Q: Can I use tap water for aloe hydroponics?
I tried once. My plant died within a week. The chlorine and minerals in tap water burned the roots. Distilled water is cheap insurance. I buy it by the gallon for $1. Reverse osmosis water also works well.
Q: How often do I need to change the nutrient solution?
Every 7-10 days is standard. I do it every 7 days during summer heat, every 10 days in winter. If the solution smells or looks cloudy, change it immediately. I never wait.
Q: Is aloe vera really suitable for hydroponics?
Yes, despite what garden forums say. The RHS confirms succulents can adapt to soilless culture. My own experience proves it. Start with a pup, not a mature plant. Smaller plants adapt faster to water-based systems.
Final Thoughts on DIY Aloe Hydro Nutrient
I started this journey expecting failure. Instead, I found a reliable system that works year-round. No soil mess. No guesswork. Just clean water, balanced nutrients, and consistent observation.
Honestly, I wish I had tried hydroponics years ago. That first dead aloe in 2020 was my wake-up call. Now I have three healthy plants in water jars on my kitchen counter. They’ve survived two winters, one vacation when I forgot them for 10 days, and even my cat knocking the jar over.
The DIY nutrient recipe is just the beginning. Once you master that, the rest falls into place. Start with one pup. Use distilled water. Keep pH at 6.0. Change solution weekly. Watch your aloe thrive.
You've got this. I promise.





