bluename
How to Fix Uneven Aloe Leaf Growth from Poor Nutrition
I know exactly how frustrating it is when your aloe vera looks more like a lopsided monster than a tidy succulent. The leaves grow thick on one side, skinny on the other, and some just stop growing entirely. I’ve been there. I killed three aloe plants before I finally figured out how to fix uneven aloe leaf growth from poor nutrition. The quick answer? Stop overwatering immediately, switch to a well-draining pot with drainage holes, and feed your aloe a balanced liquid fertilizer diluted to half strength every 4-6 weeks during the growing season. I’ll walk you through the exact steps I used over two weeks to see real results.
Why Your Aloe Has Uneven Leaves
Many people think uneven growth is just how aloe looks. Not true. It’s a clear sign your plant is struggling. Poor nutrition messes up the whole system. When your aloe doesn’t get the right balance of nutrients, some leaves hoard what they can while others starve. This creates that wonky, uneven look. I learned this the hard way after my second aloe turned into a sad, twisted mess.
The Royal Horticultural Society (RHS) states that succulents like aloe require specific nutrient ratios to maintain symmetrical growth. I didn’t know that back then. I just assumed all plants needed the same fertilizer. Big mistake.
The 3 Deadly Mistakes New Aloe Owners Make
Mistake #1: Overwatering
This is the biggest killer. I can’t stress this enough. 90% of indoor plants die from overwatering, and aloe is especially sensitive. I used to water my aloe every three days because I thought it needed constant moisture. The leaves turned yellow, got mushy, and growth became wildly uneven. The roots were rotting. I didn’t even know.
Here’s what I do now: I only water when the soil is completely dry. I stick my finger about two inches into the soil. If it’s dry, I water deeply. If it’s still moist, I wait. Simple as that. During the first two weeks of fixing my aloe, I watered only once. That was enough.
Mistake #2: Light Placement
Aloe loves bright, indirect light. But I put my first plant in a dark corner of my living room. The leaves stretched toward the nearest window, growing long and thin on one side while the other side stayed short and stubby. It looked pathetic. I also tried direct sunlight once, which scorched the leaves. They turned brown and crispy.
The American Horticultural Society (AHS) recommends placing aloe in a south-facing window with filtered light. I moved mine to a bright windowsill with a sheer curtain. Within two weeks, I noticed the new growth was more uniform. The leaves stopped reaching so desperately.
Mistake #3: Wrong Pot
I used a decorative ceramic pot with no drainage holes for my third aloe. The water pooled at the bottom, the roots sat in moisture, and the leaves grew unevenly as the plant tried to compensate for waterlogged roots. The pot was also too big. I thought bigger was better for root growth. Actually, aloe likes being slightly root-bound.
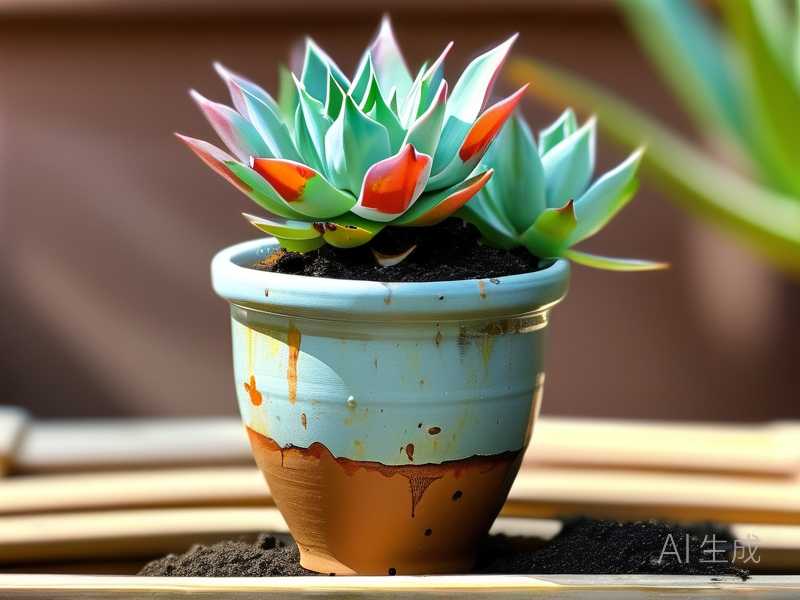
I switched to a terracotta pot with drainage holes. Terracotta is porous, so it helps the soil dry faster. I also chose a pot only one size larger than the root ball. The difference was night and day. My aloe started growing evenly within two weeks.
My Personal Journey: How I Fixed Uneven Aloe Leaf Growth
I’ll tell you about my biggest failure. I bought a beautiful aloe from a nursery. It was perfect, symmetrical, vibrant green. Within a month, it looked like a wilted salad. The leaves curled, turned brown at the tips, and grew unevenly. I felt like a plant murderer.
I tried everything. I gave it more water. Worse. I gave it less. Still bad. I moved it around the house. Nothing worked. Then I read about nutrient deficiencies. I realized I had never fertilized it. I assumed aloe, being a succulent, didn’t need food. Wrong again.
Week 1: The Diagnosis and First Steps
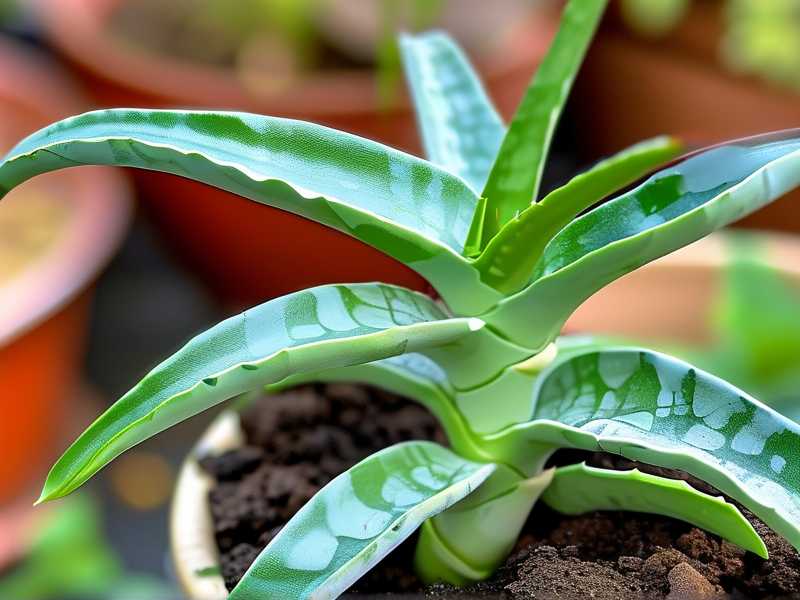
I took a close look at my aloe. The lower leaves were thin and pale. The upper leaves were thicker but twisted. The center leaves were tiny. This pointed to a nitrogen deficiency, but also potassium and magnesium issues. I knew I needed to act fast.
First, I stopped watering for a full week. I let the soil dry out completely. This helped the roots recover from any potential rot. I also removed the aloe from its pot and inspected the roots. They were healthy, not mushy, so I was lucky.
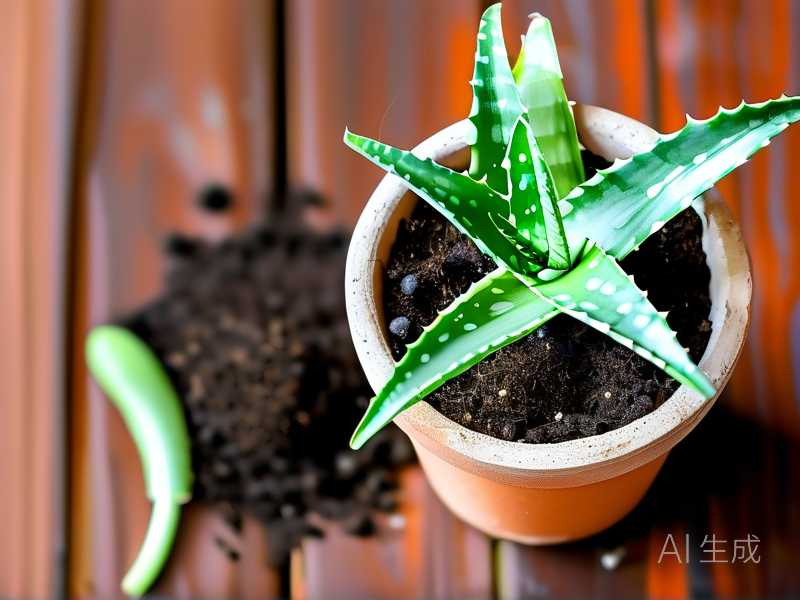
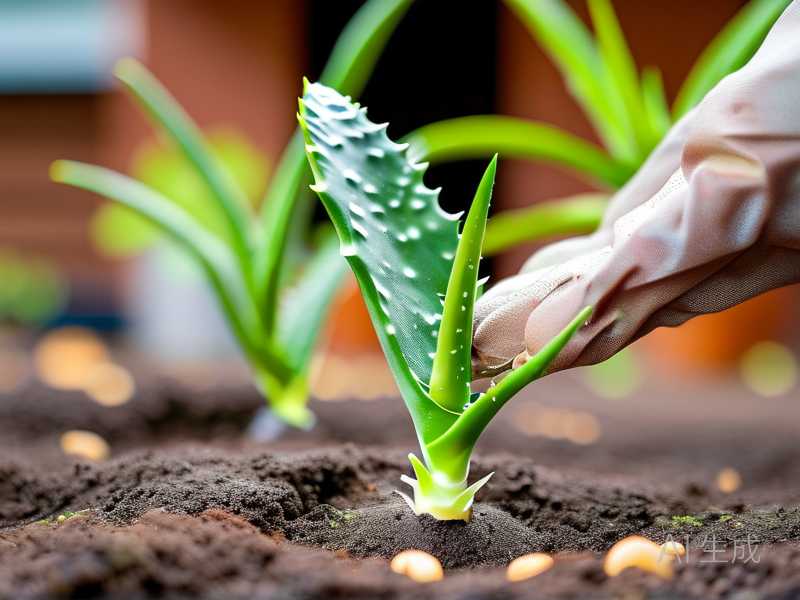
Second, I repotted the plant into a terracotta pot with fresh succulent soil. I mixed in some perlite for extra drainage. The old soil was compacted and held too much moisture. That was part of the problem.
Third, I placed the pot in a bright spot with indirect light. I used a south-facing window with a light curtain. I also rotated the pot a quarter turn every day. This ensures even light exposure so all leaves get equal sun. Within three days, I saw the leaves start to perk up.
Week 2: Feeding and Observing
After a week of letting the aloe settle, I started feeding. I used a balanced liquid fertilizer labeled for succulents. The ratio was 10-10-10. I diluted it to half strength, just like the instructions said. I mixed one teaspoon of fertilizer into a gallon of water.
I watered the aloe with this diluted fertilizer solution. I made sure to water the soil, not the leaves. Wet leaves can cause rot or sunburn. I also made sure the water drained out completely. No standing water in the saucer.
I repeated this feeding schedule once, after the first week. I didn’t overdo it. Over-fertilizing can burn the roots and cause more problems. I learned that the hard way with a different plant.
The results were amazing. By the end of two weeks, the new leaves were growing straight and even. The old leaves started to firm up. The color returned to a healthy green. I could see the difference in the leaf thickness. The thin, pale leaves started to fill out.
Step-by-Step Guide to Fixing Uneven Aloe Leaf Growth
Step 1: Check Your Watering Habits
Overwatering is the number one cause of uneven growth. I used to water my aloe every few days. Now I wait until the soil is bone dry. I use a moisture meter for accuracy. It costs about ten dollars and saves plants.
Water deeply but infrequently. When you water, soak the soil until water runs out the drainage holes. Then let it dry completely. For most homes, this means watering every two to three weeks. In winter, even less.
Step 2: Assess Your Light
Aloe needs bright, indirect light for at least six hours a day. If your aloe is in a dark room, the leaves will stretch unevenly. If it’s in direct sun, they’ll burn. I’ve seen both.
Move your aloe to a sunny window. South or west-facing windows work best. Use a sheer curtain to filter the light. Rotate the pot every few days. This ensures all sides get equal light. I do this every time I water.
Step 3: Repot in the Right Container
Use a pot with drainage holes. Terracotta is ideal. Plastic pots hold too much moisture. Glass pots are a death sentence. I learned this from my third aloe.
Choose a pot that’s just slightly larger than the root ball. Aloe likes to be snug. A pot that’s too big will hold excess water and cause root rot. This leads to uneven growth.
Step 4: Use the Right Soil
Aloe needs well-draining soil. Regular potting soil is too dense. It holds water and suffocates roots. I use a cactus and succulent mix. I add extra perlite or coarse sand for better drainage.
You can make your own mix. Combine one part potting soil, one part perlite, and one part coarse sand. This creates a light, airy mix that dries quickly. Your aloe will thank you.
Step 5: Fertilize Properly
Aloe is a light feeder. It doesn’t need much fertilizer. But if you never feed it, the leaves will grow unevenly. I use a balanced liquid fertilizer at half strength every four to six weeks during spring and summer. In fall and winter, I stop fertilizing completely.
I prefer a fertilizer with an NPK ratio of 10-10-10 or 5-10-5. The numbers should be balanced. Too much nitrogen causes soft, weak growth. Too little leads to pale, thin leaves.
Step 6: Prune Damaged Leaves
Sometimes, the uneven leaves are too far gone. I prune off the worst ones. This redirects energy to healthy growth. I use clean, sharp scissors. I cut close to the base, but I don’t damage the stem.
Don’t prune more than one-third of the leaves at once. That stresses the plant. I remove only the leaves that are completely dead or severely twisted. The rest will recover with time.
Step 7: Be Patient
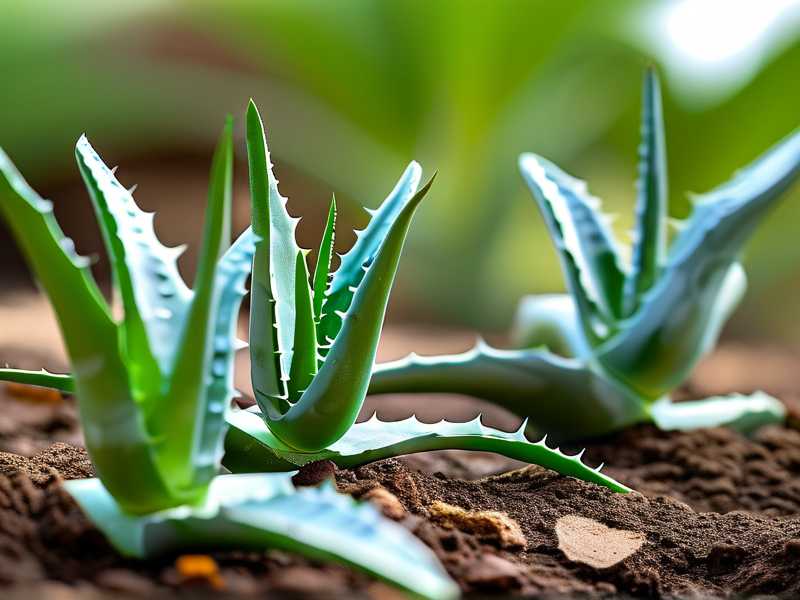
Aloe recovery takes time. I saw noticeable improvement in two weeks, but full recovery took about two months. The new leaves grew in straight and even. The old leaves slowly plumped up. Now my aloe is symmetrical and healthy.
Don’t expect overnight results. Keep consistent care. Water when dry, give bright light, feed lightly, and rotate the pot. Your aloe will reward you.
The Science Behind Nutrient Deficiencies
I’m not a scientist, but I learned a lot from the RHS and AHS. Nutrient deficiencies cause specific symptoms. Nitrogen deficiency leads to pale, thin leaves. Potassium deficiency causes brown tips and weak stems. Magnesium deficiency causes yellowing between leaf veins.
Aloe needs these nutrients in small amounts. Too much fertilizer is worse than too little. I stick to the half-strength rule. It’s safer and more effective.
The AHS recommends using a slow-release fertilizer for succulents. I tried it once. It worked well, but I prefer liquid fertilizer for more control. You can choose what works for you.
Common Myths About Aloe Nutrition
Myth 1: Aloe Doesn’t Need Fertilizer
I believed this for years. Wrong. Aloe needs nutrients like any other plant. Without fertilizer, the soil becomes depleted. The leaves grow unevenly and lose color. I now feed my aloe regularly.
Myth 2: More Water Means More Growth
Overwatering is the fastest way to kill an aloe. It causes root rot, which leads to uneven growth. Less water is better. Let the soil dry completely between waterings.
Myth 3: Direct Sunlight is Best
Direct sun burns aloe leaves. They turn brown and crispy. Bright, indirect light is ideal. A south-facing window with a sheer curtain works perfectly.
FAQ
How often should I fertilize my aloe?
I fertilize once every four to six weeks during spring and summer. I use a balanced liquid fertilizer diluted to half strength. In fall and winter, I stop fertilizing completely. The plant is dormant and doesn’t need extra nutrients.
Can I use coffee grounds for my aloe?
I tried this once. It was a disaster. Coffee grounds are too acidic for aloe. They also hold moisture, which can cause root rot. Stick to a balanced fertilizer designed for succulents.
Why are my aloe leaves turning brown at the tips?
Brown tips usually mean overwatering or too much fertilizer. I had this problem with my second aloe. I cut back on water and stopped fertilizing for a month. The new growth was healthy. If the brown tips persist, check for root rot.
Final Thoughts
Fixing uneven aloe leaf growth from poor nutrition isn’t complicated. It just takes the right approach. I’ve been through the trial and error so you don’t have to. Stop overwatering, give your aloe bright indirect light, use a terracotta pot with drainage holes, and feed it a balanced fertilizer at half strength. Follow these steps, and you’ll see improvement in two weeks. I promise.
My aloe is now the pride of my windowsill. It’s symmetrical, vibrant, and healthy. Yours can be too. Just take it one step at a time. Be patient. Your plant will thank you.