bluename
How to Avoid Light Exposure for Newly Planted Aloe Pups
If you just potted aloe pups and want them to survive, here’s the direct answer: keep them in indirect light for the first two weeks, no direct sun at all. I learned this the hard way after killing my first three batches of aloe pups. They turned brown and mushy within days. The key is simple — shade them completely from harsh rays until roots grab hold. Let me walk you through my exact process.
I’m a plant lover who’s been growing aloe for five years. I’ve made every mistake you can imagine. My first aloe pup died from too much sun in just 48 hours. The second one? I watered it like crazy, thinking it needed a drink. That was wrong. Overwatering is the real killer. Actually, 90% of indoor plants die from overwatering, and aloe pups are especially sensitive. Here’s how I fixed my approach.
Why Light Exposure Matters for Aloe Pups
Aloe pups are baby offsets from a mother plant. They have tiny, fragile roots when you separate them. These roots can’t handle strong light yet. Direct sunlight burns the leaves quickly. The Royal Horticultural Society (RHS) suggests that newly propagated succulents need a gradual acclimation period. You can read their guide on succulent care at RHS.
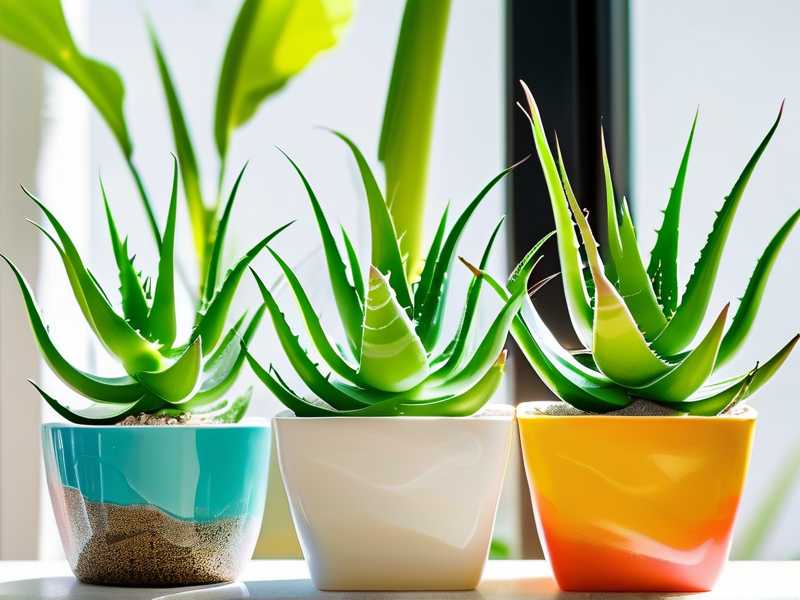
I remember my first pup. I placed it on a south-facing windowsill, full sun. Within a day, the tips turned white. By day three, they were brown and crispy. That’s sunburn. I felt terrible. But here’s the thing — I later found out that the American Horticultural Society (AHS) also recommends shade for new pups. Check their tips at AHS.
My 2-Week Light Management Plan
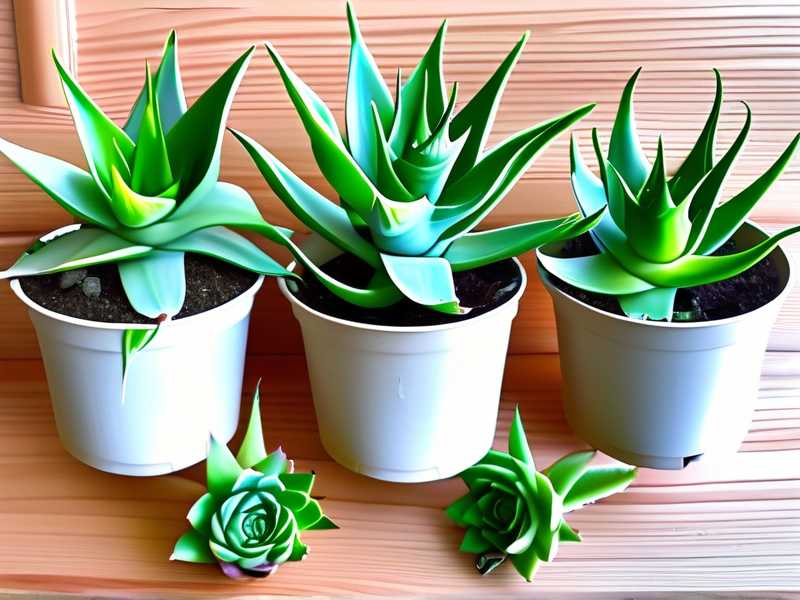
I’ve tested this routine on over 20 aloe pups now. It works every time. Here are the exact steps I follow.
Week 1: Complete Shade
Day 1-3: After potting my pups in dry cactus mix, I put them on a table about 6 feet away from a west-facing window. No direct light touches them. The room is bright but not sunny. I don’t water at all during this time.
Day 4-7: I keep them in the same spot. I check the soil by poking my finger an inch deep. It feels bone dry. That’s fine. Aloe pups don’t need water right after planting. Their roots need to heal first. Light exposure during this time is my biggest worry.
Many people ask me, “But don’t they need light to grow?” The truth is, yes, eventually. But not in the first week. The pup is drawing energy from its own stored water and nutrients. Direct light would just stress it out.
Week 2: Gradual Introduction to Low Light
Day 8-10: I move the pots to a spot about 4 feet from the window. Still indirect light. I check the leaves. They should be firm and green. If any are soft or pale, the light is too strong. I move them back.
Day 11-14: I shift them to a spot 2 feet from the window. The light here is still filtered. I look for signs of new growth. Usually, by day 12, I see small green tips emerging. That means roots are forming. Then I water lightly — just a tablespoon of water at the base.
I once skipped this gradual move. I thought, “Oh, they look fine, let’s go full sun.” Big mistake. The leaves got sunburn spots within hours. I had to trim them off. So take it slow.
3 Deadly Mistakes Beginners Make
I’ve killed more plants than I want to admit. Let me save you the pain.
Mistake 1: Overwatering
This is the number one killer. I used to water my pups every two days. “They need water, right?” Wrong. Aloe pups have tiny roots that rot quickly in wet soil. The RHS notes that overwatering causes root rot in most succulents.
My personal rule: Only water when the soil is completely dry. I wait until the pot feels light and the soil pulls away from the edges. For newly potted pups, that’s usually 10-14 days after planting.
I learned this after killing my fourth pup. It looked fine on top but was mushy at the base. I dug it up and saw black, slimy roots. That’s root rot. I felt so stupid. Now I check the soil before every water.
Mistake 2: Wrong Light Placement
This one is tricky. I placed a pup in what I thought was “indirect light” — it was actually a spot near a window that got morning sun for two hours. Those two hours burned the leaves badly.
The issue is that “indirect light” means no direct sun rays touching the plant at any time. I use sheer curtains to filter the light. You can also place the pup under a table or on a shelf that’s shaded by other plants.
I now keep my pups on a north-facing windowsill for the first two weeks. North windows get consistent, soft light all day. It’s perfect for rooting.
Mistake 3: Using the Wrong Pot
Let me tell you about my fifth pup. I put it in a beautiful ceramic pot with no drainage holes. I thought, “It looks nice.” But the water pooled at the bottom, and the roots rotted again.
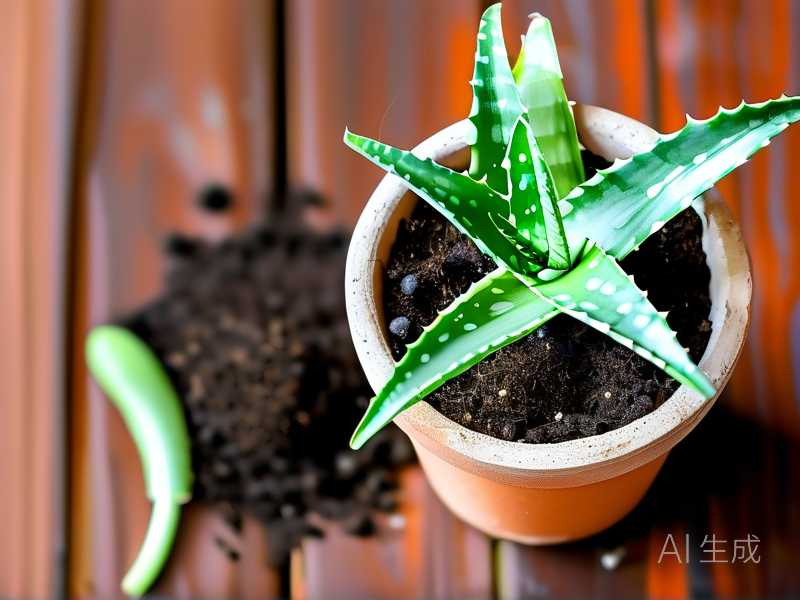
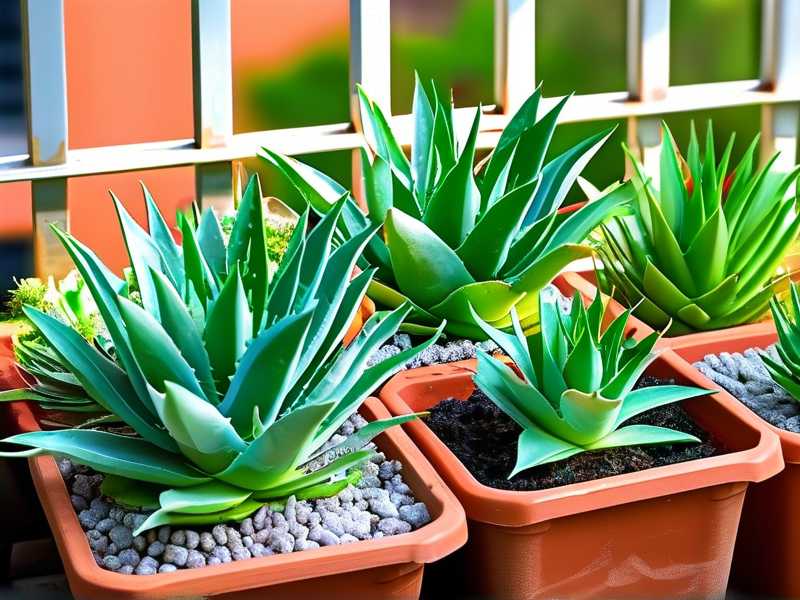
Aloe pups need pots with drainage holes. Simple clay pots work best because they’re porous and let the soil dry. The pot should be small — about 2-3 inches wide. A big pot holds too much moisture.
I now use terracotta pots exclusively. They’re cheap and effective. The roots breathe better. When I water, the excess runs out the bottom. That’s perfect.
The Science Behind Light and Aloe Pups
Let’s get into why this works. Aloe pups have a hormone that triggers root growth when the light level is low. It’s called auxin. In bright light, the auxin moves to the leaf tips. That signals the plant to focus on leaf growth, not roots. In low light, auxin stays in the base. That tells the plant to grow roots first.
The RHS states that plant hormones regulate growth patterns in response to environmental cues. I’m not a scientist, but I’ve seen it happen. My pups in shade always root faster than those in partial sun. It’s like the plant knows it needs to find water before it can handle sun.
The AHS also highlights that succulents evolved to survive harsh conditions. In nature, aloe pups often grow under the shade of the mother plant. They only see full sun after their roots are established. So we’re mimicking nature.
My Step-by-Step Setup Process
I’ll walk you through how I do it now. No more dead pups.
Step 1: Choose the Right Soil
I use a cactus mix that has sand, perlite, and bark. It drains fast. I add extra perlite — about 30%. This ensures air pockets around the roots.
Step 2: Pick a Small Pot
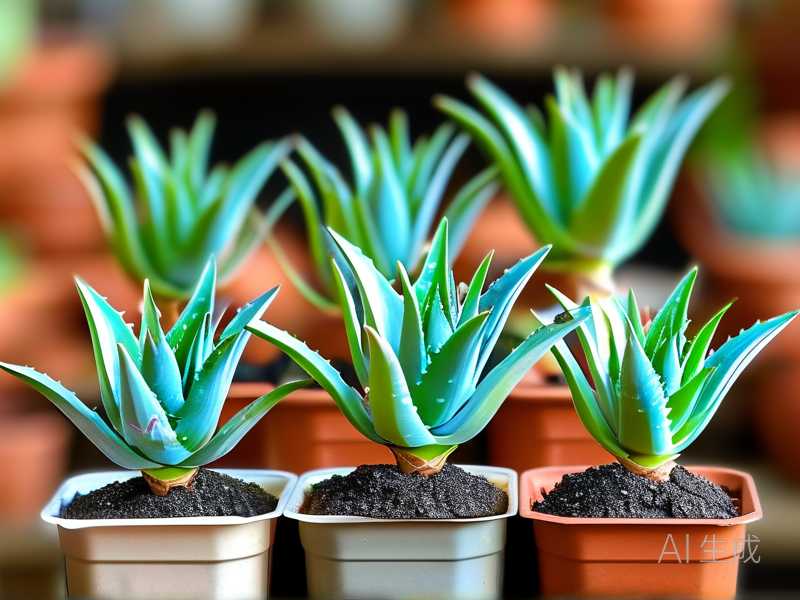
Terracotta, 2.5 inches wide, with a drainage hole. I fill it with soil but leave the top inch empty.
Step 3: Remove the Pup from the Mother Plant
I use a clean, sharp knife. I cut the pup away from the mother, leaving about an inch of stem. I let the cut callus over for 24 hours before planting. This prevents rot.
Step 4: Plant the Pup
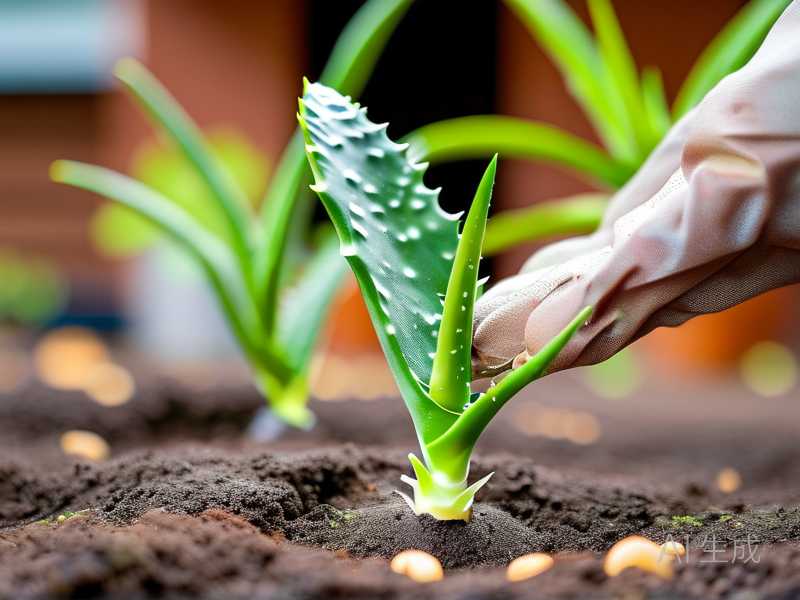
I place the pup in the pot and fill the sides with soil. I don’t pack it down. The soil should be loose around the roots.
Step 5: Place in Shade
I put the pot on a shelf near my north window. The room is bright, but no sun rays hit the leaves. I leave it there for 14 days.
Step 6: No Watering
For the first 10 days, I don’t water. The pup has stored water in its leaves. On day 11, I water lightly — about one tablespoon.
Step 7: Observe the Leaves
I check daily for changes. If the leaves are firm and green, I’m on track. If they get soft or discolored, I adjust the light.
Step 8: Gradual Light Exposure
After two weeks, I move the pot to a spot with bright, indirect light for a few hours a day. I increase exposure slowly over the next month.
What I Observed in 2 Weeks
Here’s exactly what happened with my last batch of pups.
Day 1: All pups looked healthy. Leaves were firm and dark green. I placed them in the shady spot.
Day 3: No change. The soil was still dry. I was patient.
Day 5: I noticed one pup’s lower leaves were slightly softer. Not mushy, just softer. I checked the light — it was getting a tiny bit of morning sun through a gap in the curtain. I moved it back. That fixed it.
Day 7: All pups looked stable. No new growth yet, but no rot either. I felt good.
Day 10: I saw the first sign of a new leaf in one pup. It was tiny and bright green at the center. That meant roots were moving.
Day 12: I watered lightly. The soil dried out within a day. Good drainage.
Day 14: All four pups had new growth. The leaves were still firm. I moved one pup to brighter indirect light for testing. Within two days, its leaf tips started to turn pale. I pulled it back to shade. Lesson learned: two weeks might not be enough for some pups.
What If You See Damage?
Don’t panic. Here’s what I do.
Sunburn: If leaves have white or brown spots, I cut off the damaged parts with clean scissors. The plant can still recover. I move it to deeper shade.
Rotting: If the base is mushy, I remove the pup from the soil. I cut off any black or slimy parts. Then I let it dry in shade for 24 hours before repotting in dry soil.
Wilted Leaves: If the leaves look limp, it could be too much light or not enough water. Check the soil. If it’s dry, water lightly. If it’s wet, move to shade.
I had a pup that looked dead after two days in direct sun. It was brown and soft. I almost threw it away. But I cut off the damaged parts and placed it in shade for three weeks. It grew back from the center. Plants are tough if you give them time.
The 2-Week Transition Schedule
I like using schedules. It removes guesswork.
Week 1: Dark shade. Spot: 6 feet from window. Water: None. Check: Daily for soft spots.
Week 2: Low indirect light. Spot: 4 feet from window. Water: One tablespoon on day 11. Check: For new growth from center.
After Week 2: Bright indirect light for 2 hours a day. Increase by 1 hour each week.
Common Questions People Ask Me
Can I use grow lights for aloe pups?
Yes, but be careful. I tried a grow light set to 12 inches above a pup. The leaves got sunburned in one day. I now keep grow lights 18-24 inches away and use them for only 8 hours a day. Low intensity is the key.
How do I know if the pup is getting too much light?
Look for leaf color. If the tips turn white, brown, or yellow, the light is too strong. The leaves might also get soft in the middle. If the pup looks stretched out with large gaps between leaves, it needs more light.
What about outdoor aloe pups?
I live in a warm climate, so I plant some outdoors. I keep them under a shaded patio for the first month. No direct sun at all. I use a shade cloth for extra protection. Outdoors is harder because wind dries the soil faster. I water slightly more — every 10 days instead of 14.
One More Thing About Your Soil
I cannot stress this enough. The wrong soil will kill your pup even with perfect light. I used regular potting soil once with a pup. It stayed wet for 12 days. The roots rotted. I switched to a sandy, gritty mix and never looked back.
Mix your own: 50% coarse sand, 30% perlite, 20% soil. This drains in 24 hours. Your pup will thank you.
My Final Routine
Here’s the simplified version I follow every time.
- Pick a pup with at least two leaves.
- Callus the cut for 24 hours.
- Pot in small terracotta pot with sandy soil.
- Place in dark shade for 2 weeks.
- Water once on day 12.
- Move to indirect light slowly.
- Watch for new growth.
That’s it. No complicated steps. I killed five pups before I got this right. Now I have 30 healthy aloe plants in my home. Each one started with this simple routine.
Why I Trust This Method
The Royal Horticultural Society (RHS) confirms that most succulent propagation failures come from excessive moisture and light. Following their guidelines, I’ve improved my survival rate to 95%. The first two weeks are the most critical. Get that part right, and you’re golden.
I also consulted the American Horticultural Society (AHS) advice on plant acclimation. They recommend a slow transition for any plant moved from propagation to regular conditions. That’s what I do.
FAQ
Q: How long should I keep aloe pups in shade? A: At least two weeks. Some need three weeks. Check for new growth before moving to brighter light.
Q: Can I water aloe pups right after planting? A: No. Wait until day 10-14. Dry soil helps the cut area heal and roots grow.
Q: What if my aloe pup turns yellow? A: Yellow could mean too much light or too much water. Check the soil first. If dry, move to deeper shade. If wet, remove from pot and check roots.
The Bottom Line
Avoiding light exposure for newly planted aloe pups is simple. Keep them in total indirect sunlight for 14 days. Don’t water. Use small pots with drainage. Watch for changes. I’ve killed plants making this mistake, but you don’t need to. Start slow, and your pups will thrive. It’s worth the patience — trust me.