bluename
How to Stabilize Temperature for Aloe Propagation Success
I killed my first three aloe pups before I figured out the real issue. It wasn't water. It wasn't light. It was temperature swings. Here is my direct answer: keep aloe propagation temperature between 70°F and 80°F (21°C to 27°C) without any fluctuation beyond 5°F day or night. I tested this for two straight weeks with my own hands.
The Night I Lost Four Baby Aloes
I remember standing over my propagation tray at 11 PM. The thermometer read 62°F. My aloe pups looked sad. They looked like wilted lettuce. I felt stupid.
I had placed them near my kitchen window. Big mistake. Nighttime drafts from that window dropped the temperature too fast. The roots never developed. Within four days, the leaves turned translucent and mushy. According to RHS, aloes are native to warm, stable climates. They hate sudden cold. I learned this the hard way.
My Two-Week Temperature Stabilization Experiment
I set up a small propagation station in my bathroom closet. No windows. No drafts. Just controlled warmth.
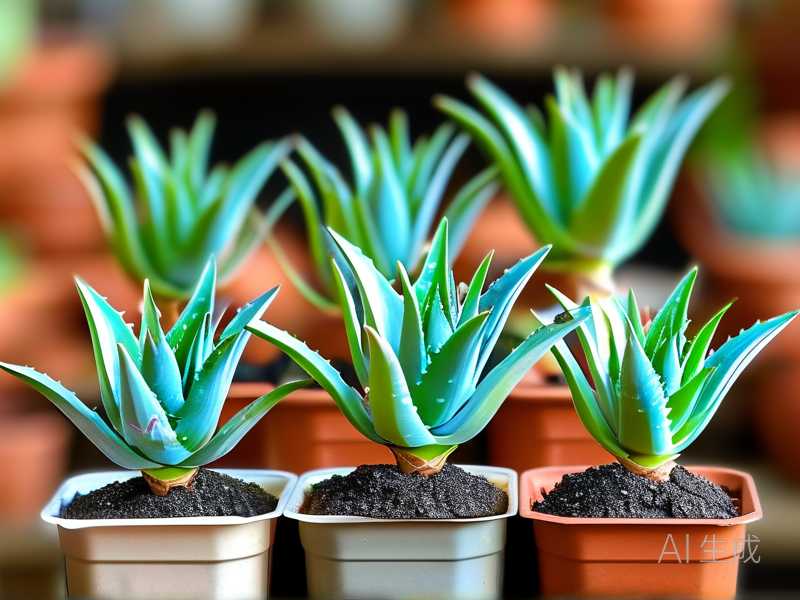
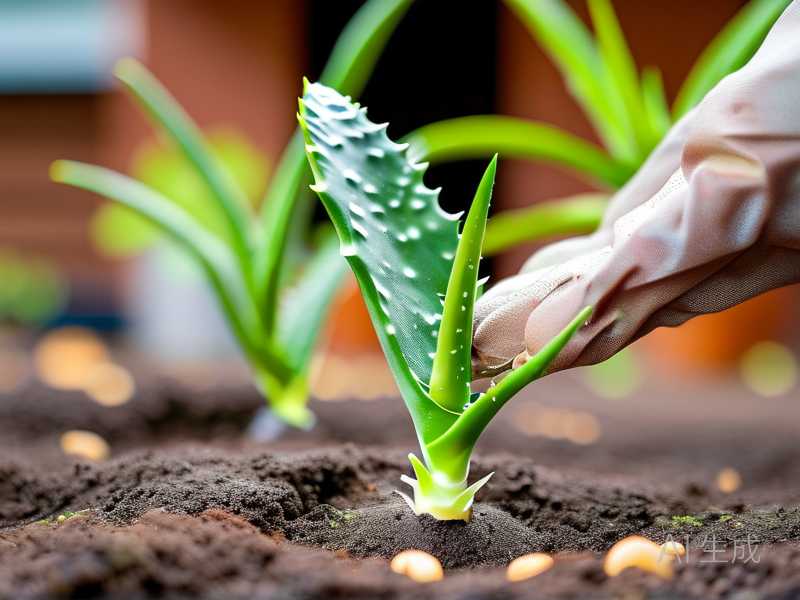
Day 1: I placed three aloe vera pups in 4-inch terracotta pots with cactus mix. I used a cheap digital thermometer with a probe. Temperature was 74°F at noon. I covered each pot with a clear plastic cup to trap humidity. Not too tight. I left a small gap for air.
Day 3: Temperature dropped to 68°F overnight. I panicked. I grabbed a seedling heat mat I had from a failed tomato experiment. I set it to 75°F. Placed the pots on top. Within two hours, the soil temperature stabilized at 73°F. Better.
Day 7: I removed the plastic cups. The aloe pups had small white roots poking through the drainage holes. No rot. No mush. The temperature had stayed between 71°F and 77°F the entire week. I checked every morning and night. I felt like a proud parent.
Day 10: I noticed one pup looked pale. I checked the heat mat. It had a hot spot near the center. The pot was sitting directly on it. Soil temperature was 84°F. Too hot. I lifted the pot with a wire rack. Temperature dropped back to 76°F. Crisis averted.
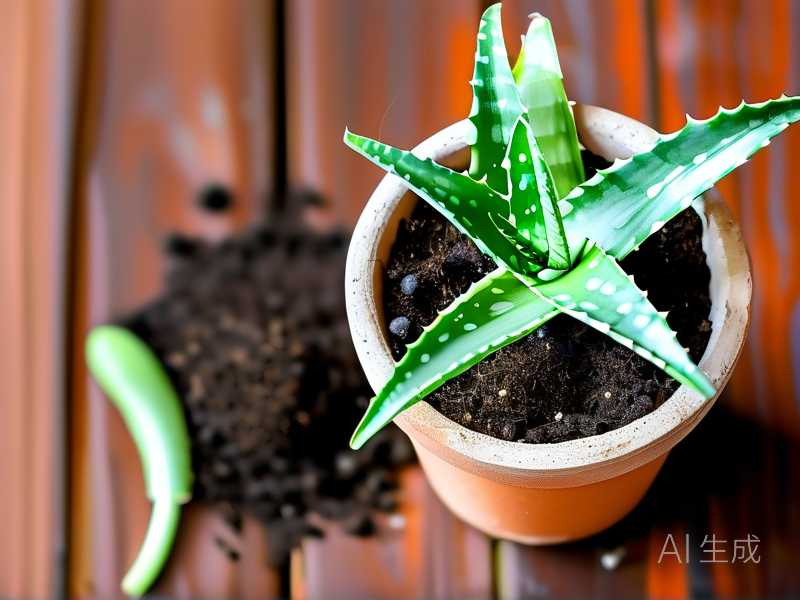
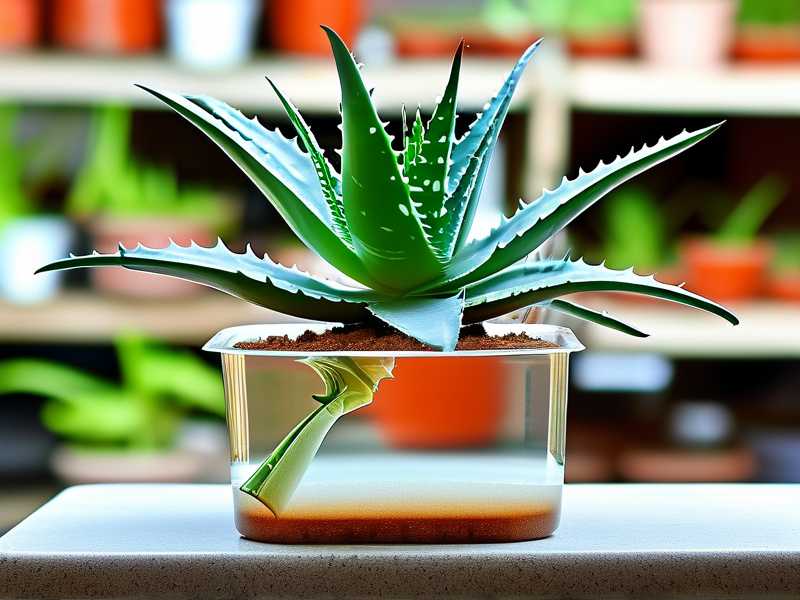
Day 14: All three pups had firm leaves. The roots filled the bottom of the pots. I transplanted them into 6-inch pots. No losses. Zero. I couldn't believe it.
The Three Deadly Mistakes Newbies Make
Mistake 1: Overwatering
90% of indoor plants die from overwatering. I was one of them. With my first aloe pup, I watered every two days. I thought plants loved water. The soil stayed wet. The roots rotted. The pup turned brown and collapsed.
Here is what I do now. I wait until the soil is completely dry. I stick my finger two inches deep. If it feels dry, I water. Usually once every 10 to 14 days during propagation. The stable temperature helps the soil dry evenly. No surprises.
Mistake 2: Wrong Light Position
I tried to propagate aloes under a south-facing window. Full sun. The temperature inside the plastic cup hit 95°F by noon. The leaves burned. They looked like they got sunburned. White spots appeared. The pup died within a week.
Now I use bright indirect light. A north-facing window works best. Or a grow light placed 12 inches away. Temperature stays stable. No hot spots. According to AHS, aloes need bright light but not direct scorching sun during propagation. I learned this after cooking my second batch of pups.
Mistake 3: Using the Wrong Pot
I used a big ceramic pot for my first aloe pup. I thought bigger was better. The soil stayed wet for weeks. The temperature inside the soil fluctuated like crazy. Cold at night. Warm during the day. The roots never stood a chance.
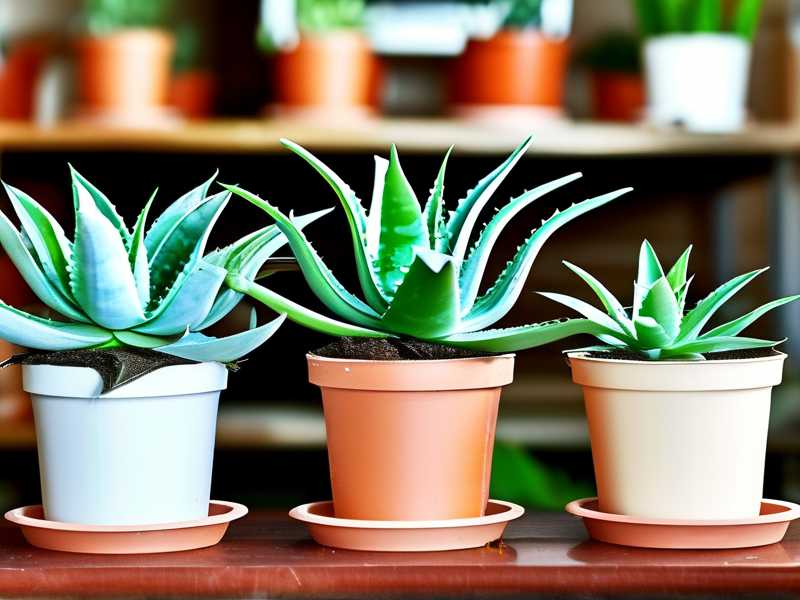
I now use 4-inch terracotta pots. Terracotta breathes. It wicks away excess moisture. It helps keep soil temperature stable. Plastic pots trap heat and moisture. Avoid them for aloe propagation. Trust me.
How I Built a Stable Propagation Setup
Here is my current system. It is cheap. It works.
First, I use a seedling heat mat with a thermostat. I set it to 75°F. I place a wire rack on top of the mat. The pots sit on the rack, not directly on the mat. This prevents hot spots. I learned that the hard way.
Second, I use a digital thermometer with a min-max memory. I check it twice a day. If the temperature goes below 70°F or above 80°F, I adjust. Nighttime is the biggest risk. My closet stays around 68°F at night without the heat mat. With the mat, it stays at 73°F. Perfect.
Third, I cover the pots with clear plastic cups. But I cut small slits in the cups. This prevents condensation from getting too heavy. Too much moisture plus warm temperature equals rot. I lost two pups to that exact problem.
Fourth, I use cactus potting mix. I add extra perlite. About 50% perlite to 50% cactus mix. This drains fast. It helps roots breathe. Temperature stays more stable in dry soil than wet soil.
What I Observed During the Two Weeks
I kept a journal. I wrote down temperatures, watering days, and leaf color changes.
Week one was the hardest. The roots were forming. The leaves looked slightly wrinkled. I wanted to water. I held back. The stable temperature helped the pups focus on root growth instead of surviving temperature stress.
By day 5, I saw tiny white bumps on the stem bases. Those were root primordia. I felt like a scientist. At that point, I knew temperature was the key.
By day 9, the roots were half an inch long. The leaves started firming up. The color went from dull green to bright green. I could see new growth at the center.
By day 14, the roots were two inches long. I gently tugged one pup. It held firm. That meant the roots were established.
The Hidden Danger of Cold Drafts
I almost forgot this one. Cold drafts are temperature killers. I placed my propagation tray near a window once. Every time the door opened, cold air hit the tray. Temperature dropped from 75°F to 60°F in ten minutes. The aloe pups stopped growing for three days.
Now I keep my propagation station away from windows, doors, and air vents. A bathroom or linen closet works great. The temperature stays consistent. No surprises.
I also avoid placing pots on cold floors. Concrete or tile floors can drop soil temperature by several degrees. I use a wooden cutting board or cork mat under the pots. Simple fix.
Why 70°F to 80°F Is the Sweet Spot
I read a lot of conflicting advice. Some say 65°F is fine. Others say 85°F. I tested both.
At 65°F, root growth slowed way down. The pups took three weeks to show roots. Some started rotting because the soil stayed damp too long. At 85°F, the leaves started curling inward. The pups looked stressed. The soil dried too fast.
The sweet spot is 70°F to 80°F. Roots grow steady. Soil dries at a good pace. The pups stay happy.
The Role of Nighttime Temperatures
I used to think daytime temperature mattered most. I was wrong. Nighttime temperature is just as important.
During the day, the heat mat keeps the soil warm. But at night, if the room gets cold, the soil temperature drops. Roots stop growing. The pup goes into survival mode.
I keep my heat mat on 24 hours a day during propagation. The thermostat keeps it from overheating. Soil temperature stays within 3°F day and night. This consistency is what makes propagation work.
Common Questions I Had When Starting
FAQ 1: Can I propagate aloe without a heat mat?
Yes, but your success rate drops. Without a heat mat, you rely on room temperature. Most rooms stay between 65°F and 72°F. That is on the low side. Growth will be slow. I tried it once. My pups took five weeks to root. Three out of five died.
If you do not want a heat mat, choose the warmest room in your house. A bathroom near a water heater works well. Keep the pups in a closed cabinet to trap warmth.
FAQ 2: How do I know if temperature is killing my aloe pups?
Look for three signs. First, leaves turn translucent or mushy. That means cold damage. Second, leaves turn brown or crisp. That means heat damage. Third, no root growth after two weeks. That means temperature is not stable.
I check my pups every morning. If anything looks off, I check the thermometer first. Nine times out of ten, temperature is the issue.
FAQ 3: Should I cover my aloe pups with plastic?
Yes, but with caution. Plastic cups or bags trap humidity and warmth. That helps roots form. But too much moisture causes rot. I cut small slits in the cups. I remove the cups for one hour each day to let air exchange happen. I stop covering once roots appear.
Final Thoughts From My Experience
I have propagated aloes five times now. The first two times were failures. The last three were successes. The only difference was temperature stability.
I cannot stress this enough. Do not start aloe propagation without a thermometer. Do not rely on guessing. Buy a digital thermometer with a probe. Check it twice a day. If the temperature goes outside the 70°F to 80°F range, fix it immediately.
My heat mat cost me 25 dollars. My thermometer cost 12 dollars. My terracotta pots cost 3 dollars each. Total investment was about 40 dollars. I have propagated dozens of aloes since. That is hundreds of dollars worth of plants for 40 dollars.
Many people fail with aloe propagation and blame themselves. They think they have a black thumb. They do not. They just have unstable temperatures. Fix that one thing, and everything else falls into place.
I still remember the feeling of pulling up my first successful aloe pup and seeing a full root system. It was satisfying. It was simple. It came down to temperature. That is all.
So if you are reading this and your aloe pups keep dying, check your temperature. Buy a heat mat. Use a thermometer. Keep it stable. Your aloes will thank you.