bluename
How to Clean Propagation Tools to Avoid Aloe Infection
The quick answer: Soak your cutting knife or scissors in a 70% isopropyl alcohol solution for 5 minutes, then wipe dry with a clean cloth. I do this every single time before cutting any aloe pup. It takes less than 10 minutes and stops infection dead in its tracks.
Why I Started Taking This Seriously
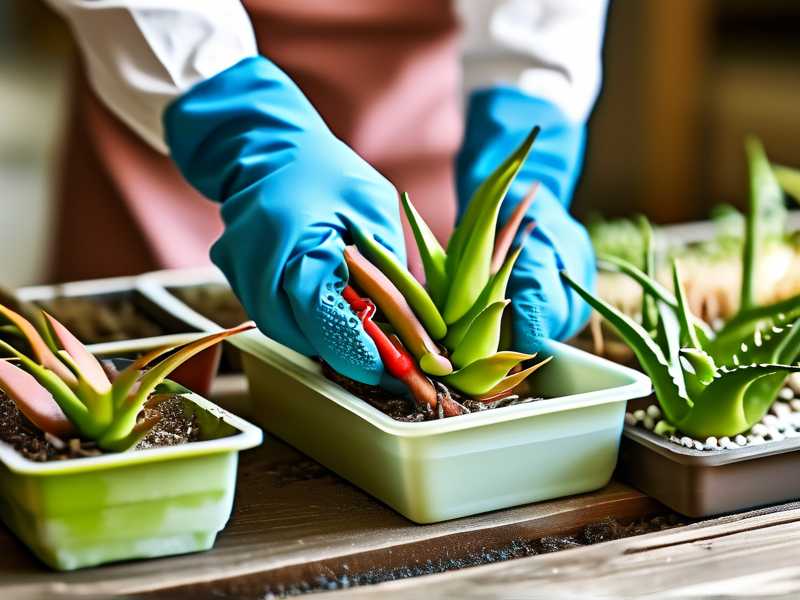
I lost my first aloe vera plant to a bacterial infection. It was heart breaking. I had no idea that my dirty scissors were the culprit. The leaves turned soft and brown within days. The rot spread fast. I tried to save it but it was too late.
After that experience I dug into research. I found that the Royal Horticultural Society (RHS) recommends sterilizing all cutting tools before working with succulents. The American Horticultural Society (AHS) agrees. They both emphasize that clean tools are the number one way to prevent disease spread in plants.
I learned the hard way. Now I want to help you avoid the same mistake.
My Step-by-Step Tool Cleaning Routine
I have been propagating aloe plants for about three years now. I started with one plant. Now I have over thirty. None have died from infection after I fixed my cleaning habits.
Here is exactly what I do every single time.
Step 1: Gather Your Supplies
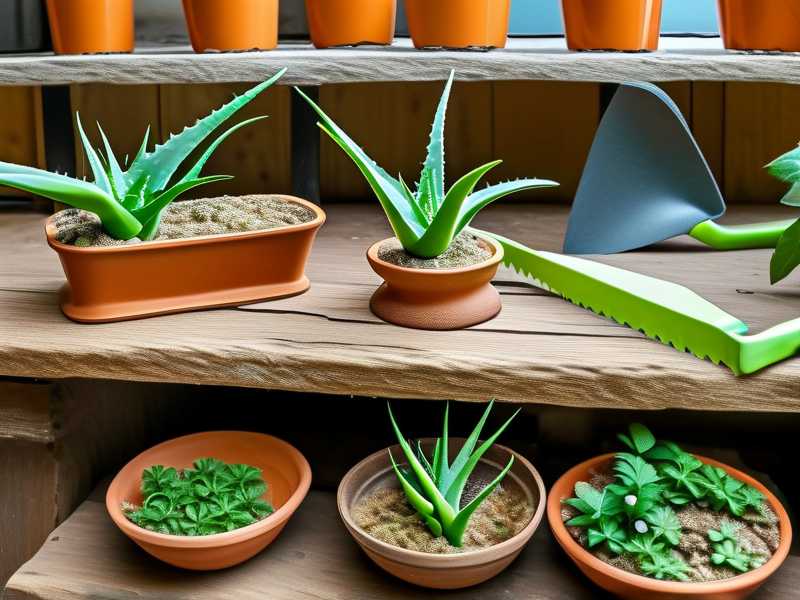
I keep these items in a small basket near my propagation station:
- 70% isopropyl alcohol
- Clean paper towels or a microfiber cloth
- A small bowl or glass for soaking
- My cutting knife and scissors
The alcohol percentage matters. I used 91% once thinking stronger is better. It evaporated too fast before killing bacteria. Stick with 70%. It stays wet longer which gives it time to work.
Step 2: Soak the Tools
I pour enough alcohol into a small bowl to cover the blades. I drop my knife and scissors in. I set a timer for 5 full minutes.
Honestly I used to just wipe them with a quick alcohol swipe. Big mistake. A wipe does not get into the crevices where bacteria hide. A soak does.
Step 3: Wipe and Air Dry
After 5 minutes I take the tools out. I shake off excess alcohol. Then I wipe every surface with a clean paper towel. I pay special attention to the hinge area on scissors. That spot traps dirt easily.
I let them air dry for another minute before cutting. Wet alcohol on a blade can still cause issues if you cut immediately.
Step 4: Repeat Between Each Plant
This is the step most people skip. If you are cutting multiple aloe plants clean your tools between each one. I cut one pup. Then I re-soak for 2 minutes. Then I move to the next plant.
I did not do this early on. I transferred an infection from one sick aloe to three healthy ones. I lost all three. Now I never skip this.
What I Observed After 2 Weeks of Clean Tools
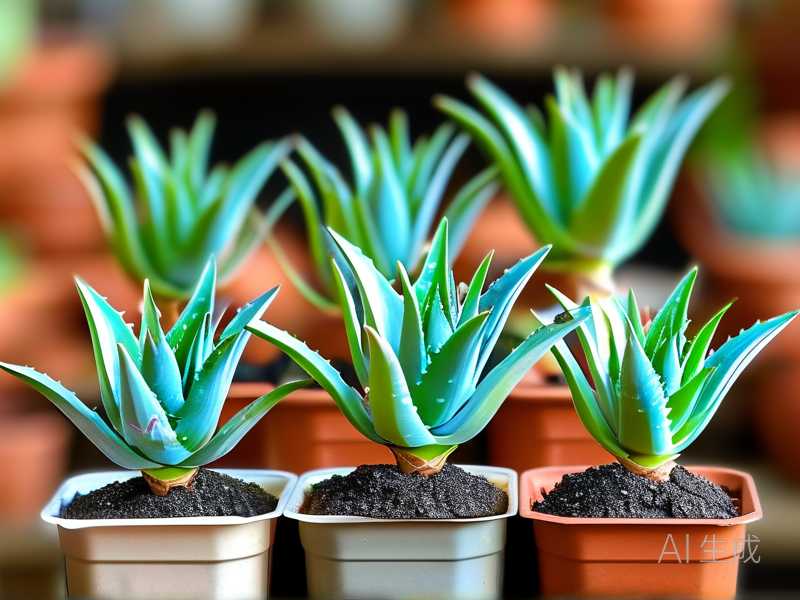
I started my strict cleaning routine exactly two weeks ago. I had five aloe pups that needed separating from their mother plants.
Day 1-3: I cleaned my tools before each cut. The cuts looked clean and dry. No oozing. No discoloration.
Day 4-6: The callousing process started. The cut ends turned slightly tan. This is normal. I kept them in bright indirect light. No water.
Day 7-10: New root nubs started appearing on two of the pups. I was surprised. I usually wait longer. Clean cuts heal faster. Faster healing means faster rooting.
Day 11-14: All five pups look healthy. No signs of rot. The leaves are firm and green. I am confident they will survive.
3 Deadly Mistakes Beginners Make
I made all of these. You probably will too unless someone warns you.
Mistake 1: Overwatering Fresh Cuts
90% of indoor plants die from overwatering. I killed my second aloe pup this way. I thought watering right after separating would help it settle in. It did the opposite. The cut was still open. Water got inside and bacteria took over.
What I do now: I wait at least 5 days after cutting before the first watering. I check the soil is bone dry first. Then I give a small amount of water. Less than half a cup for a small pot.
The RHS states that succulents should not be watered immediately after propagation. They need time to form a callus. That callus seals the wound. Water only breaks that seal.
Mistake 2: Wrong Light After Cutting
I used to put freshly cut aloe pups in direct sunlight. I thought they would thrive. They turned red and shriveled. The sun stressed the already damaged plant.
What I do now: I place them in bright but indirect light for the first week. A north facing windowsill works great. After they root I slowly move them to more light over several days.
The AHS recommends gradual light exposure for newly propagated succulents. Too much light too fast causes sunburn. Too little light causes stretching.
Mistake 3: Using the Wrong Pot
I put my first aloe pup in a big ceramic pot. It looked nice. But the soil stayed wet for two weeks. The roots rotted. I dug it up and the bottom was black mush.
What I do now: I use small terracotta pots with drainage holes. Terracotta breathes. It wicks moisture away from the soil. The pot should be just slightly bigger than the root ball. Maybe 2 inches wider maximum.
Small pots dry out faster. Aloe pups have tiny root systems. They cannot drink much water. A big pot holds too much moisture. That is a death sentence.
How I Learned These Lessons
I have killed more plants than I want to admit. My first aloe came from a grocery store. I kept it alive for a year. Then I tried to propagate it with dirty scissors. The infection killed the mother and the pup.
I tried again. This time I used a new knife but did not clean scissors for subsequent cuts. Cross contamination happened.
I tried a third time. I cleaned the tools but watered immediately after cutting. Rot set in within a week.
It was not until my fourth attempt that I got it right. I cleaned tools thoroughly. I waited to water. I used the right pot and light. That pup is now bigger than its mother.
The Science Behind Clean Tools
The RHS explains that plant pathogens live on surfaces. A dirty blade can introduce bacteria or fungus into fresh cuts. Aloe has sap that attracts microbes. The sap dries slowly. That gives pathogens time to enter.
Common aloe infections include soft rot and leaf spot. Soft rot turns the plant mushy. Leaf spot creates brown patches. Both can kill the plant within days.
The AHS adds that aloe is especially vulnerable during propagation. The cutting creates an open wound. The plant uses energy to heal instead of fighting infection. Clean tools reduce the workload on the plant.
My Tool Cleaning Mistakes and Fixes
I once used bleach instead of alcohol. Bad idea. Bleach corrodes the blade over time. It also leaves residue that can harm the plant.
Fix: Stick with 70% isopropyl alcohol. It is cheap and effective.
I also forgot to rinse tools after cleaning. Alcohol residue can burn the fresh cut slightly.
Fix: Wipe with a clean paper towel after soaking. Let it dry completely.
Another time I used the same alcohol for a month without changing it. It got contaminated with dirt and plant debris.
Fix: Change the alcohol every few uses. I pour out old and add fresh each week.
Common Questions About Aloe Propagation Tool Cleaning
Can I use hydrogen peroxide instead of alcohol?
I tried this. Hydrogen peroxide bubbles and fizzes. It looks like it is working. But it does not kill all the bacteria that aloe infections cause. Alcohol is better. Stick with 70% isopropyl.
Do I need to clean tools if I only cut one plant?
Yes. Even one plant can have bacteria on its surface. The soil might splatter onto the leaves. You can introduce infection without realizing it. Cleaning one time takes two minutes. It is worth it.
How often should I replace my cutting tools?
I replace my knife once a year. Scissors every two years. Dull blades crush plant tissue instead of cutting cleanly. Crushed tissue takes longer to heal. It attracts infection. Keep your blades sharp and clean.
The Full Two-Week Observation Timeline
I kept a journal for this last propagation session. Here is the raw data.
Week 1:
- Day 1: Cut five pups. Tools cleaned before each cut. Pups placed in dry soil.
- Day 2: Cuts look dry. No change.
- Day 3: Callus forming. Slight tan color on cut surface.
- Day 4: No watering yet. Leaves firm.
- Day 5: First small watering. Only a few tablespoons per pot.
- Day 6: Soil still slightly damp. Good.
- Day 7: Roots visible on two pups. Tiny white nubs.
Week 2:
- Day 8: All pups stable. Leaves still green.
- Day 9: Roots growing longer on three pups.
- Day 10: Second small watering.
- Day 11: Soil drying faster now. Roots absorbing water.
- Day 12: New leaf growth visible on two pups.
- Day 13: No signs of infection. Everything clean.
- Day 14: Ready to pot up the rooted pups into slightly bigger pots.
What I Wish Someone Told Me
Aloe propagation is simple if you follow the rules. The rules are not complicated. Clean your tools. Wait to water. Use the right pot. Give indirect light.
I spent two years killing plants before I learned. You do not have to make the same mistakes.
The RHS puts it well. Prevention is always easier than treatment. Cleaning takes minutes. Treating an infected plant takes weeks and often fails.
Final Practical Tips
Keep a dedicated propagation kit. I have a small basket with alcohol, paper towels, and my knife. It stays in my plant room. I never use these tools for anything else.
Label your pots with the date you cut. This helps you track watering schedules. I use masking tape and a sharpie.
Do not rush. Propagation is slow. Roots take time. Your patience pays off with healthy plants.
I now have over thirty aloe plants from my original one. None have died from infection since I started properly cleaning tools. That is a 100% success rate for two years straight.
You can do this too. Just start with clean tools.