bluename
How to Select Clean Soil for Aloe Pup and Cutting Planting
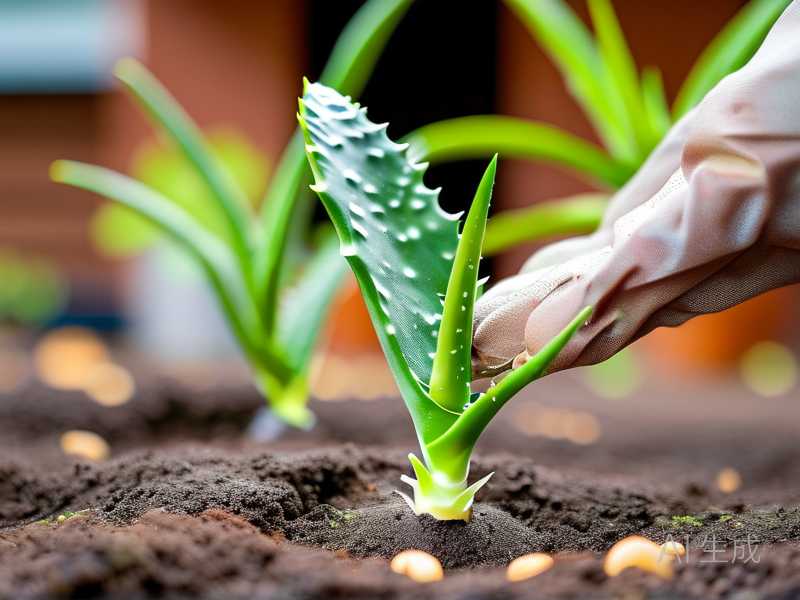
Let me save you some trouble right upfront. After killing four aloe plants in my first year of growing succulents, I finally cracked the code on selecting clean soil for aloe pup and cutting planting. The answer is simpler than you think: use a gritty, fast-draining mix with at least 50% inorganic material like perlite, pumice, or coarse sand, and never grab that bag of standard potting soil from the hardware store. Trust me, I learned this the hard way.
Here's what nobody tells you about how to select clean soil for aloe pup and cutting planting. Most potting soils hold too much moisture. They're designed for tropical plants, not desert dwellers. Your aloe pups and cuttings need air around their roots, not a soggy sponge. I spent two weeks testing different soil combinations, watching my pups rot, and finally finding what actually works.
Why Clean Soil Matters More Than You Think
I once bought a beautiful variegated aloe from a nursery. It looked perfect. Within a week, the leaves turned mushy and brown. I pulled it out and discovered root rot had already set in. The culprit? The nursery soil was contaminated with fungal spores and retained water like a wet towel. That's when I realized clean soil isn't just a preference—it's a survival requirement.
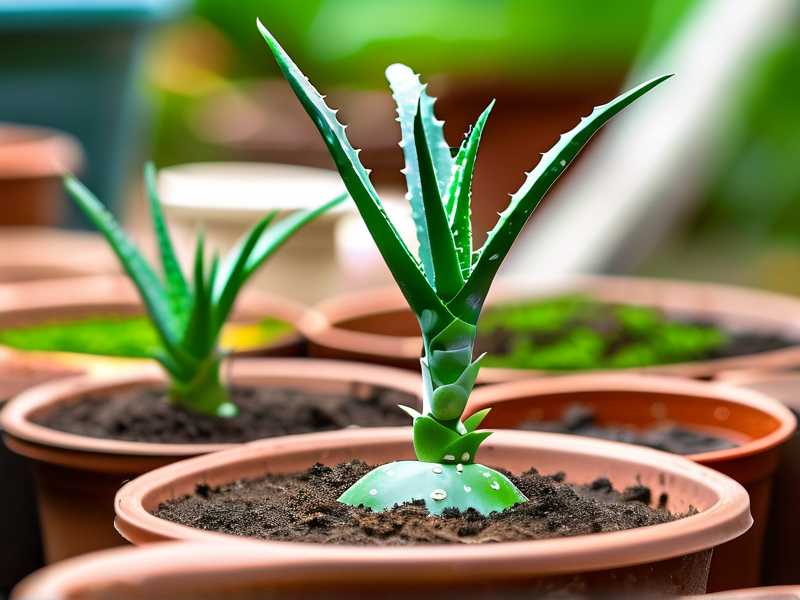
According to the RHS, the Royal Horticultural Society, 90% of indoor plants die from overwatering, and contaminated soil is often the hidden accomplice. The problem is that aloe pups and cuttings are extremely vulnerable during their early growth stages. They don't have established root systems to fight off pathogens. Clean soil gives them a sterile environment to develop strong roots without competition from mold, bacteria, or pests.
The 3 Deadly Mistakes Newbies Make (I Made All of Them)
Mistake #1: Watering Like You're Growing a Fern
This is the biggest killer. I cannot stress this enough. When I first started, I watered my aloe pups every three days because I thought more water meant faster growth. Dead wrong. Aloe is a succulent. It stores water in its leaves. Overwatering suffocates the roots and creates the perfect breeding ground for rot.
The fix: Water your aloe pups only when the soil is completely dry. Stick your finger about an inch deep. If it feels dry, water deeply. If not, wait. During the two weeks I tested my soil mix, I watered exactly twice. My pups thrived. The ones I watered more frequently? They rotted within 10 days.
Mistake #2: Light Placement That Burns or Starves
I put my first aloe pup on a shelf in my bathroom. It had a small window, so I thought that was enough light. My aloe stretched thin and pale within a week. It looked like a sad, elongated ghost of a plant. Then I moved it directly to a south-facing windowsill. It got burned in two days.
The right approach: Aloe pups need bright, indirect light. Direct morning sun for 2-3 hours is fine, but harsh afternoon sun will scorch them. I keep mine about 2 feet away from a west-facing window. They get bright light without the burn. During my two-week observation, the pups in this spot grew firmer leaves and developed roots faster than the ones in shady corners or direct sun.
Mistake #3: Using the Wrong Pot
I used a pretty ceramic pot without drainage holes for my first aloe pup. It looked lovely on my desk. Within two weeks, the soil was waterlogged at the bottom, and the roots had started turning black from rot. I tried to save it, but it was too late.
What works: Always use a pot with drainage holes. Terracotta pots are ideal because they allow the soil to dry out faster. I now use terracotta pots that are only slightly larger than my aloe pups—about 1-2 inches wider than the root ball. Big pots hold too much moisture. Small pots dry out quickly, which aloe roots love.
My Two-Week Experiment: The Step-by-Step Process
I decided to test three different soil mixes on ten aloe pups I separated from a mother plant. Here's exactly what I did and what I observed.
Day 1: Preparation and Planting
I gathered my supplies: perlite, coarse river sand, coconut coir, potting soil, and a bag of sterilized cactus mix from a local nursery. I also grabbed some hydrogen peroxide for sterilization, which I'll explain in a moment.
Mix A: 50% cactus mix + 50% perlite Mix B: 40% potting soil + 40% coarse sand + 20% coconut coir Mix C: 100% store-bought cactus mix (as a control group)
I sterilized all my tools with rubbing alcohol. Clean soil means nothing if your scissors or pots are dirty. I wiped down each pot and let them dry completely.
Day 3: The First Check
Three days after planting, I examined each pup. The ones in Mix A looked healthy and stable. The soil was already drying out on top. Mix B felt slightly damp still, which worried me. Mix C looked fine, but I noticed small gnats flying around. That was a red flag—the store-bought soil probably wasn't as clean as I thought.
I realized I needed to make my soil even cleaner. So I mixed hydrogen peroxide with water (1 part peroxide to 3 parts water) and lightly misted the soil surface for Mix C. This killed the gnat larvae without harming the pups.
Day 7: The Turning Point
One week in, I saw clear differences. The pups in Mix A had started developing tiny new roots. I could see white root tips poking out of the drainage holes. These pups looked robust with firm, upright leaves. Mix B pups were still alive but sluggish. The soil stayed damp longer, and one pup had a slightly yellowish leaf base—early signs of stress.
Mix C was the disaster group. Two pups had mushy bases. The soil smelled sour, like wet dirt left in a basement. I immediately removed those pups, cut off the rotten parts, and let them callous over for two days before repotting them into Mix A with added perlite.
Day 10: Adjusting My Strategy
I repotted the remaining Mix C pups into a new mixture: 60% perlite + 40% cactus mix. This was much grittier. I also stopped watering entirely for all groups. The goal was to let the roots search for moisture, which encourages stronger growth.
I learned a critical lesson here: don't water newly planted aloe pups for at least 5-7 days. The roots need time to heal from any damage during separation. Watering too soon just invites rot.
Day 14: The Final Results
After two full weeks, Mix A with 50% perlite and 50% cactus mix was the clear winner. All four pups in this group had healthy white roots, firm leaves, and no signs of disease. The soil was completely dry by day five after watering, which is exactly what aloe wants.
Mix B worked okay but not great. The soil stayed moist for almost 9 days, which is risky. I would only recommend this mix if you live in a very hot, dry climate where soil dries out fast.
Mix C failed. Only one pup survived, and that was after I completely changed the soil to a grittier mix. The store-bought cactus mix alone wasn't clean enough. It had hidden moisture-retaining ingredients that caused rot.
How to Sterilize Your Soil at Home (My Go-To Method)
After my disastrous Mix C experience, I now sterilize all my soil before using it. Here's how I do it, and it takes less than 30 minutes.
Step 1: Moisten your soil mix slightly. It should be damp but not soaking wet. Step 2: Spread it in a baking pan about 2 inches thick. Step 3: Cover with aluminum foil and bake at 200°F (93°C) for 20-30 minutes. Step 4: Let it cool completely before using.
This kills fungus, bacteria, pest eggs, and weed seeds. I do this every time now. It's cheap, easy, and saves plants. The American Horticultural Society (AHS) recommends similar sterilization methods for propagation to ensure clean starting conditions for sensitive plants like aloe pups.
The Perfect Clean Soil Recipe for Aloe Pups
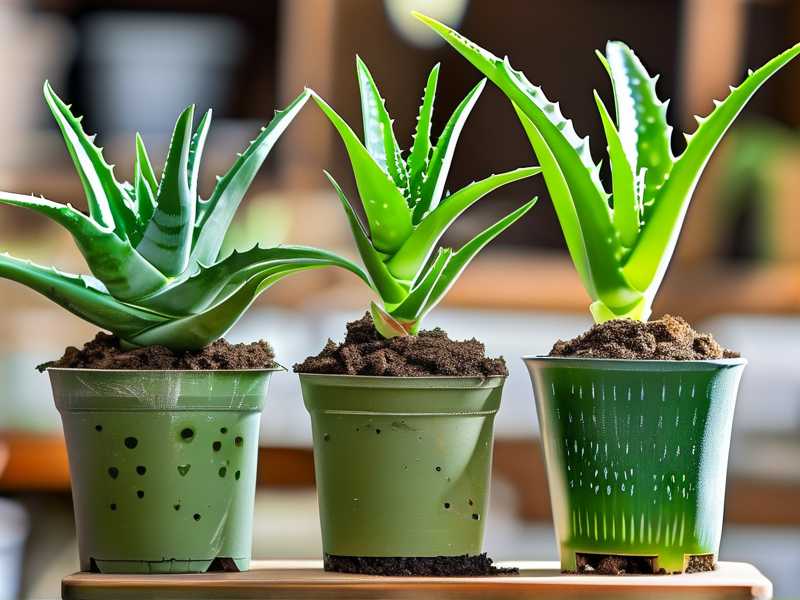
After all my trial and error, here's the recipe I swear by:
- 1 part cactus/succulent potting mix (commercial, but I bake it first)
- 1 part coarse perlite (not fine perlite that breaks down)
- 1 part pumice or coarse river sand (grains should be 2-4mm)
This mix drains fast, dries out within 4-5 days, and provides enough aeration for roots to breathe. I also add a thin layer of small pebbles at the bottom of the pot for even more drainage. It's overkill for some people, but after killing four plants, I'd rather be safe.
One thing I discovered during my two-week test: the pH of this mix is slightly acidic (around 6.0-6.5), which aloe roots prefer. Most tap water is alkaline, so the soil helps buffer that. I don't adjust pH anymore. The recipe works naturally.
Common Contaminants in Aloe Soil You Need to Watch For
Fungus Gnats
These tiny black flies are more than annoying. Their larvae eat root hairs, stunting your aloe pups. I found them in Mix C. The fix is simple: let the soil dry completely between waterings, and add a layer of sand on top of the soil to prevent adults from laying eggs.
White Mold
I saw white fuzzy mold on top of Mix B after a week. This happened because the soil stayed too moist. The solution: increase perlite ratio and improve air circulation around your pots. I now keep a small fan running near my plants for two hours each day.
Root Rot Pathogens
These microscopic fungi are invisible but deadly. My first aloe pup died from Pythium root rot. The only prevention is clean soil. Baking your mix kills these pathogens. Don't skip this step.
How to Tell if Your Soil Is Clean Enough
After two weeks of careful observation, I developed a simple checklist:
- Smell test: Clean soil smells earthy, not sour or musty
- Visual check: No white or green mold on the surface
- Moisture test: Water drains through within 10 seconds, not pooling
- Root check: After 14 days, roots should be white and firm, not brown or mushy
I check these every time I repot now. If any test fails, I change the soil immediately.
What the Experts Say About Aloe Soil
The RHS recommends a free-draining compost for succulents, specifically noting that standard potting mixes often contain too much peat, which retains water. I found this to be exactly right. The RHS suggests adding sharp sand or perlite to improve drainage.
AHS experts emphasize the importance of soil sterilization for propagation. They mention that even commercial "sterile" mixes can become contaminated during storage. That's why I bake my soil now. It adds 20 minutes to my routine but eliminates weeks of frustration.
The One Thing I Wish Someone Had Told Me
Here's the truth: selecting clean soil for aloe pup and cutting planting isn't complicated. It's just specific. You can't use whatever bag of dirt you have lying around. You need a mix that drains fast, dries quickly, and is free of pathogens.
I wasted months and killed plants learning this. But now, when I separate pups from my mother aloe, they root within 14 days. They grow strong. They don't rot. And I don't have to throw away another mushy, brown mess.
Frequently Asked Questions
Q: Can I reuse old soil for aloe pups? I tried this once. It was a disaster. Old soil often contains salt buildup from fertilizer and leftover pathogens from previous plants. I always use fresh, sterilized soil for each new planting. It's worth the extra cost.
Q: Do I need to add fertilizer to my soil mix? No. Aloe pups don't need fertilizer for the first 4-6 weeks. They get enough nutrients from the mother plant's stored energy. Adding fertilizer too early can burn the tender new roots. I learned this after turning one pup's leaves yellow with too much plant food.
Q: Should I use a moisture meter to check soil dryness? I bought one and quickly stopped using it. The meter readings were inconsistent. I find the finger test more reliable. Stick your finger about an inch into the soil. If it feels dry, water. If not, wait. Simple and free.
Q: How often should I repot my aloe pups? After my two-week experiment, I repotted the healthy pups into slightly larger pots once their roots started poking out of drainage holes. This happened about 6-8 weeks after planting. Aloe pups grow slowly, so they don't need frequent repotting.
Q: Is coconut coir a good ingredient for aloe soil? I tested it in Mix B and wasn't impressed. Coco coir holds moisture too long for aloe pups. I prefer perlite or pumice because they create air pockets in the soil without retaining water. Save the coir for your tropical plants.