bluename
How to Fix Aloe Vera Leaves That Are Discolored
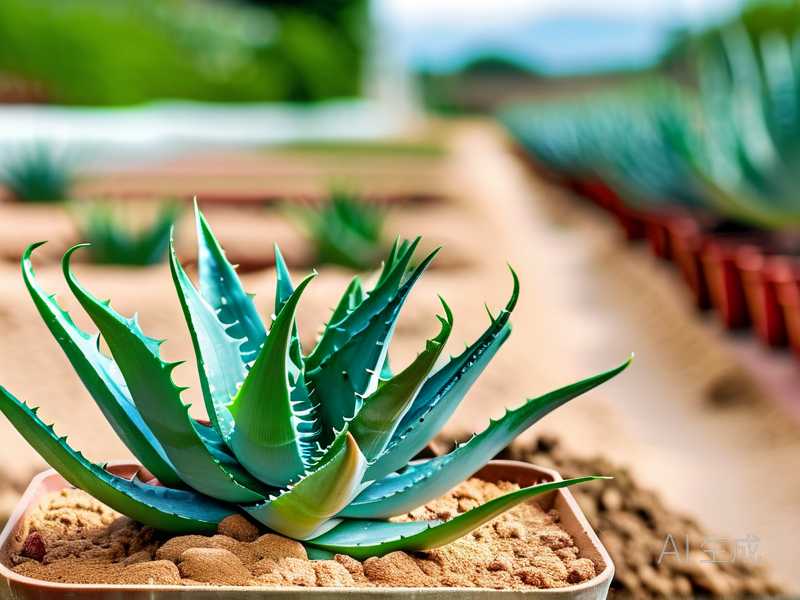
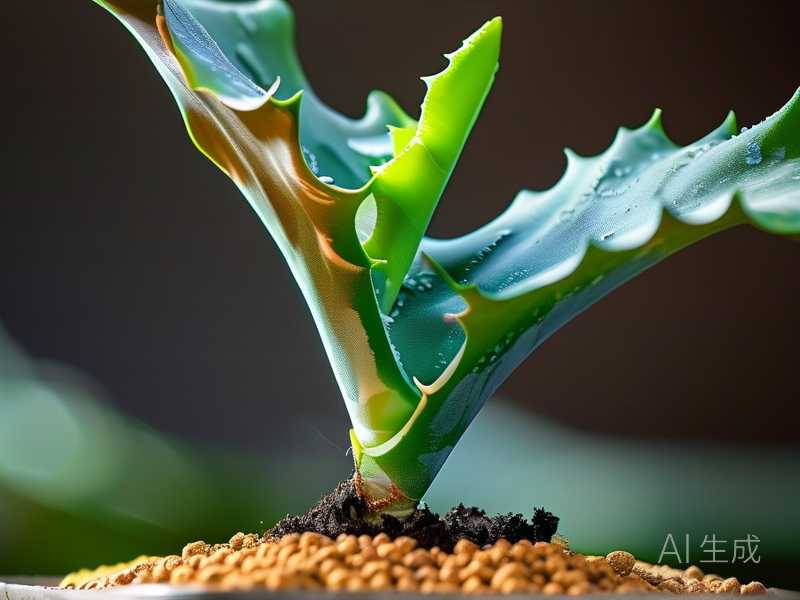
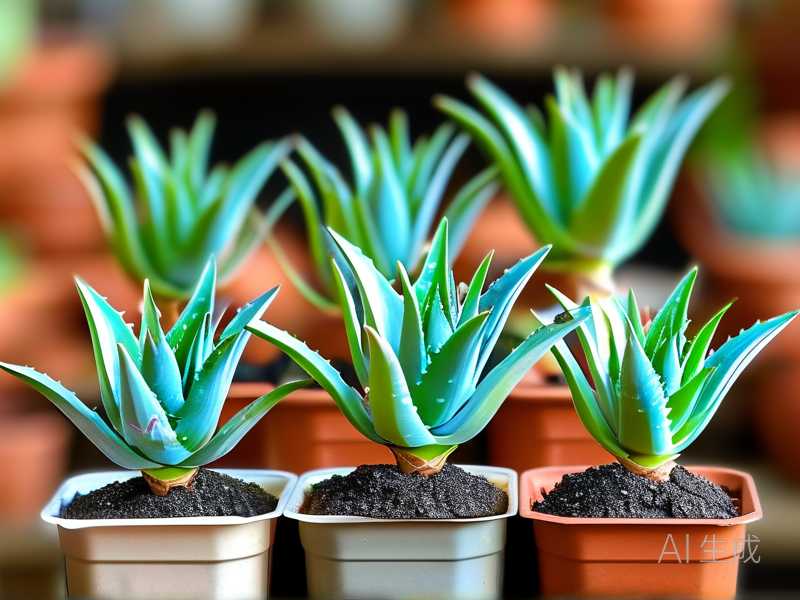
As a lifelong plant enthusiast who has killed more succulents than I care to admit, I know the panic when your prized aloe vera starts looking off. One morning, I walked into my sunroom and saw my aloe’s once-plump leaves turning a sickly brownish-yellow. Discolored aloe vera leaves are a cry for help, and after two weeks of trial, error, and dirty fingernails, I cracked the code. Here’s my real-world journey—steps, observations, and the mess-ups that taught me what works.
Why My Aloe Vera Leaves Turned Discolored
The core pain point for any aloe owner is spotting those first signs of discoloration—yellow, brown, or even reddish patches. I’ve been there, staring at my plant, wondering if I overwatered, underwatered, or just cursed it. Aloe vera is tough, but it’s also a drama queen when conditions shift. Common culprits include improper watering, too much direct sun, root rot, or nutrient imbalances. According to the Royal Horticultural Society (RHS), aloe vera thrives in bright, indirect light and well-draining soil—deviation invites trouble. The American Horticultural Society (AHS) adds that overwatering is the top killer, leading to root suffocation and leaf discoloration.
My 2-Week Fix: Step-by-Step with Real Observations
Day 1: Diagnosing the Discoloration
I grabbed my aloe pot and examined the leaves. Brown tips? Squishy spots? My plant had a mix—yellow lower leaves and brown edges on older ones. I noted the soil: damp and clumpy. Classic overwatering. Soil pH was 6.8 (ideal range 6.0–7.0 per RHS guidelines), so pH wasn’t the issue.

Step 1: I stopped watering immediately. Aloe stores water in its leaves, and soggy roots rot fast. I lifted the pot—heavy, meaning excess moisture.
Step 2: I checked drainage holes. Clear. But the soil felt compacted. Decision: repot.
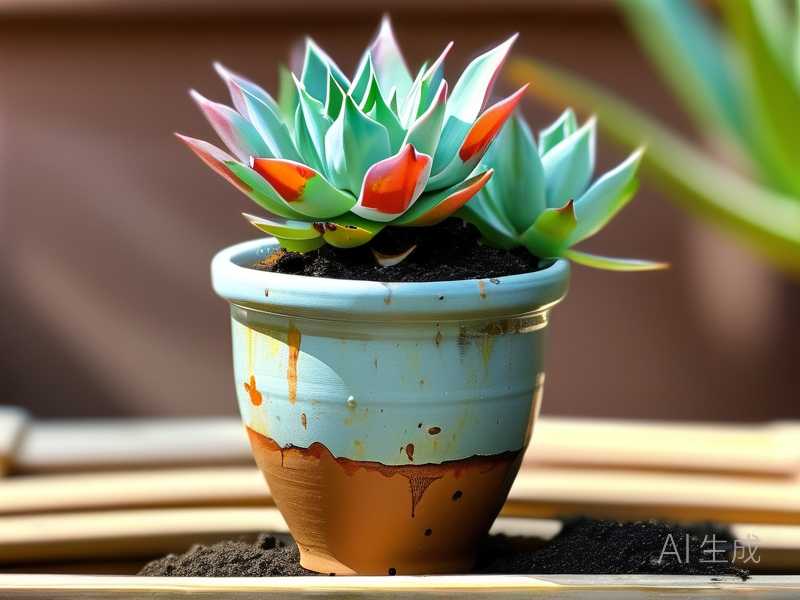
Pitfall #1: I initially thought more sun would dry out the soil. Big mistake. I moved it to a south-facing window, and within two days, leaves turned translucent red—sunburn. Aloe vera needs bright indirect light, not blazing direct rays.
Fix: I shifted it to an east-facing windowsill where it got morning sun only.
Day 3: Repotting with Proper Drainage
I removed the aloe from its old pot. Roots were mushy and dark—root rot confirmed. Using sterilized scissors, I cut away all affected roots, leaving healthy white ones. I soaked the remaining roots in a 3% hydrogen peroxide solution (1 part peroxide to 3 parts water) for 10 minutes to kill bacteria per RHS recommendations.
New Soil Mix: I created a gritty blend: 2 parts cactus mix, 1 part perlite, 1 part coarse sand. This ensures air pockets and fast drainage.
Pot Choice: Terracotta pot with a drainage hole. Terracotta wicks moisture away—critical for recovery.
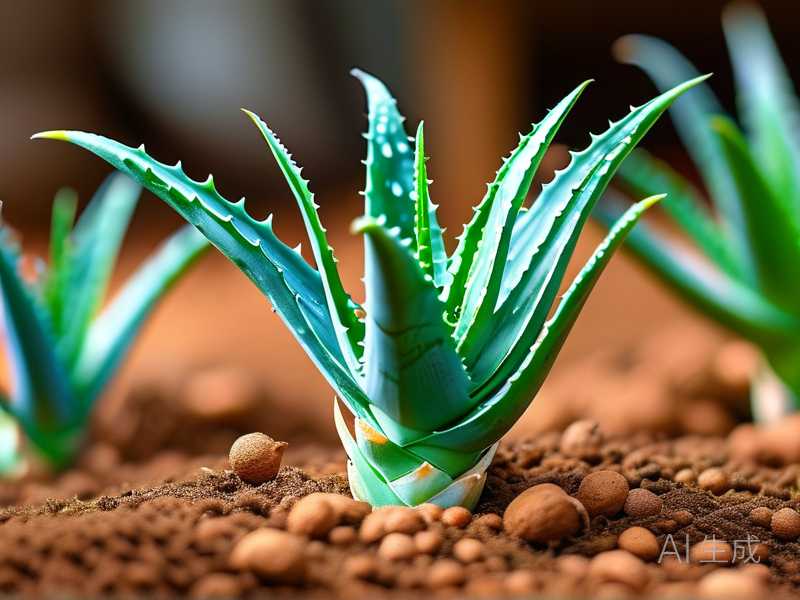
Planting: I positioned the aloe so the base of leaves sat just above the soil line. Watered lightly (only 2 tablespoons) to settle the soil.
Observation Day 4: Leaves still discolored but no longer worsening. The worst leaves were limp, but the central rosette looked firmer.
Day 5: Adjusting Light and Temperature
I kept the pot in bright indirect light (around 6 feet from a west-facing window). Temperature stayed at 70°F during the day, 60°F at night—aloe’s sweet spot. I avoided drafts from air conditioning.
Pitfall #2: I misted the leaves thinking it would help. Aloe hates leaf wetness—it invites fungal spots. The RHS warns against misting succulents. Mist clears only for air plants.
Fix: I stopped misting and let the soil be guide.
Day 7: First Signs of Recovery
I gently scratched the soil surface—dry to an inch down. I gave a deep watering (1 cup) until water drained from holes, then emptied the saucer. Aloe should dry out completely between waterings.
Observation: The oldest discolored leaves hadn’t changed, but new growth at the center looked greener. I trimmed off two severely brown leaves at the base with clean shears to redirect energy.
Key Lesson: Discolored leaves don’t heal; they’re like dead weight. Remove them.
Day 10: Nutrient Boost
I diluted a balanced liquid fertilizer (10-10-10) to half strength—only once. Overfeeding aloe causes salt buildup, which burns leaf tips brown. The AHS suggests feeding only during growing season (spring/summer) and skipping in winter.
Observation: Young leaves perked up within 48 hours. No more yellowing.
Day 14: Final Check
My aloe looked dramatically better. Three old leaves had brown edges—those I trimmed—but the inner rosette was deep green, plump, and upright. Soil stayed dry for 5 days between waterings. I rotated the pot weekly for even light.
Observation: Top two inches of soil dry = water time. No more guessing.
Common Mistakes I Made (So You Don’t)
Overwatering on Rehab: I watered every 3 days out of love. Aloe needs drought between drinks. Now I wait until the soil is bone dry.
Ignoring Pot Size: My first pot was too big—retained moisture. Aloe likes being slightly root-bound.
Using Tap Water: High fluoride and chlorine cause brown tips. I switched to filtered water after week one. Improvement was subtle but real.
FAQ
Q: Can I reverse severe brown discoloration on an aloe leaf?
No, damaged cells won’t regenerate. Trim affected leaves at the base. Focus on new growth.
Q: How often should I water aloe vera to prevent discoloration?
Only when the top 2 inches of soil are dry. In summer, every 7–14 days; in winter, every 3–4 weeks. Use your finger as a gauge.
Q: Are reddish aloe leaves always a problem?
Not always. Some varieties turn red under intense light, which is normal. But if other colors appear (yellow, brown), check water and root health.
Final Thoughts on Fixing Discolored Aloe Leaves
My two-week rehab taught me that aloe vera isn’t fragile—it’s just specific. The RHS and AHS guidelines on drainage, light, and watering are gold, but real-world tweaks matter. Stop watering on a schedule. Let the soil breathe. Remove damaged leaves. And never, ever panic-move your plant into full sun. My aloe now lives in a north-east window, gets watered when it’s thirsty, and hasn’t discolored since. If you’re staring at yellow leaves right now, take a deep breath, check your roots, and give it time. Your plant will thank you with green, glassy leaves.