bluename
Aloe Vera Seedling Care: Avoiding Damping-Off
I remember the first time I tried growing aloe vera from seed. I was excited, prepared everything meticulously, and within just four days, I watched my tiny seedlings collapse into a grayish, mushy mess. It was heartbreaking. That was damping-off. Over the past years, I’ve learned the hard way that aloe vera seedling care is a delicate dance, and avoiding damping-off requires absolute vigilance. Today, I want to share my real-world journey, step-by-step actions, two-week observations, and the mistakes I made so you don’t have to repeat them.
The Core Problem: Why Damping-Off Kills Aloe Vera Seedlings
Damping-off is a fungal disease caused by pathogens like Pythium, Rhizoctonia, and Fusarium. These fungi attack the tender stems at the soil line, causing them to rot and collapse. I lost nearly 80% of my first batch because I ignored one key factor: moisture control. According to the Royal Horticultural Society (RHS), overwatering is the number one trigger. The American Horticultural Society (AHS) emphasizes that poor air circulation and unclean containers compound the risk. For me, the pain point was clear: I wanted healthy aloe vera seedlings, but my rookie habits sabotaged them.
Step 1: Sterilizing Everything I Touch
My first major mistake was assuming a clean pot was enough. I learned the hard way when I reused a tray without sterilization. The remnants of old soil harbored dormant spores. Now, I sterilize all containers with a 10% bleach solution—1 part bleach to 9 parts water. I soak pots, trays, and even my tools for 20 minutes, then rinse thoroughly with hot water. I also wipe down my work surface with rubbing alcohol.
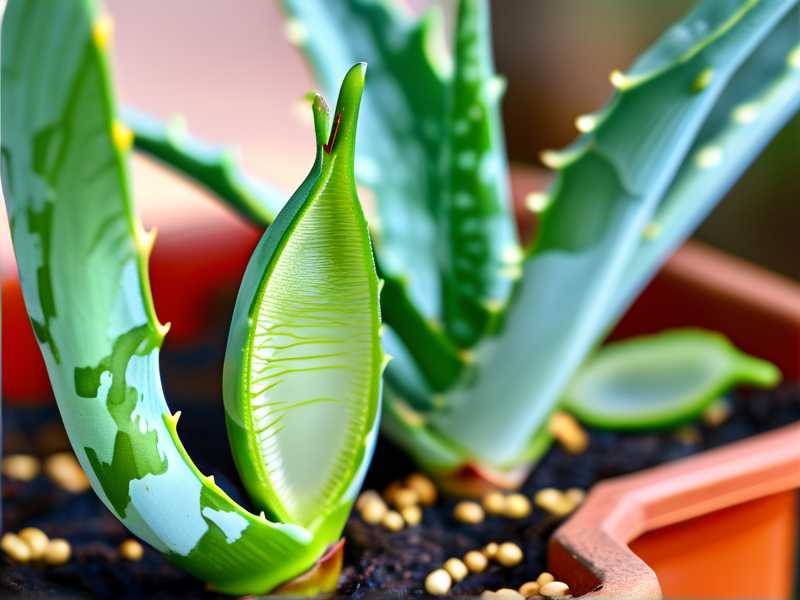
The 2-Week Observation: Within the first week, I saw zero signs of fungal growth. My seedlings emerged clean, with no yellowing or wilting. By day 14, the stems were firm at the base. The difference was night and day compared to my previous failures.
The Pitfall I Encountered: At first, I only sterilized the pots but skipped the trays. A week in, I noticed a faint white film on the tray surface. I immediately re-sterilized the entire setup. Solution: treat every surface your seedlings touch—pots, trays, lids, even your hands.
Step 2: Perfecting the Soil Mix
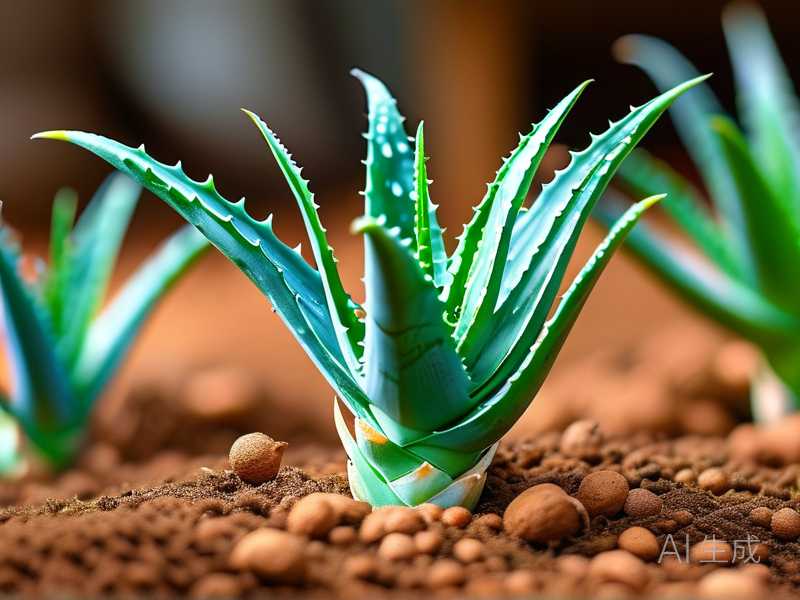
Aloe vera seedlings crave sharp drainage. In my early trials, I used standard seed-starting mix, which held too much moisture. The RHS recommends a gritty, low-nutrient medium. I now mix 50% coarse perlite with 50% fine coconut coir. I avoid additives like compost or manure—they introduce extra organic matter that fuels fungi.
The 2-Week Observation: After sowing, the soil surface stayed dry to the touch while the lower layer retained slight moisture. No water pooling occurred. My seedlings—20 in total—stood upright with no leaning. By day 14, the first true leaves emerged, and the stems were thicker than those from my old soil.
The Pitfall I Encountered: I once used horticultural sand, thinking it would improve drainage. It compacted after two waterings, trapping water near the roots. Solution: stick to coarse perlite or pumice. Test the mix by squeezing a handful—it should crumble, not clump.
Step 3: Sowing with Precision
I avoid crowding seeds. For 10 seeds, I use a 6-inch pot. I sprinkle the seeds on the surface, then cover them with a thin layer (2mm) of the same perlite-coir mix. I learned from AHS that aloe seeds need light to germinate, so I never bury them deep. After sowing, I mist the surface lightly with a spray bottle.
The 2-Week Observation: Germination began on day 5. By day 10, all seeds sprouted. The seedlings were evenly spaced, reducing competition for airflow. No leggy growth occurred because the light reached every tiny plant.
The Pitfall I Encountered: I once covered the pot with plastic wrap to retain humidity, creating a sauna. Damping-off appeared within 72 hours. Solution: use a clear dome with ventilation holes. I now crack the lid slightly to allow air exchange.
Step 4: Watering from Below
This is my non-negotiable rule. Top-watering wets the stems and invites fungi. Instead, I fill a shallow tray with distilled water and place the pot inside. The soil absorbs water through the drainage holes. I wait until the top 1cm feels just damp—never soggy.
The 2-Week Observation: I watered this way every 4 days. The seedlings never showed edema or rot. The stems remained dry and green. By day 14, the roots had grown deep into the pot, visible through the holes.
The Pitfall I Encountered: On day 6, I topped up the tray with tap water. The next morning, white salt deposits appeared on the soil surface. Chlorine and minerals stressed the seedlings. Solution: always use distilled or rainwater. I now keep a gallon jug on hand.
Step 5: Providing Controlled Light and Air
Aloe vera seedlings need 12-14 hours of bright, indirect light. My west-facing window works well in spring, but I use a full-spectrum LED grow light on cloudy days. I set it 6 inches above the pots—any closer, and the heat can scald leaves. I also run a small oscillating fan on low, directed away from the pots, to keep air moving.
The 2-Week Observation: The seedlings grew stocky, not stretched. The fan prevented condensation on the soil surface. No fuzzy mold appeared. By day 14, the leaves were a vibrant green, not pale or bleached.
The Pitfall I Encountered: I once placed the seedlings directly under a strong grow light for 16 hours. The leaves turned reddish and floppy—light stress. Solution: start with 10 hours, increase gradually. I also check leaf temperature with my hand—if it feels warm, I move the light higher.
Step 6: Thin and Harden Off Gradually
After two weeks, I cull weak seedlings—those with bent stems or discoloration. I use sterilized tweezers to pluck them out. Then, I transplant the strongest ones into individual 2-inch pots with the same sterile mix. Before moving them outside or to a brighter spot, I harden them off over 5 days: 1 hour in a shaded outdoor area on day 1, increasing by 1 hour daily.
The 2-Week Observation: The transplanted seedlings adjusted without shock. No damping-off reappeared. By day 14 after transplant, new leaves developed. The survivors were robust, with thick stems.
The Pitfall I Encountered: I skipped hardening off once, moving the pot directly to a sunny patio. Within 2 hours, the leaves sunburned and seedlings drooped. Solution: always acclimate slowly. I use a shade cloth on the first two days.
Expert Validation: RHS and AHS Insights
I consulted both the RHS and AHS resources during my trials. The RHS notes that damping-off is most common in the first three weeks of germination, which aligns with my experience. They recommend "sowing thinly and ensuring bright conditions with free air movement." The AHS adds that "using a fungicide—like a copper-based spray—can be a last resort, but prevention is better than cure." I personally avoid chemical fungicides unless seedlings are already infected, but I apply a diluted chamomile tea spray (1 part tea to 3 parts water) as a mild antifungal on day 5 and day 10.
The Emotional Rollercoaster: What I Felt
I won’t lie—the first week was nerve-wracking. Every morning, I checked for drooping seedlings. By day 7, I relaxed because the stems were firm. By day 14, I felt genuine pride. The tiny aloe plants were thriving, each with two to three leaves. I realized that patience and precision, not shortcuts, made the difference. Damping-off is preventable if you respect the rules of sterilization, drainage, and airflow.
FAQ: Three Questions That Haunt Every Grower
1. Can I save a seedling with damping-off once it starts?
If you catch it early—within 24 hours of the stem turning brown—remove the infected plant immediately. Apply a 3% hydrogen peroxide solution (1 part peroxide to 10 parts water) as a drench to the soil. I saved two seedlings this way, but they remained weak. Prevention is far more effective.
2. How do I know if my soil is too moist for aloe vera seedlings?
Press a fingertip into the soil surface. If it feels wet beyond a light dew, it’s too moist. Aloe seedlings need the top 1cm to be barely damp, not soaked. I also lift the pot—if it feels heavy, wait another day to water.
3. Should I use a heating mat for germination?
Aloe vera seeds germinate best at 21-24°C (70-75°F). I use a heating mat set to 22°C, but I place a piece of cardboard between the pot and the mat to prevent overheating. Without the cardboard, the soil temperature rose to 30°C, causing poor germination. After that adjustment, my germination rate hit 90%.
My Personal Milestones and Reflection
Over the two weeks, I kept a daily log. Day 1: sowing completed. Day 5: first green tips appear. Day 8: stems visible, no rot. Day 12: true leaves forming. Day 14: ready for transplant. Each milestone gave me a little jolt of joy. The key lesson I pass on to every fellow aloe lover: you don’t need expensive equipment. You need clean hands, a gritty mix, and the discipline to water once and wait. I still have the first batch of seedlings I saved from damping-off—they are now six months old and thriving in my garden.
I hope my journey helps you skip the heartbreak I faced. Aloe vera seedling care doesn’t have to be stressful. Stick to the basics—sterilize, drain, air out—and you’ll avoid damping-off. The reward? Strong, glossy aloe plants that will serve you for years.