 bluename
 How to Adjust Fertilization for Balcony Aloe Cultivation
I killed my first three aloe plants before I figured out fertilization. The truth is simple: use a balanced liquid fertilizer at 1/4 strength once every 4-6 weeks during spring and summer, and stop completely in winter. That's it. I wasted months and money on expensive products. Now my balcony is full of thriving aloe. Here's how I got there.
Why Balcony Aloe Needs Special Fertilization
Balcony conditions are different from indoor or garden setups. I learned this the hard way. My first aloe sat in a pot on a windy balcony. It looked sad. The leaves turned brown at the tips. I thought it needed more food. I added full-strength fertilizer. Big mistake.
Aloe vera is a succulent. It stores water in its leaves. It grows slowly. Too much fertilizer burns the roots. It causes leaf damage. According to the RHS, succulents like aloe need very low nutrient levels compared to other plants. The AHS also confirms that aloe thrives in poor soil conditions.
The 3 Deadly Mistakes Beginners Make with Aloe Fertilization
Mistake 1: Overwatering While Fertilizing
I cannot stress this enough. 90% of indoor plants die from overwatering. For aloe, it's even worse. I used to water my aloe every three days. I added fertilizer each time. The leaves became mushy. The roots rotted. I lost the entire plant.
The fix: Water only when the soil is completely dry. Stick your finger 2 inches deep. If it's dry, water deeply. If not, wait. Fertilize only when you water. Never fertilize dry soil. That burns roots.
Mistake 2: Wrong Light Exposure After Fertilizing
I placed my fertilized aloe in direct afternoon sun. The leaves turned orange. They looked sunburned. I thought it was nutrient deficiency. I added more fertilizer. The damage got worse.
The truth: Fertilized aloe is more sensitive to light. The nutrients make the plant grow faster. New growth burns easily. Keep your aloe in bright indirect light for 2-3 days after fertilizing. Then slowly move it to more sun.
Mistake 3: Using the Wrong Pot
My first aloe was in a decorative ceramic pot with no drainage holes. I thought it looked nice. The soil stayed wet. The roots drowned. I added fertilizer thinking it would help. It made the rot spread faster.
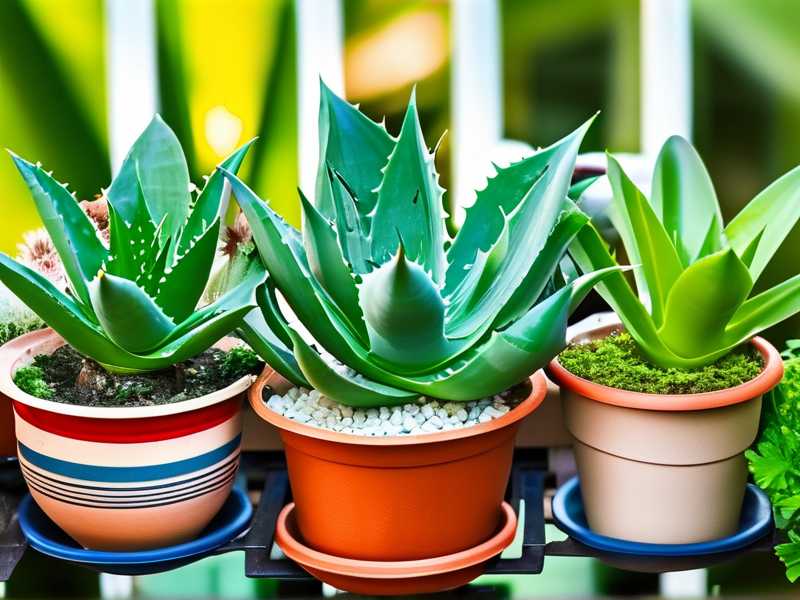
The solution: Always use a terracotta pot with drainage holes. Terracotta breathes. It helps soil dry faster. Aloe roots hate staying wet. I learned this after killing my second plant. Now all my aloe sits in terracotta.
My Step-by-Step Fertilization Routine
I've been growing aloe on my balcony for two years. Here's what works for me.
Step 1: Choose the Right Fertilizer
I tried many products. I nearly killed my plants with a high-nitrogen synthetic fertilizer. The leaves grew too fast. They became weak and floppy.
What I use now: A balanced liquid fertilizer with an NPK ratio of 10-10-10 or 8-8-8. I also use a succulent-specific fertilizer sometimes. Both work well. I dilute it to 1/4 strength. That's key.
Why 1/4 strength: Aloe is a desert plant. It's adapted to poor soil. Full-strength fertilizer is too strong. It causes salt buildup in the soil. The roots get damaged. The leaves show brown tips. I've seen this happen many times.
Step 2: Fertilize Only During Growing Season
I used to fertilize year-round. My aloe stopped growing in winter. The fertilizer just sat in the soil. It caused root burn.
My schedule:
- Spring (March to May): Fertilize every 4 weeks
- Summer (June to August): Fertilize every 4-6 weeks
- Fall (September to November): Reduce to once every 6-8 weeks
- Winter (December to February): No fertilizer at all
I started this schedule after my third plant nearly died. Now my aloe grows steadily. It produces healthy pups. The leaves are thick and green.
Step 3: Apply Fertilizer the Right Way
I've made mistakes with application. Here's my current method.
Morning application: I fertilize in the early morning. The plant absorbs nutrients better during the day. I avoid evening applications. The soil stays wet overnight. That invites fungus.
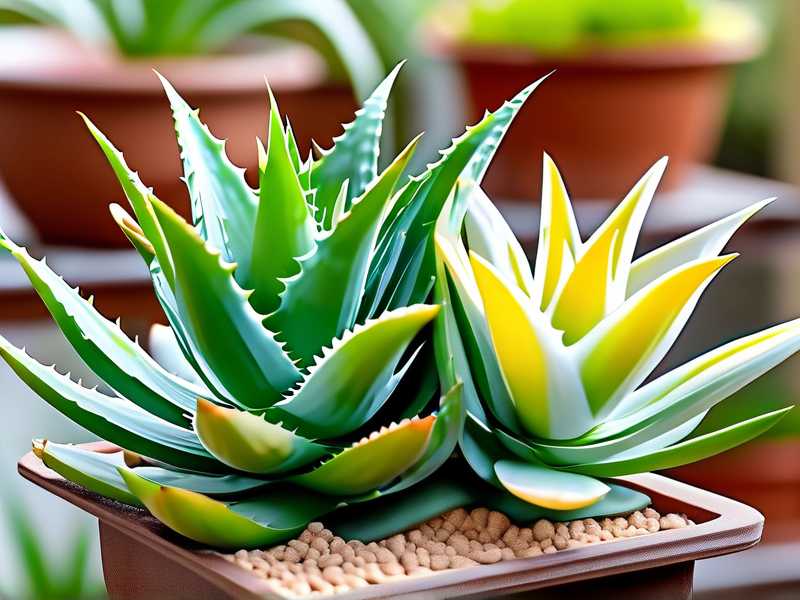
Water first: I water the soil lightly before adding fertilizer. This prevents root burn. The fertilizer spreads evenly. I never apply fertilizer to dry soil.
Avoid leaves: I pour the diluted fertilizer around the base. I never get it on the leaves. Fertilizer on leaves causes spots. It attracts pests. I learned this after my leaves developed white crusty patches.
Flush the soil: Every third watering, I use plain water only. This flushes out excess salts. Salt buildup is a common problem with balcony aloe. The wind dries the soil fast. Salts concentrate. Flushing prevents damage.
My 2-Week Observation After Adjusting Fertilization
I started my new routine two weeks ago. Here's what happened.
Day 1-3: The Plant Looks Stressed
I was nervous. The leaves looked slightly droopy. I thought I overwatered. But I checked the soil. It was dry. I waited.
Day 4-7: New Growth Appears
Small green leaves started emerging from the center. They were brighter than the older leaves. The color was healthy. Not pale. Not yellow. Just vibrant green.
Day 8-10: Leaves Become Firmer
The older leaves felt thicker. They had more turgor pressure. I could see the difference. The plant looked happier. It was standing taller.
Day 11-14: Roots Start Growing
I noticed roots coming out of the drainage holes. That's a good sign. The plant is establishing. It's ready to grow. I didn't repot yet. I'll wait until spring.
What I Learned from Killing 4 Aloe Plants
I've killed aloe plants because I was impatient. I thought more fertilizer meant faster growth. It doesn't work that way.
My first plant: Overwatered and overfertilized. It died in 3 months. The leaves turned yellow and mushy.
My second plant: No drainage holes. The roots rotted. I added fertilizer thinking it would help. It made everything worse.
My third plant: Full-strength fertilizer in winter. The leaves burned. The plant went dormant. I had to repot it with fresh soil.
My fourth plant: Direct sun after fertilizing. The leaves got sunburned. They turned orange and crispy. I moved it to shade. It recovered slowly.
Expert Tips for Balcony Aloe Fertilization
Use Rainwater When Possible
Tap water contains minerals and chlorine. These build up in the soil. They affect nutrient absorption. I collect rainwater now. My aloe responds better. The leaves are greener.
Check Soil pH
Aloe prefers slightly acidic soil (pH 6.0-7.0). I test my soil every few months. If it's too alkaline, I add a little sulfur. If it's too acidic, I add lime. Balanced pH helps nutrient uptake.
Watch for Nutrient Deficiency Signs
I've learned to read my plant's signals.
- Yellow leaves: Too much water or nitrogen deficiency
- Brown tips: Salt buildup or overfertilization
- Pale leaves: Not enough light or nitrogen deficiency
- Stunted growth: Could be rootbound or lack of phosphorus
Repot Every 2-3 Years
Soil loses nutrients over time. I repot my aloe every two years. I use fresh succulent mix. This gives the plant new nutrients. I don't need to fertilize for the first 3 months after repotting.
Common Questions About Balcony Aloe Fertilization
How often should I fertilize my balcony aloe?
Fertilize every 4-6 weeks during spring and summer. Stop completely in winter. I follow this schedule consistently. It works.
Can I use organic fertilizer for aloe?
Yes, but dilute it. I use worm castings sometimes. They release nutrients slowly. They don't burn roots. But I still dilute them. Organic doesn't mean safe to use full strength.
My aloe has brown tips. Is it overfertilization?
It could be. Brown tips often indicate salt buildup. Flush the soil with plain water. Then reduce fertilizer frequency. If the tips don't improve, repot with fresh soil.
Final Thoughts
Balcony aloe cultivation is rewarding. You just need to understand the plant's needs. Less is more with fertilizer. I learned this after years of mistakes. Start with 1/4 strength. Observe your plant. Adjust based on its response. Your aloe will thrive.





