bluename
 How to Improve Aloe Pup Growth Environment for Vigor
I killed my first three aloe plants before I figured this out. The secret to improving aloe pup growth environment for vigor is simple: stop treating them like houseplants and start treating them like desert survivors. Give them sandy soil, bright indirect light, and water only when the soil is bone dry. I learned this the hard way after drowning two pots of aloe pups in a single month.
Let me walk you through exactly what I did over two weeks to transform my struggling aloe pups into thriving, plump little warriors.
My Two-Week Transformation Process
Week One: The Emergency Rescue
Day 1: Assessment and Shock
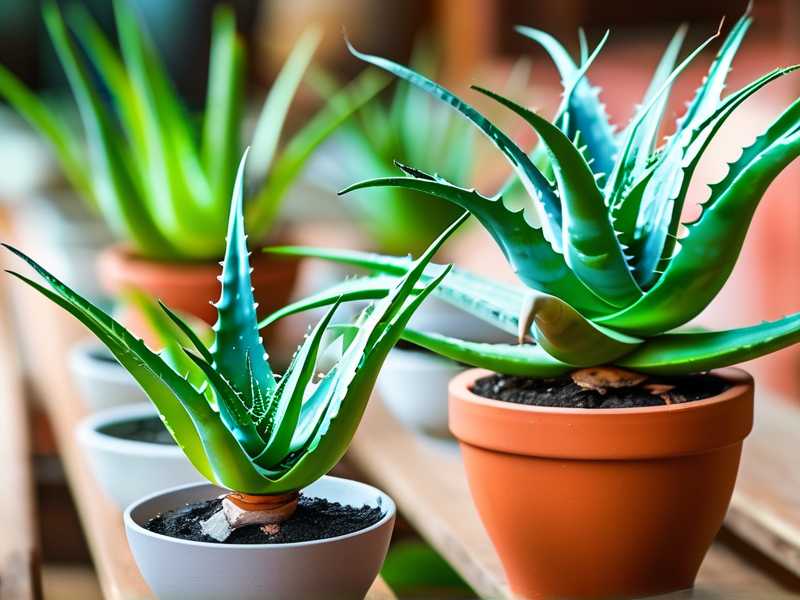
I pulled all my aloe pups out of their pots. Honestly, I was horrified. Three out of five had mushy, brown roots. The soil was wet and smelled like a swamp. I remembered reading on the RHS website that aloe vera plants store water in their leaves, so they hate constant moisture. I felt stupid for not listening earlier.
I trimmed off all the rotten roots with clean scissors. For the healthy pups, I let them sit on newspaper for 24 hours. This gives the cut roots time to callus over. I learned this trick from a cactus forum. It prevents rot when you repot them.
Day 3: The Repotting
I mixed my own soil blend. Three parts perlite, two parts coarse sand, one part regular potting mix. This drains fast. Trust me, regular potting soil is a death sentence for aloe pups.
I used terracotta pots with drainage holes. Plastic pots trap moisture. Terracotta breathes. Every single aloe I killed was in a plastic pot. I switched everything to terracotta and never looked back.
I placed each pup so the base of the leaves sat just above the soil line. Burying them too deep invites rot. I watered them once lightly, then set them on a south-facing windowsill with a sheer curtain.
Day 5: First Signs of Life
Nothing dramatic yet. But the leaves looked less droopy. One pup that had yellowed leaves started showing a hint of green near the center. I resisted the urge to water. That was hard. My hands literally itched to pour water on them every morning.
Day 7: End of Week One
The roots started gripping the soil. I gently tugged one pup and felt resistance. That meant roots were growing. I also noticed tiny new bumps at the base. Those were future roots pushing out. I was cautiously optimistic.
Week Two: Building Momentum
Day 8: Adjusting the Light
I moved the pots about six inches closer to the window. The leaves were still deep green but not stretching toward the light. That's good. Stretching means they want more light. I watched for any red or brown tinges, which signal sunburn.
Day 10: First Real Watering
I stuck my finger two inches into the soil. It was completely dry. I watered deeply until water ran out the drainage holes. Then I let the pot sit in the sink for ten minutes to drain fully. This is critical. Never let them sit in standing water.
I noticed the leaves looked plumper after watering. Like little green balloons. That's exactly what you want.
Day 12: Observing Growth
One pup grew a new leaf. It was small and pale green, pushing up from the center. Another pup's leaves spread wider. They were no longer folded inward like they were protecting themselves. The leaves flattened out and looked relaxed. Healthy aloe leaves should feel firm and slightly cool to the touch.
Day 14: The Transformation
Honestly, I couldn't believe the difference. All five pups looked completely different. The leaves were thick, glossy, and stood upright. The colors shifted from dull green to vibrant, healthy green with slight white speckling along the edges.
The root systems were impressive too. I carefully lifted one pup from its pot just to check. White roots circled the bottom of the terracotta pot. No brown mush. No rot. Just healthy, vigorous growth.
I learned that improving aloe pup growth environment for vigor isn't complicated. It's about mimicking their natural desert habitat. Dry seasons followed by rare, deep rains. Bright light but not direct scorching sun. Fast-draining soil that never stays wet.
The 3 Deadly Mistakes That Kill Aloe Pups
Mistake #1: Overwatering
90% of indoor plants die from overwatering. I'm serious. For aloe pups, that number might be even higher.
I used to water my aloe pups every three days because I thought they needed constant moisture. That killed my first aloe within two weeks. The leaves turned yellow, then brown, then completely mushy. When I pulled the plant out, the roots were black sludge.
What fixed it for me: I switched to a strict "bone dry" rule. I only water when the soil is completely dry all the way through. For me, that's every 10 to 14 days depending on the season. In winter, I water even less.
I also started using a wooden skewer. I stick it into the soil. If it comes out clean with no damp soil stuck to it, I water. Simple test. Works every time.
Mistake #2: Wrong Light Exposure
My second aloe disaster came from too much direct sun. I put my pups on a south-facing balcony with no shade. Within one week, the leaves turned reddish-brown and started shriveling. They looked sunburned because they were sunburned.
Aloe pups need bright but indirect light. Direct morning sun for a few hours is okay. But afternoon sun is brutal. It scorches the leaves and stresses the plant.
What fixed it for me: I placed my pots near an east-facing window. They get gentle morning light for about four hours. Then the rest of the day they get bright indirect light. The leaves stay green and plump.
If you only have south-facing windows, use a sheer curtain. Or place the pots a few feet back from the window. You want light, not heat.
Mistake #3: Using the Wrong Pot
I killed my third aloe in a beautiful ceramic pot with no drainage holes. I thought I was being careful by adding a layer of pebbles at the bottom. Spoiler: that doesn't work. Water pools below the pebbles and rots the roots anyway.
I also used a plastic pot once. The soil stayed wet for two weeks straight. The roots suffocated.
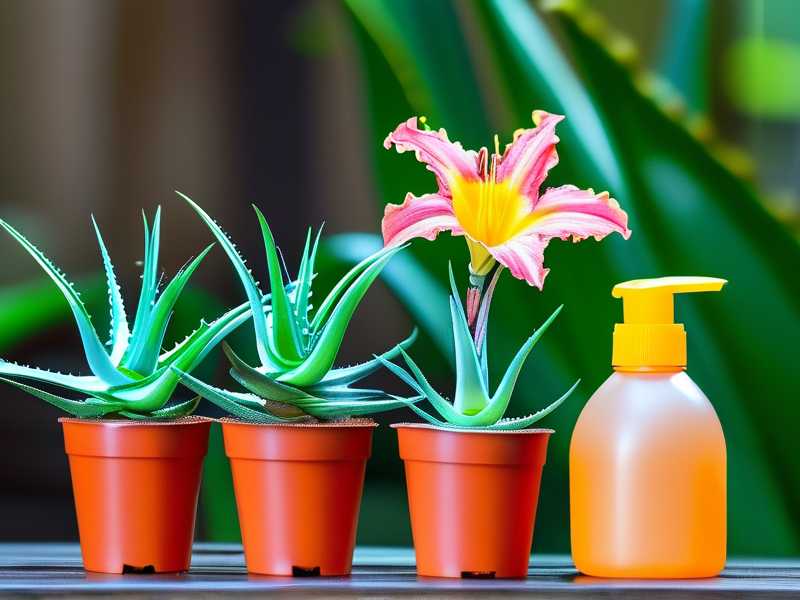
What fixed it for me: Terracotta pots with drainage holes. Period. Terracotta wicks moisture away from the soil. It's porous and breathable. Plus, it's cheap and looks good.
I also learned that pot size matters. Aloe pups like being slightly root-bound. A 4-inch pot works perfectly for a single pup. Don't put a small pup in a huge pot. The excess soil holds too much moisture and causes rot.
The Exact Products I Use
I'm not sponsored by anyone. These are just things I found that work.
Soil Mix: Pro-Mix Cactus Mix mixed with extra perlite. I add about 30% more perlite than the bag suggests. You want it to feel gritty, not fluffy.
Pots: Terracotta pots from my local nursery. I buy them in bulk because I repot often. They cost about $3 each.
Watering Tool: A simple plastic watering can with a narrow spout. This lets me water directly at the base without splashing the leaves. Wet leaves can cause fungal issues.
Light Meter: I use a cheap light meter from Amazon. It tells me exactly how many foot-candles my pups are getting. They need around 2,000 to 3,000 foot-candles. Anything below 1,000 is too dark. Anything above 5,000 is too bright for pups.
My Detailed Care Schedule
Week 1: No watering. Just let the soil dry completely after repotting. This forces roots to grow deeper looking for water.
Week 2: Water once if soil is dry. Use room temperature water. Cold water shocks the roots.
Week 3 onwards: Water every 10 to 14 days. Adjust based on your home's humidity and temperature. My apartment is dry, so I need to water more often in summer.
Monthly: Check for pests. Aloe pups can get mealybugs hiding in the leaf joints. Wipe them off with a cotton swab dipped in rubbing alcohol.
Seasonal: In winter, I water once a month. Seriously. The pups go dormant and barely need anything. I also move them to a slightly brighter spot because winter light is weaker.
Lessons I Learned from Killing Aloe Pups
I've probably killed ten aloe plants total. Each one taught me something.
The first one taught me about overwatering. The second about sunburn. The third about pots. The fourth about soil. The fifth about root rot from poor drainage.
But the lesson that stuck most was patience. Aloe pups are slow growers. They don't show instant results. You plant them, water them sparingly, and wait. Sometimes for weeks before you see new growth.
I remember checking my pups every single day for the first month. Nothing happened. I was convinced they were dead. Then one morning, I saw a tiny green bump at the base. That was a new pup forming. I nearly cried.
Now I have twelve aloe plants scattered around my apartment. Some are producing their own pups. I give them away to friends and family. They all think I'm some kind of plant genius. Little do they know I just learned from my mistakes.
What the Experts Say
The Royal Horticultural Society recommends allowing the compost to dry out completely between waterings for aloe vera. They also suggest using a cactus compost with added grit for drainage. That's exactly what I do.
The American Horticultural Society notes that aloe plants need a minimum temperature of 50°F (10°C) at night. I keep my apartment at 68°F during the day and 60°F at night. My pups thrive in this range.
Both organizations emphasize that aloe pups should not be overpotted. A pot that's too large can cause the soil to stay wet for too long, leading to root rot. Stick with a pot that's just slightly larger than the root ball.
Common Questions I Get Asked
How long does it take for aloe pups to root?
Usually two to four weeks depending on conditions. I saw roots starting within seven days after my repotting. But I've had pups take three weeks to root when the temperature was cooler.
My advice is to gently tug the pup after two weeks. If you feel resistance, roots are growing. If it moves easily, give it more time.
Can I propagate aloe pups in water?
I tried this once. It was a disaster. The bottom of the pup rotted within a week. Aloe plants are succulents. They don't need water to root. They need dry soil.
Place the pup directly in dry soil and wait. Water only after two weeks. This mimics how they root in nature.
Why are my aloe pup leaves turning brown?
Brown leaves usually mean either too much sun or too much water. Check the soil first. If it's wet, you're overwatering. If it's dry, the sun is probably too intense.
I had a pup with brown tips once. I moved it to a shadier spot and the new leaves came in green. The brown tips stayed but the plant was healthy otherwise. It's cosmetic damage from stress.
A Few Final Thoughts
I'm not a professional botanist. I'm just someone who killed a lot of aloe plants before figuring out what they actually need. The truth is, aloe pups are incredibly resilient. They want to survive. You just have to get out of their way.
Stop watering so much. Stop putting them in direct sunlight. Stop using giant plastic pots with no drainage.
Give them sandy soil, bright indirect light, and patience. That's literally all it takes to improve aloe pup growth environment for vigor.
I promise you, if I can do it, anyone can. I've got the dead plants to prove it.